【Unity工具,简单学习】PUN 2,多人在线网络工具
- 前言
-
- 简单使用
-
- 一些 nomenclature 部分
- 连接到 Server
- 设置简单的大厅UI
- 游戏场景搭建
- 关卡加载
- 事后
前言
- 链接
简单介绍
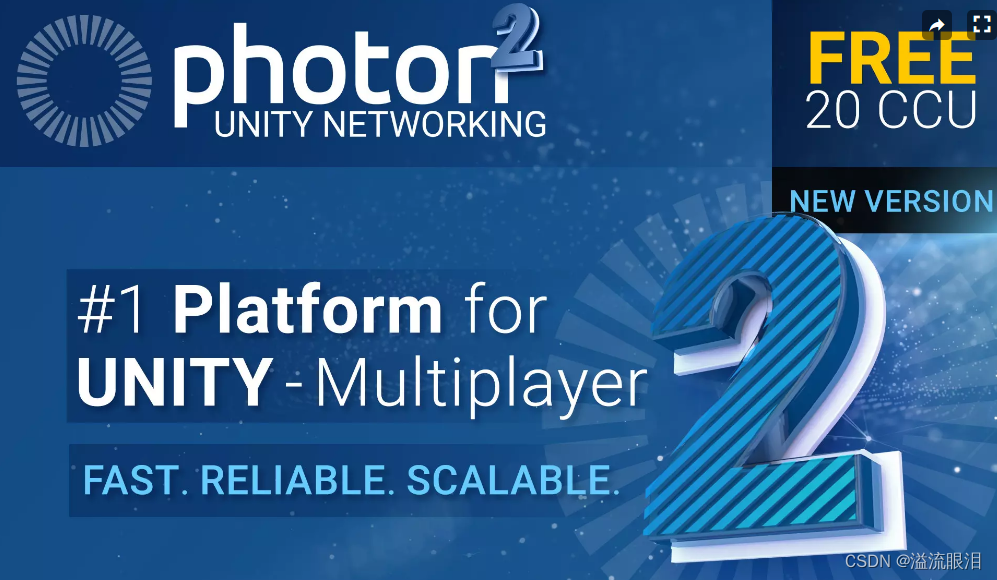
PUN 可以让你简单地开发多人游戏,在全球范围推出
让开发者不用管托管、链接和延迟
支持移动端、台式、一些主机
全球范围内低延迟
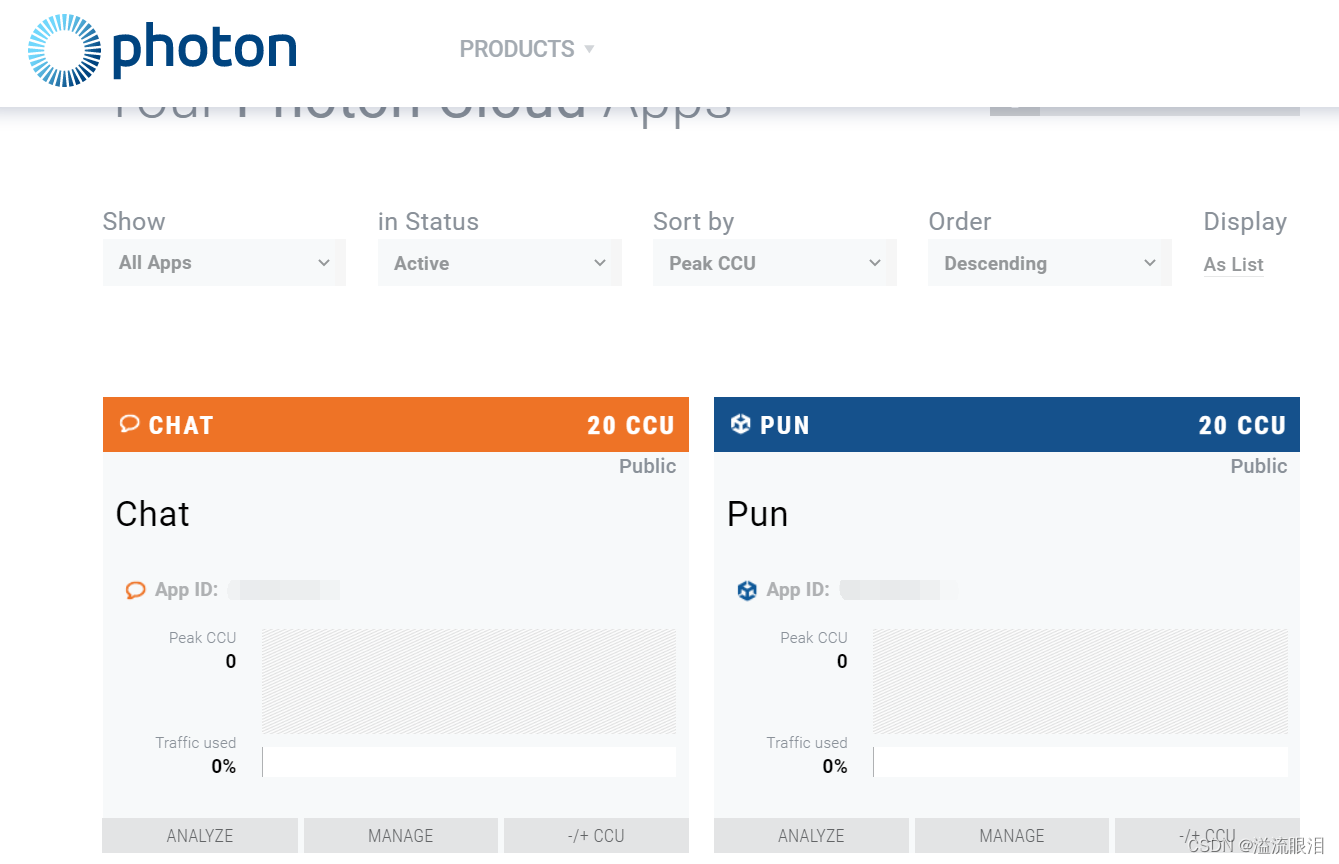
始终连接,无需穿透- 免费20
CCU(Concurrent User, 并发用户)
支持 Unity 2019 - 2022
安装
- 安装包,输入邮箱来注册,或输入Appid来登录。
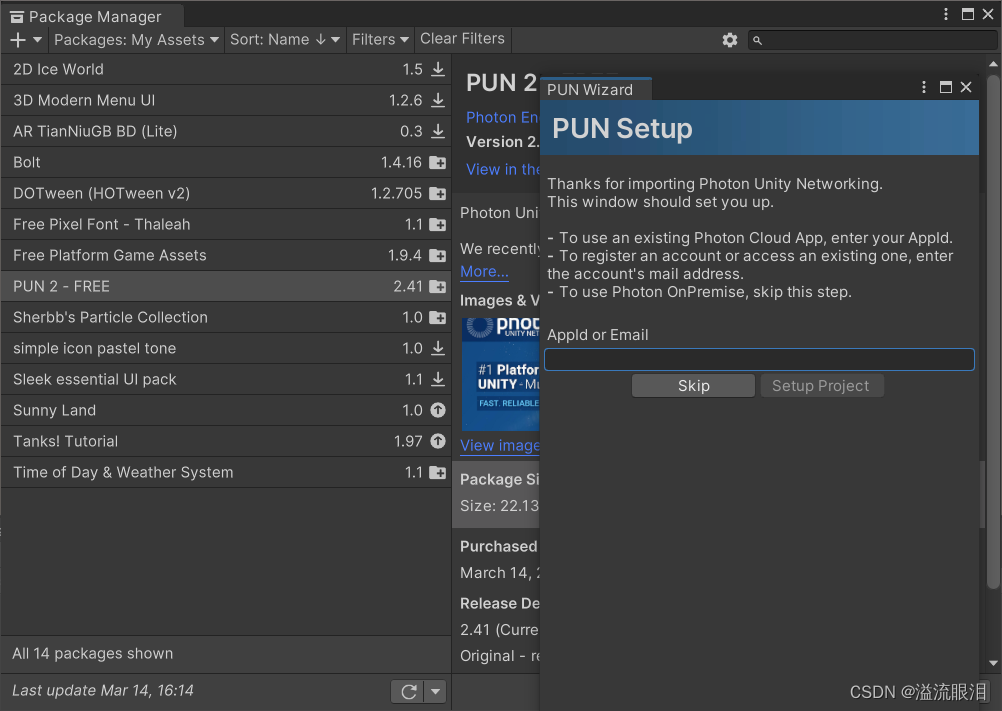
- 输入邮箱后,发来确认邮件。点击链接,输入密码来注册新的
Photon 账号。顺带会给你 appID
Photon链接
简单使用
一些 nomenclature 部分
- 其中用到了
Photon Cloud,内有很多运行 Photon Server 的机子。
Client 先连接到 Name Server,然后检查 AppId,知道要去哪个 region,然后去对应的 Master Server
Master Server 是管理区域服务器的 hub,它让 Client 去到某个 Game Server
- 只有相同 AppId 的玩家可以相互看到对方
还有 Game Version 字符串,阻隔旧版本与更新版本的玩家
Region 是一个个有序分开的区域,在全球范围内分布,为了玩家之间更好的连接
不同区域之间相互分离Room : Photon Cloud 是以房间为基础的游戏,每个配对只有优先的玩家(16人上限)
房间内的每个人接受其他人发送的任何公有信息
在两个房间内的玩家无法交流
最好的进入房间的方法是使用 Random Matchmaking,询问 server 任意一个房间,或指明一些玩家希望的额外属性
每个房间都有一个名字,也叫标识符 identifier,除非房间满了或关闭了,都可以通过名字加入房间
Master Server 可以提供房间的列表Lobby:在 Master Server 上,列出游戏中的所有房间,但是玩家之间不能相互交流
连接到 Server
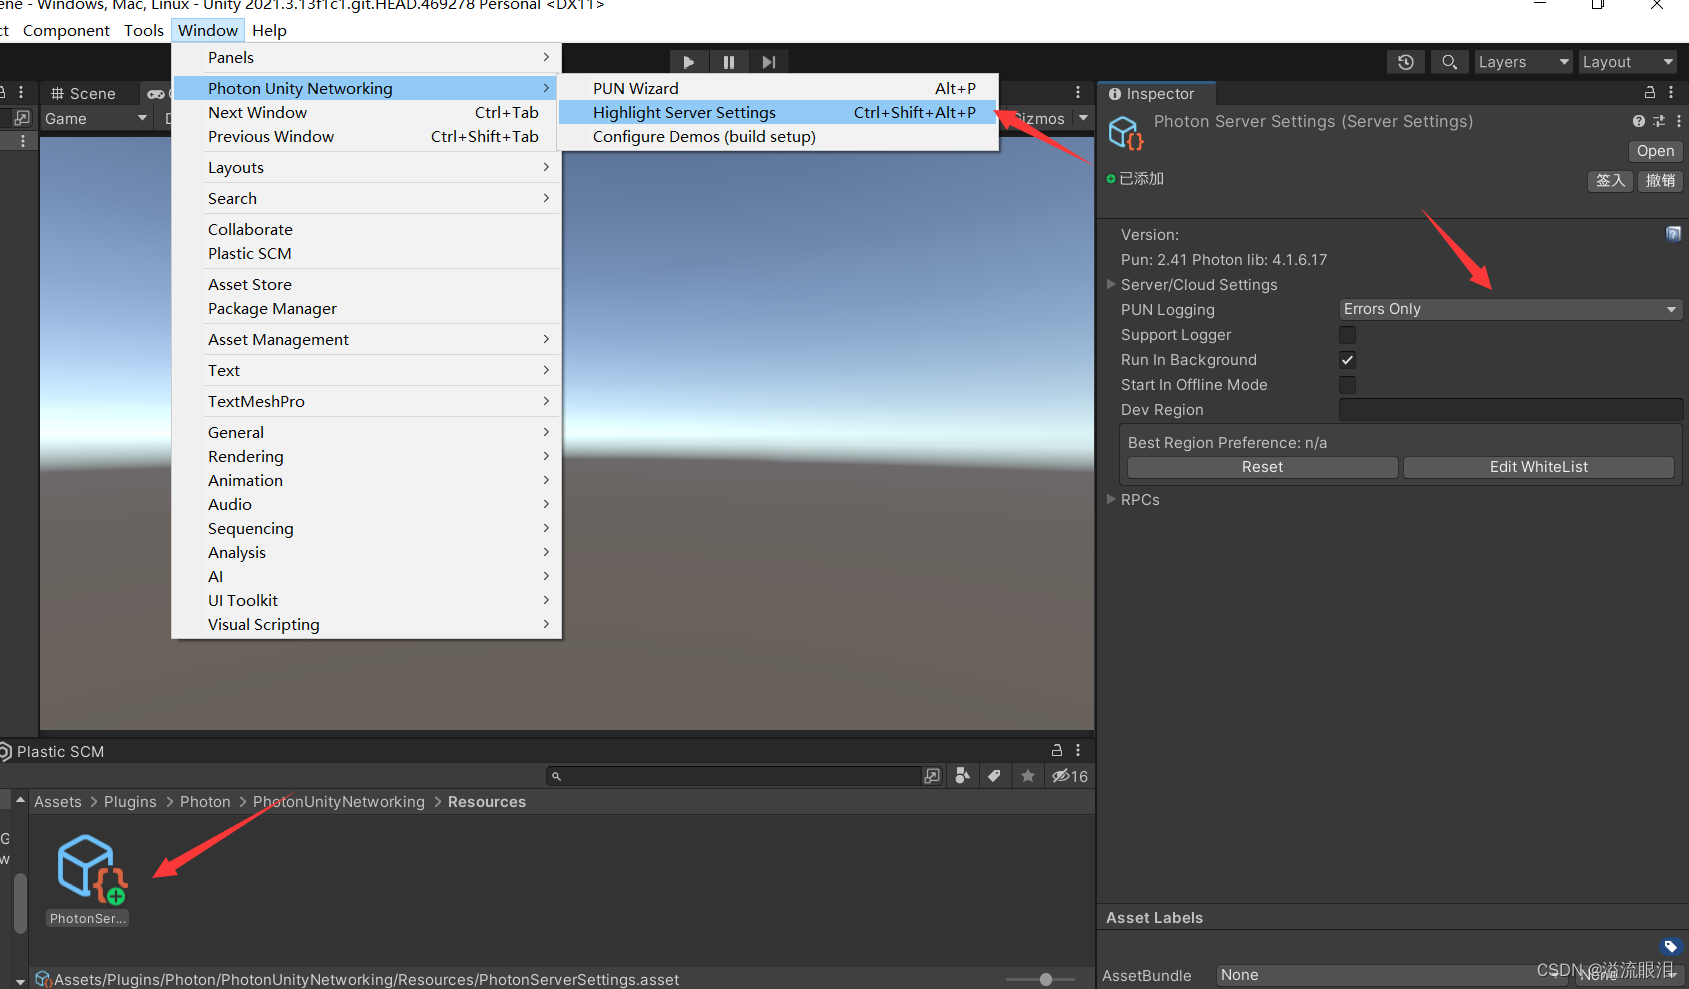
- 点击
Window -> Photon Unity Networking -> Highlight Server Settings
点开下面的 asset 文件,右侧 PUN Logging 选择 Full
- 新建一个
Launcher 脚本,如下
- 注意头文件为
using Photon.Pun
注意可能会有重名脚本,可以自行添加命名空间等方法
using System.Collections;
using System.Collections.Generic;
using UnityEngine;
using Photon.Pun;
public class Launcher : MonoBehaviour
{private string gameVersion = "1";void Awake(){PhotonNetwork.AutomaticallySyncScene = true;}void Start(){Connect();}public void Connect(){if (PhotonNetwork.IsConnected){PhotonNetwork.JoinRandomRoom();}else{PhotonNetwork.ConnectUsingSettings();PhotonNetwork.GameVersion = gameVersion;}}
}
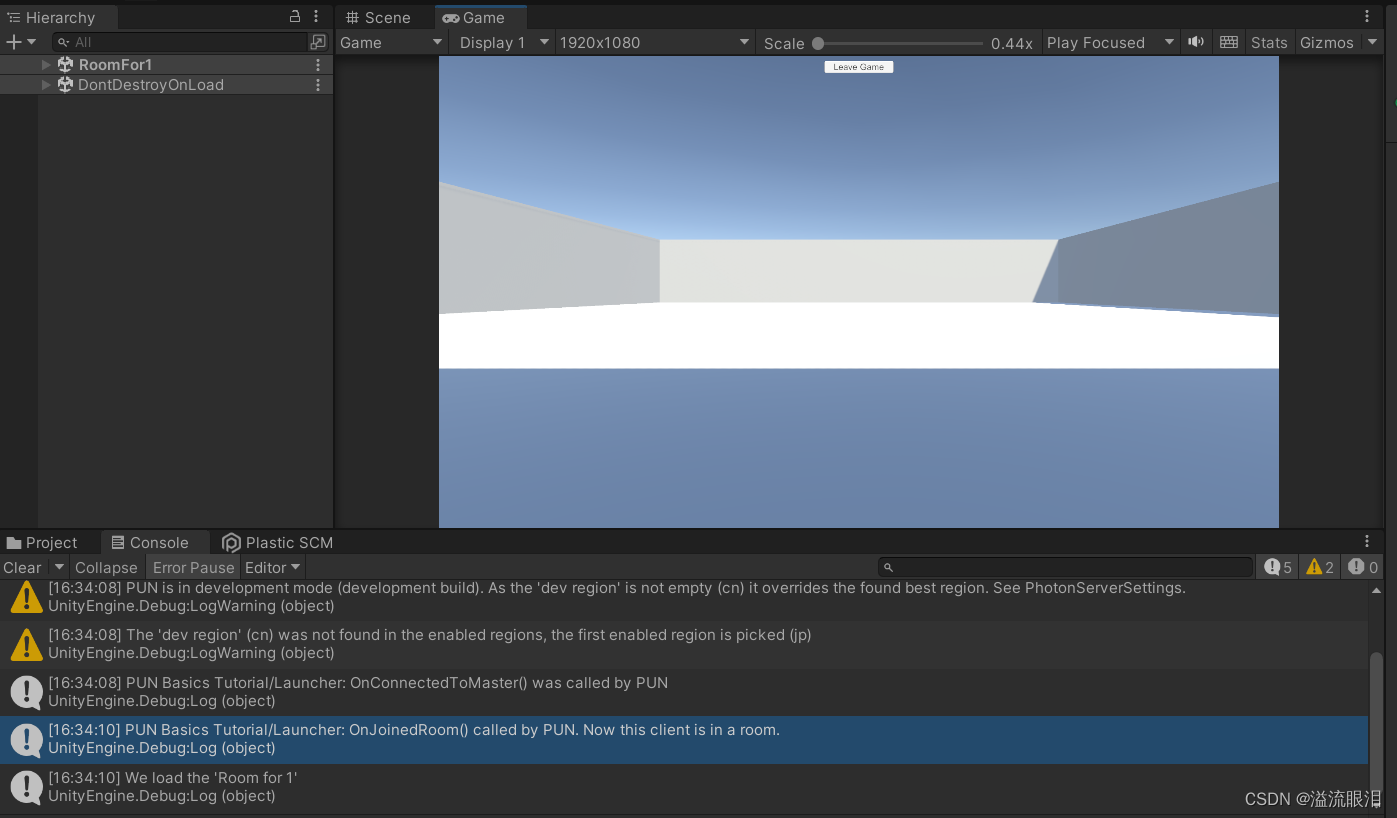
- 在场景中,添加空节点,挂载该脚本,运行后:
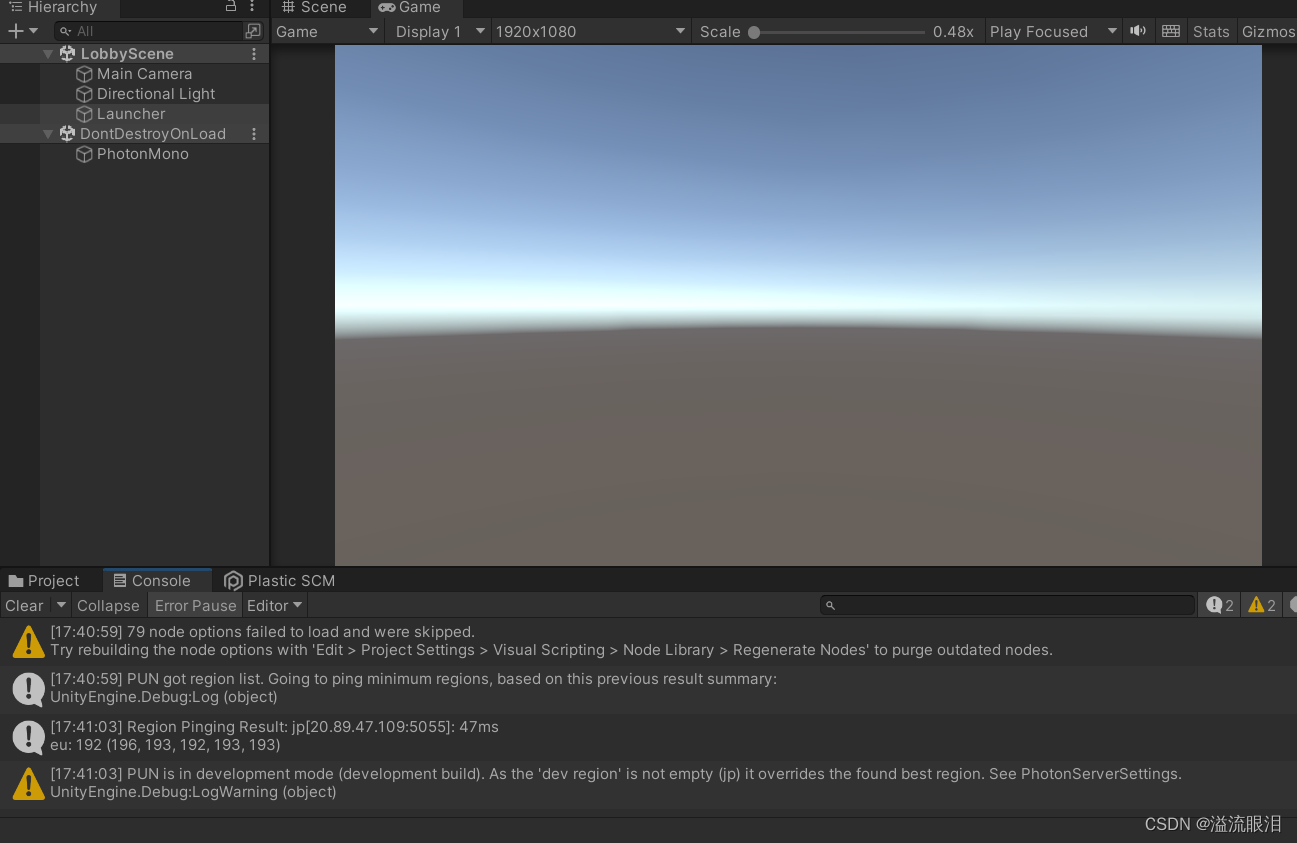
- 这貌似是成功了。
设置简单的大厅UI
- 修改之前的
Launcher 脚本,让他继承自 MonoBehaviourPunCallbacks
重载一些基本函数,设置加载时显示/关闭UI元素
using System.Collections;
using System.Collections.Generic;
using UnityEngine;
using UnityEngine.UI;
using Photon.Pun;
using Photon.Realtime;public class Launcher : MonoBehaviourPunCallbacks
{private string gameVersion = "1";[SerializeField]private byte maxPlayersPerRoom = 4;[SerializeField]private GameObject controlPanel;[SerializeField]private GameObject progressLabel;void Awake(){PhotonNetwork.AutomaticallySyncScene = true;progressLabel.SetActive(false);controlPanel.SetActive(true);}public void Connect(){progressLabel.SetActive(true);controlPanel.SetActive(false);if (PhotonNetwork.IsConnected){PhotonNetwork.JoinRandomRoom();}else{PhotonNetwork.ConnectUsingSettings();PhotonNetwork.GameVersion = gameVersion;}}public override void OnJoinRandomFailed(short returnCode, string message){Debug.Log("PUN Basics Tutorial/Launcher:OnJoinRandomFailed() was called by PUN. No random room available, so we create one.\\nCalling: PhotonNetwork.CreateRoom");PhotonNetwork.CreateRoom(null, new RoomOptions { MaxPlayers = maxPlayersPerRoom });}public override void OnJoinedRoom(){Debug.Log("PUN Basics Tutorial/Launcher: OnJoinedRoom() called by PUN. Now this client is in a room.");}public override void OnConnectedToMaster(){Debug.Log("PUN Basics Tutorial/Launcher: OnConnectedToMaster() was called by PUN");PhotonNetwork.JoinRandomRoom();}public override void OnDisconnected(DisconnectCause cause){progressLabel.SetActive(false);controlPanel.SetActive(true);Debug.LogWarningFormat("PUN Basics Tutorial/Launcher: OnDisconnected() was called by PUN with reason {0}", cause);}
}
- 新建
PlayerNameInput 脚本,来修改玩家的名字
PPK 是我自己写的脚本,你可以直接用 PlayerPrefs.GetString 之类的替换。
作用是防止键名 typo
using System.Collections;
using System.Collections.Generic;
using UnityEngine;
using UnityEngine.UI;
using Photon.Pun;[RequireComponent(typeof(InputField))]
public class PlayerNameInput : MonoBehaviour
{void Start(){string defaultName = string.Empty;InputField _inputfield = GetComponent<InputField>();if (_inputfield != null){defaultName = PPK.GetString(PPK.playerName);_inputfield.text = defaultName;}PhotonNetwork.NickName = defaultName;}public void SetPlayerName(string name){if (string.IsNullOrEmpty(name)){return;}PhotonNetwork.NickName = name;PPK.SetString(PPK.playerName, name);}
}
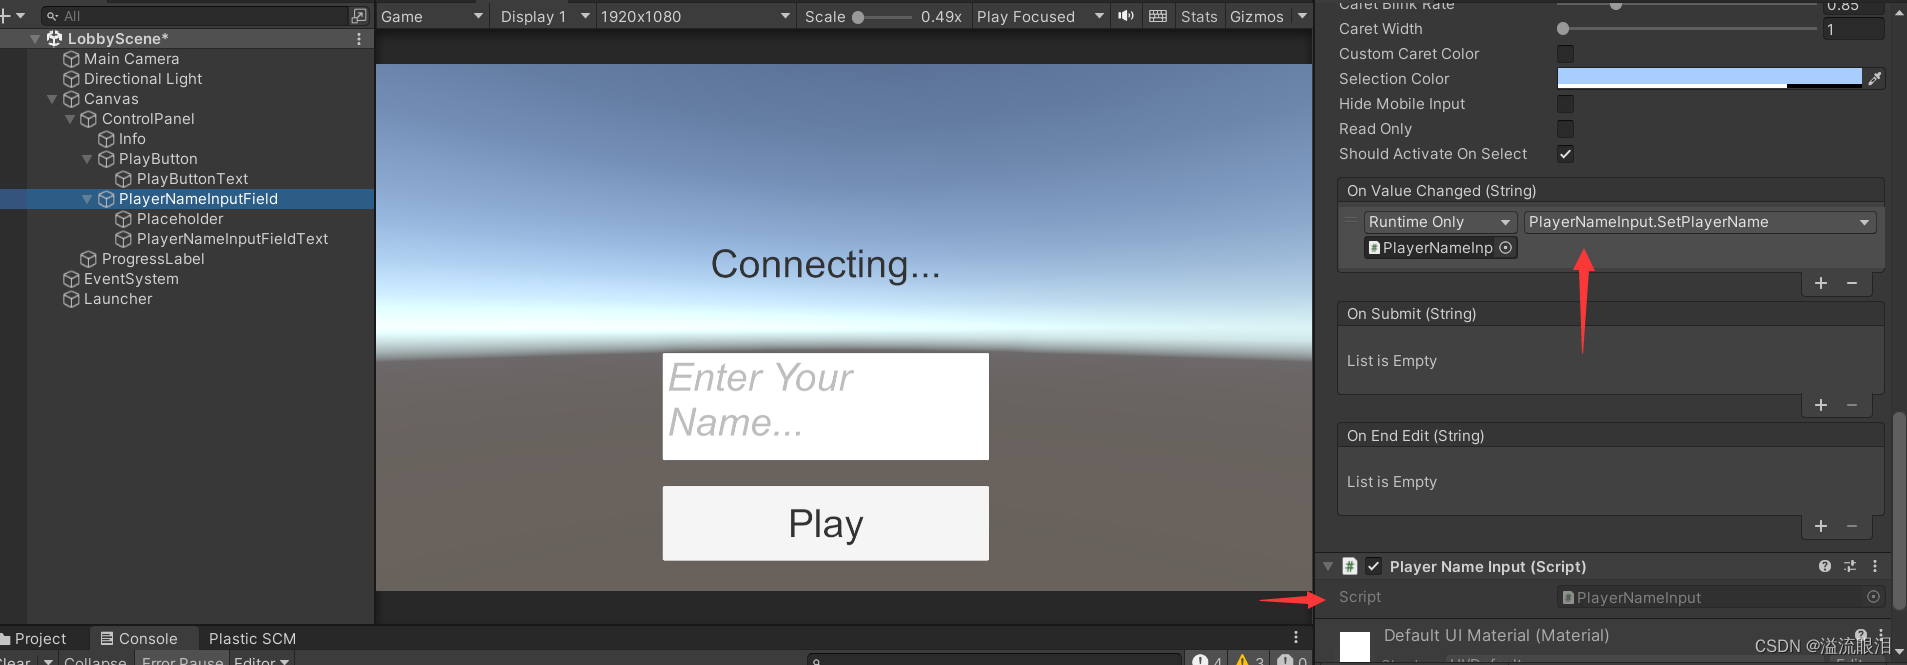
- 场景架构如下
为 InputField 设置监听,为其添加 Player Name Input 脚本
为 Launcher 脚本中的 Control Panel, Progress Label 添加对应的UI物体
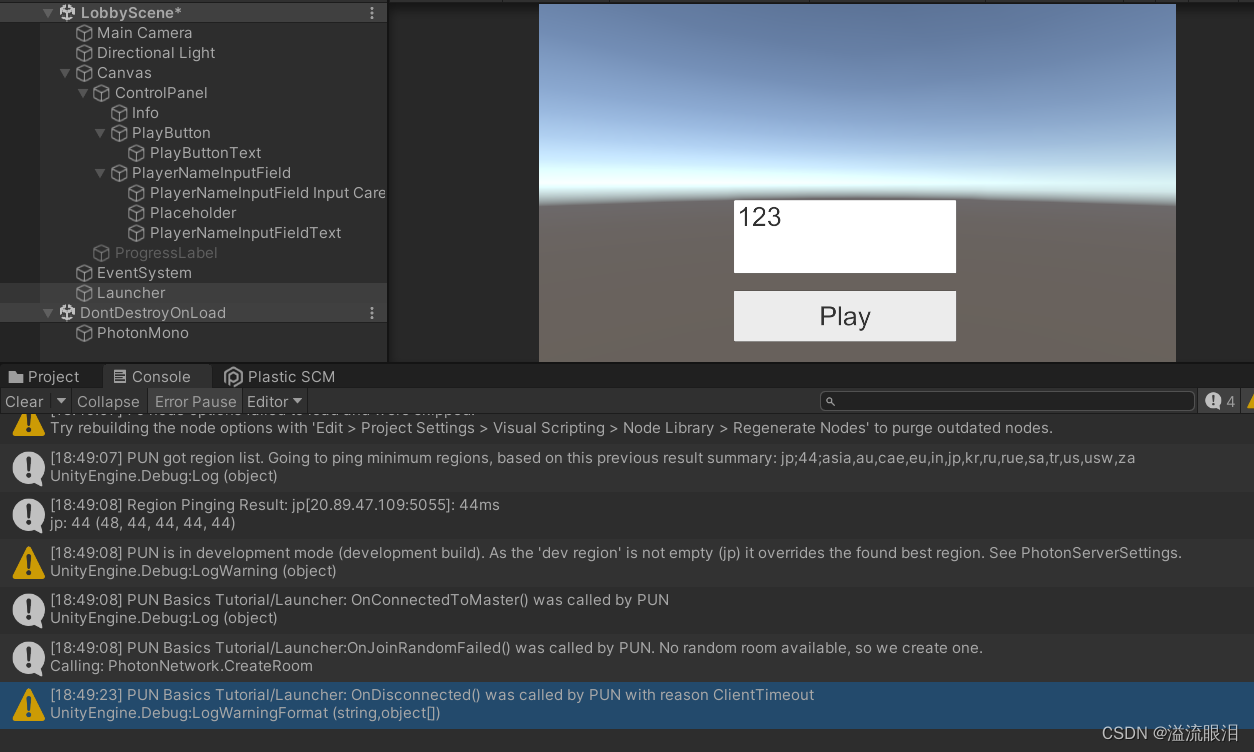
- 测试连接
顺序依次为 PhotonNetwork.ConnectUsingSettings() -> OnConnectedToMaster() -> OnJoinedRoom() -> OnJoinRandomFailed() -> CreateRoom() -> OnDisconnected()
额额,虽然有点复杂但还是能懂大概流程。
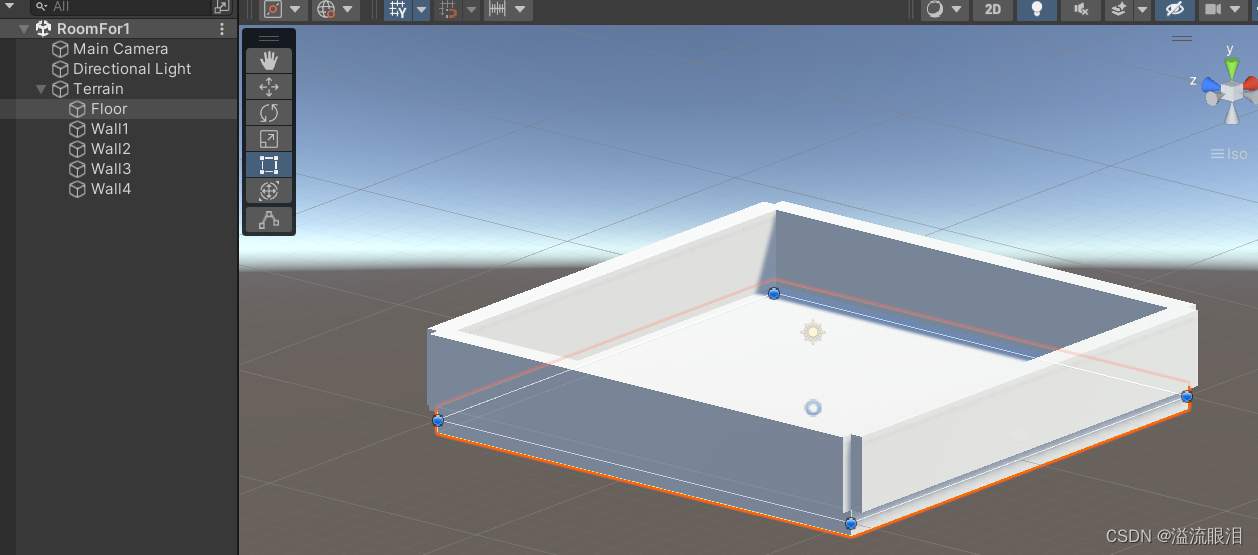
游戏场景搭建
- 新建一个场景
RoomFor1
搭建一个默认舞台
- 新建一个脚本,用于创建
GameManager 的预设体,控制退出房间
using System.Collections;
using System.Collections.Generic;
using UnityEngine;
using UnityEngine.SceneManagement;
using Photon.Pun;
using Photon.Realtime;
public class GameManagerPUN : MonoBehaviourPunCallbacks
{public override void OnLeftRoom(){SceneManager.LoadScene("LobbyScene");}public void LeaveRoom(){PhotonNetwork.LeaveRoom();}
}
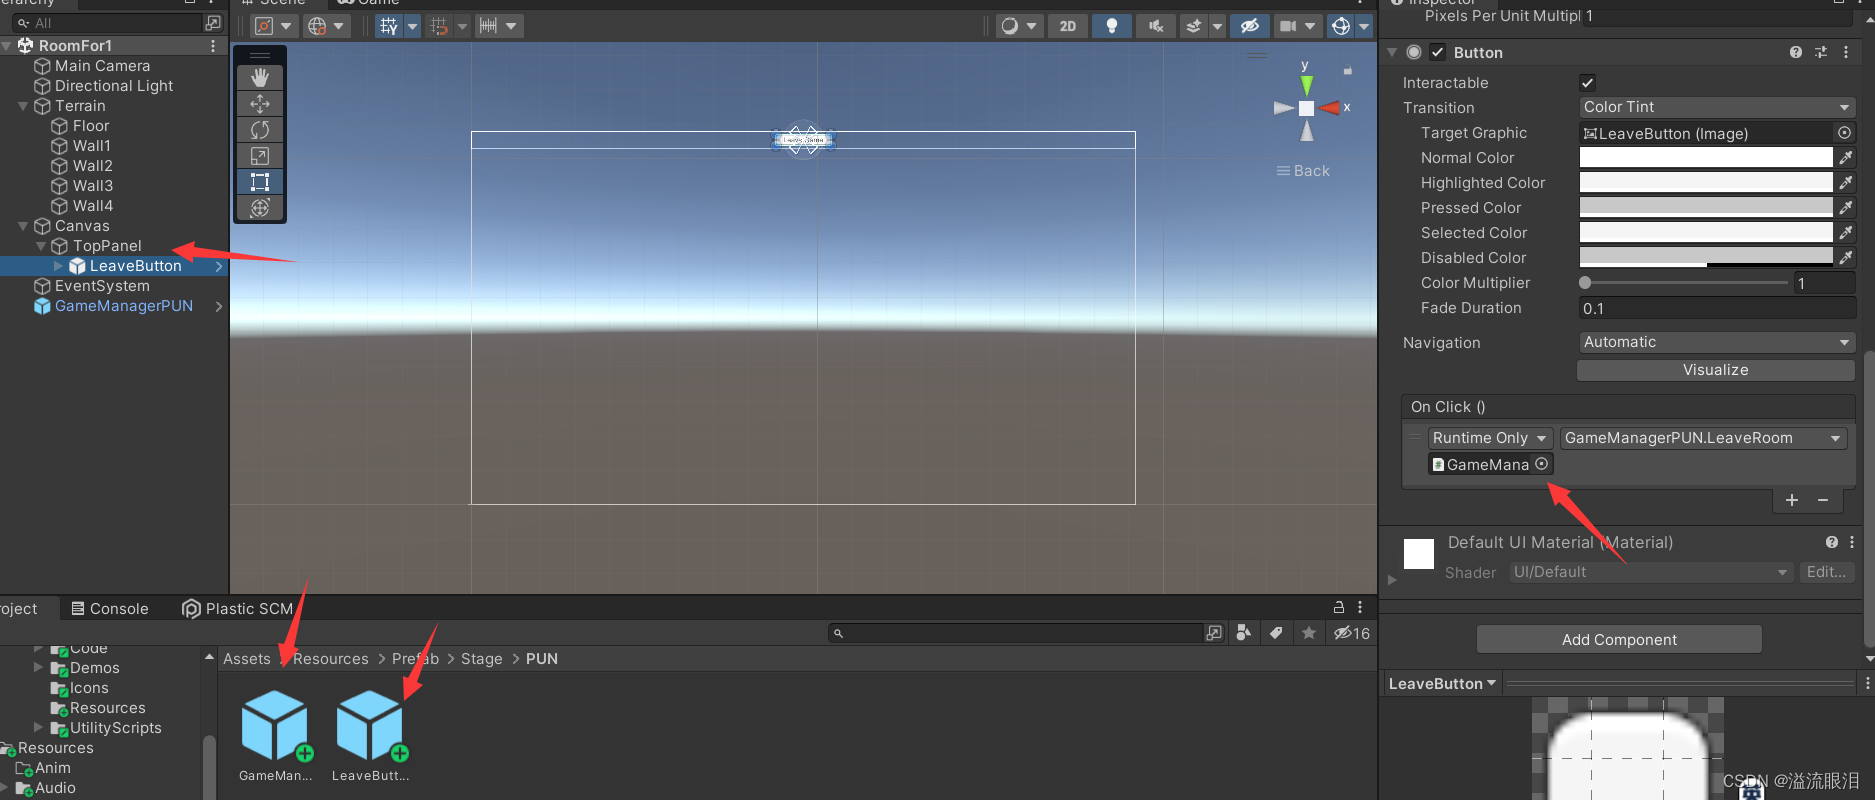
- 场景中创建
GameManager 和 TopPanel 并在其中添加 LeaveButton
为其添加监听
并把这两个物体创建预设体,方便后续使用
- 复制其他的场景,并添加到 Build List 中

关卡加载
- 修改上述
GameManager 脚本如下:
使用 PhotonNetwork.LoadLevel() 而不是 Unity 的场景跳转
使用 OnPlayerEnteredRoom(), OnPlayerLeftRoom() 来监听玩家的进入和离开房间
使用 PhotonNetwork.IsMasterClient 来检测玩家是否在 Master Server ,这之后才能加载到 Game Server
using System.Collections;
using System.Collections.Generic;
using UnityEngine;
using UnityEngine.SceneManagement;
using Photon.Pun;
using Photon.Realtime;
public class GameManagerPUN : MonoBehaviourPunCallbacks
{public override void OnLeftRoom(){SceneManager.LoadScene("LobbyScene");}public void LeaveRoom(){PhotonNetwork.LeaveRoom();}private void LoadArena(){if (!PhotonNetwork.IsMasterClient){Debug.LogError("PhotonNetwork : Trying to Load a level but we are not the master Client");return;}Debug.LogFormat("PhotonNetwork : Loading Level : {0}", PhotonNetwork.CurrentRoom.PlayerCount);PhotonNetwork.LoadLevel("RoomFor" + PhotonNetwork.CurrentRoom.PlayerCount);}public override void OnPlayerEnteredRoom(Player other){Debug.LogFormat("OnPlayerEnteredRoom() {0}", other.NickName); if (PhotonNetwork.IsMasterClient){Debug.LogFormat("OnPlayerEnteredRoom IsMasterClient {0}", PhotonNetwork.IsMasterClient); LoadArena();}}public override void OnPlayerLeftRoom(Player other){Debug.LogFormat("OnPlayerLeftRoom() {0}", other.NickName); if (PhotonNetwork.IsMasterClient){Debug.LogFormat("OnPlayerLeftRoom IsMasterClient {0}", PhotonNetwork.IsMasterClient); LoadArena();}}
}
事后
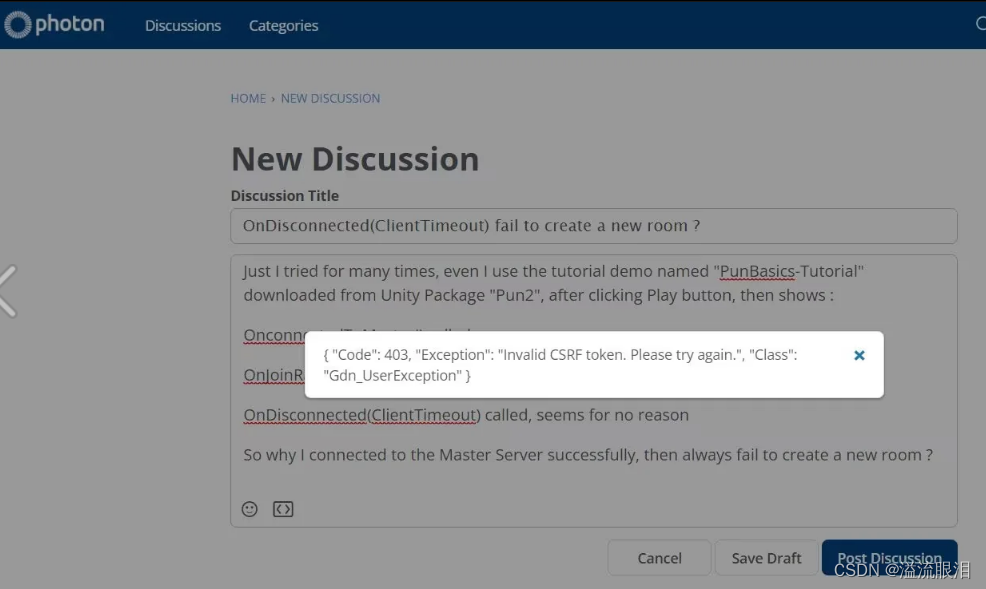
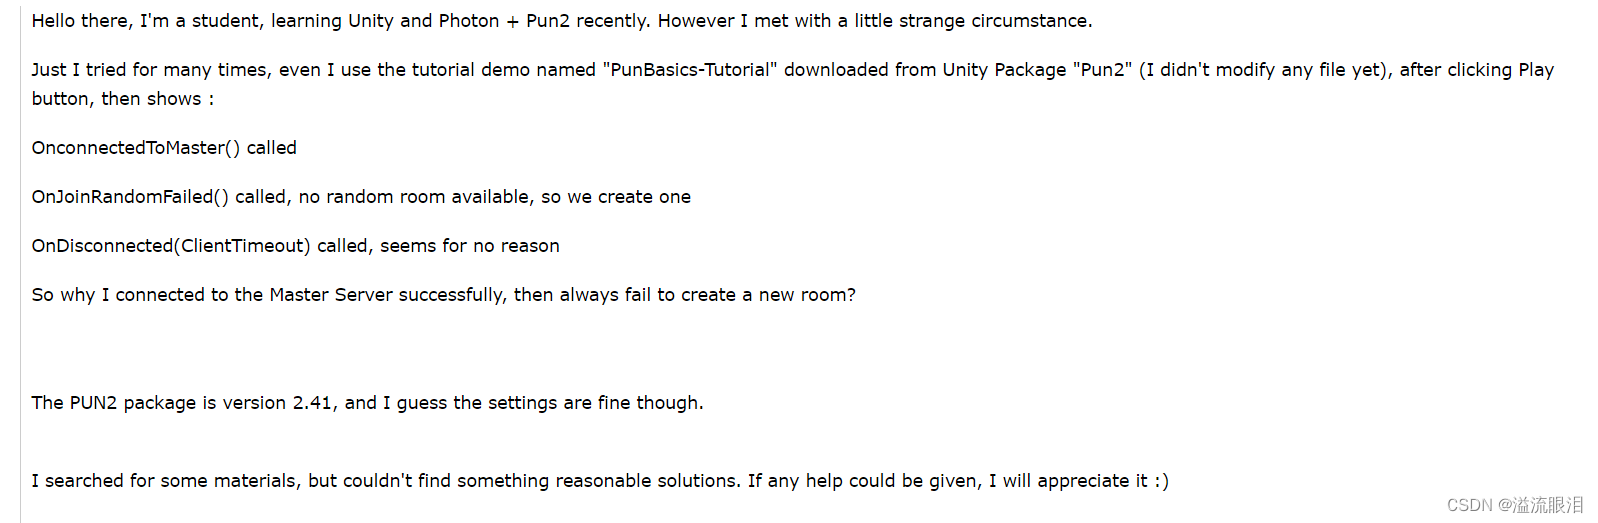
- 当时经过测试,加载房间一直失败
甚至我直接打开官方的demo,也是创建房间失败…
然后我去 Photon 论坛上问了,结果提交讨论失败…
- 然后我还去问
Support Team 了 (通过邮箱),他们居然两三天就回我了
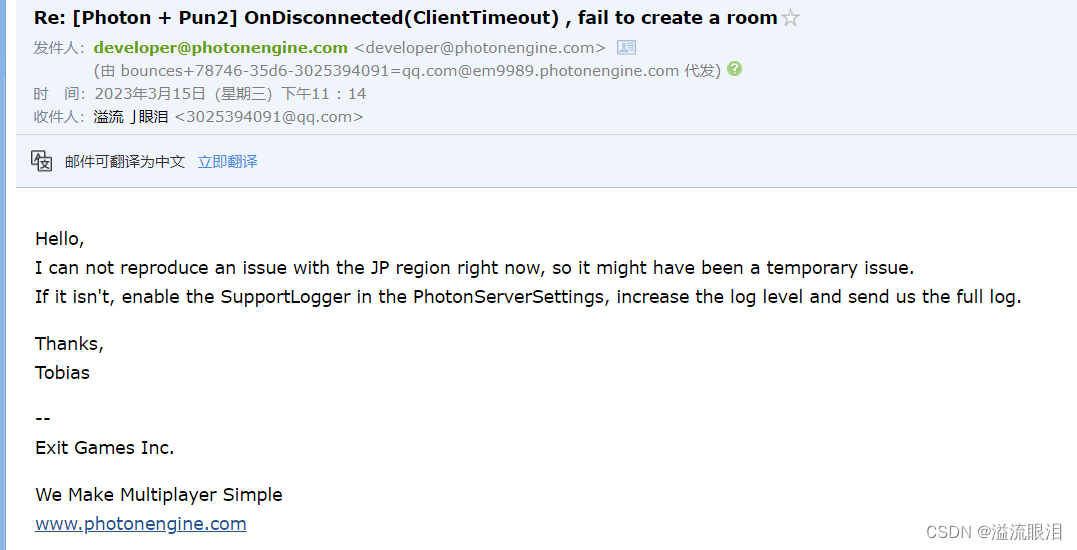
- 好吧,可能大概率是推荐
JP region 的问题,当时有点忙也就放着不管了
- 然后我现在捯饬一下,发现确实是
region 的问题

- 注:
Fixed Region 请不要填 asia,空着就行
Dev Region 虽然推荐 jp,请填 cn
然后就创建房间成功了!