docker搭建linux网络代理

docker搭建linux网络代理
1.准备
config.yaml 配置文件(含订阅节点、规则,一般机场或者本地配置中含有)
在root下创建文件夹命名为clash。上传配置好的config.yaml至clash文件夹。
2.配置
端口: port: 7890 ; socks-port: 7891
运行局域网访问: allow-lan: true
对外提供 rest 接口: external-controller: 0.0.0.0:8080
dashboard 路径: external-ui: /ui
配置文件 yaml, 挂载到: /root/.config/clash/config.yaml
3.运行
docker run -d --name clash-client --restart always -p 7890:7890 -p 7891:7891 -p 9090:9090 -v /root/clash/config.yaml:/root/.config/clash/config.yaml -v /root/clash/ui:/ui dreamacro/clash
4.安装ui面板
4.1.Dashboard
使用官方的 Dashboard : https://github.com/Dreamacro/clash-dashboard/tree/gh-pages
使用另一个第三方看起来很炫酷的 Dashboard: https://github.com/haishanh/yacd/tree/gh-pages
4.2 配置文件
port: 7890socks-port: 7891allow-lan: truemode: Rulelog-level: infoexternal-controller: '0.0.0.0:9090'secret: 'passwd'external-ui: /uiauthentication:- "user:passwd"Proxy:Proxy Group:Rule:
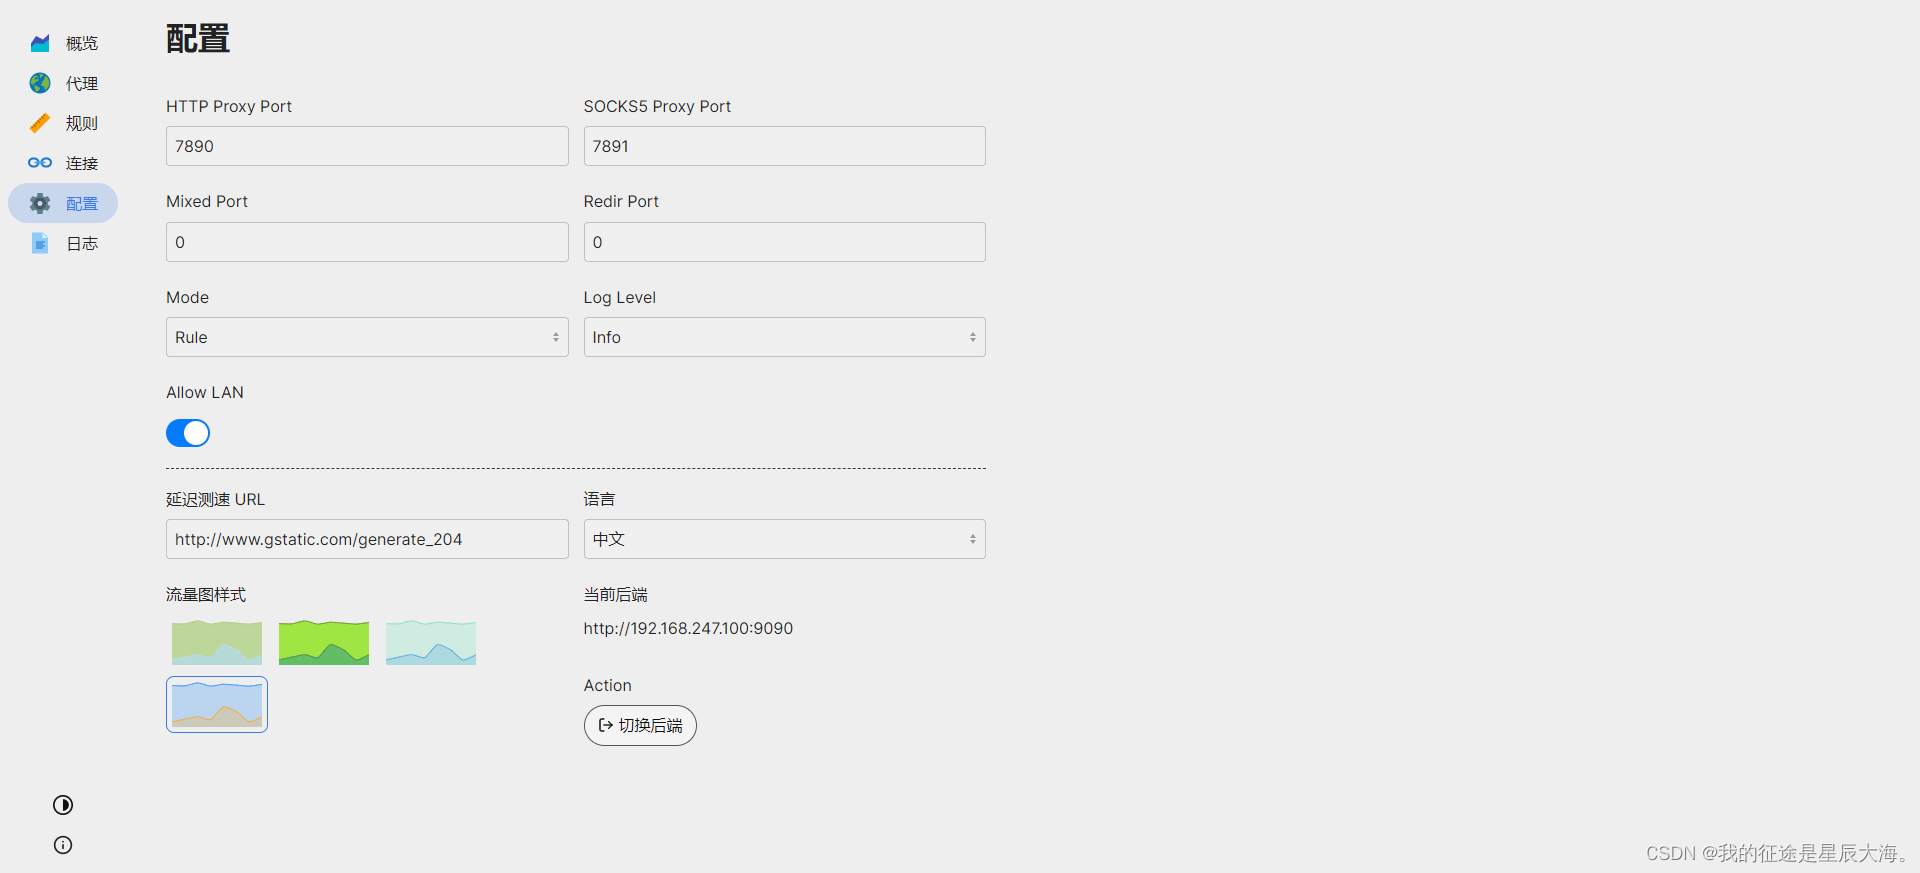
Clash Dashboard 的访问地址是:local:9090/ui 将 local 替换为你服务器的 ip 地址。在浏览器中输入即可访问,如下图;远程访问需要填写部署 Clash 的服务器 ip 密钥就是上一步设置的 secret 值。如果使用公共的Clash Dashboard 也是同样的页面 Host、端口、密钥都在 Clash 的配置中;
5.本地配置
5.1.临时设置代理
设置不需要用户名/密码认证的代理
export http_proxy=http://SERVER:PORT/
使用用户名和密码验证设置代理
export http_proxy=http://USERNAME:PASSWORD@SERVER:PORT/
使用域设置代理
export http_proxy=http://DOMAIN\\\\USERNAME:PASSWORD@SERVER:PORT/
处理密码中的@字符
看上面的代码;您会在@前面看到反斜杠(\\)。
export http_proxy=http://DOMAIN\\\\USERNAME:P\\@SSWORD@SERVER:PORT/
5.2 永久代理
编辑/etc/environment文件
http_proxy="http://proxy-server-ip:port/"
https_proxy="https://proxy-server-ip:port/"
需要重新启动
或者
echo ”http_proxy = http://ip:端口/”>>/etc/environment
5.3 验证您的代理设置
echo $ http_proxy
5.4 取消代理
unset all_proxy
unset http_proxy
unset https_proxy
5.5 测试是否可用
curl https://www.google.com
5.6第二种方式
打开终端并输入以下命令:
sudo nano /etc/profile.d/proxy.sh
这将创建一个名为proxy.sh的文件,用于设置代理。
在proxy.sh文件中添加以下内容:
export http_proxy=“http://proxy-server-ip:port/”
export https_proxy=“https://proxy-server-ip:port/”
将其中的proxy-server-ip和port替换为你使用的代理服务器的IP地址和端口号。
保存文件并退出编辑器。
使更改生效:输入以下命令:
source /etc/profile.d/proxy.sh
这将使代理设置立即生效。
验证代理是否生效:输入以下命令:
curl ipinfo.io/ip
如果返回的是代理服务器的IP地址,说明代理已经生效。
需要注意的是,使用环境变量设置代理只对当前终端有效,如果需要在其他终端中使用代理,还需要在其他终端中再次设置。