CentOS 7 Linux入门记录

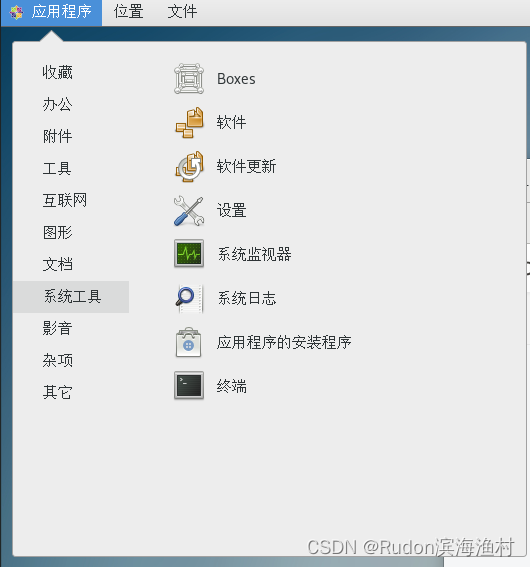
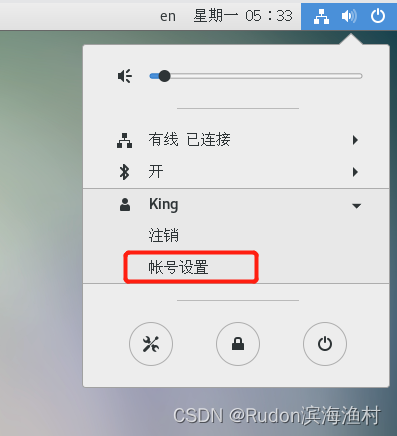
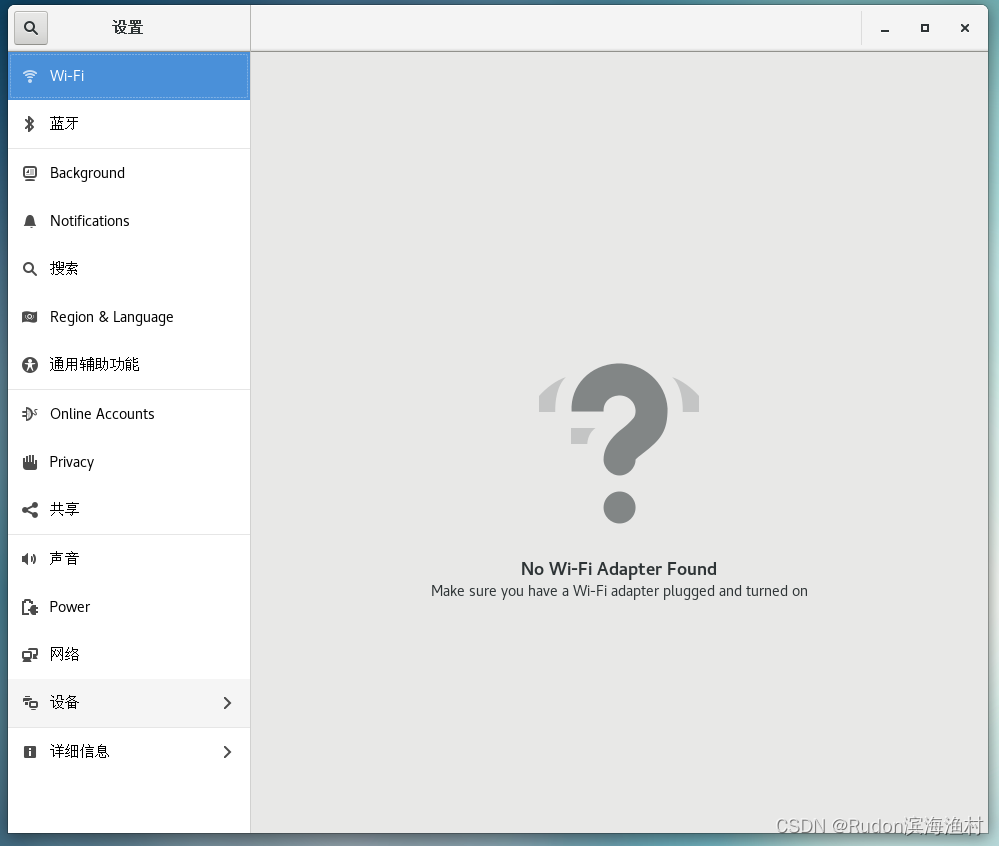
1. 打开系统设置 & 命令行:
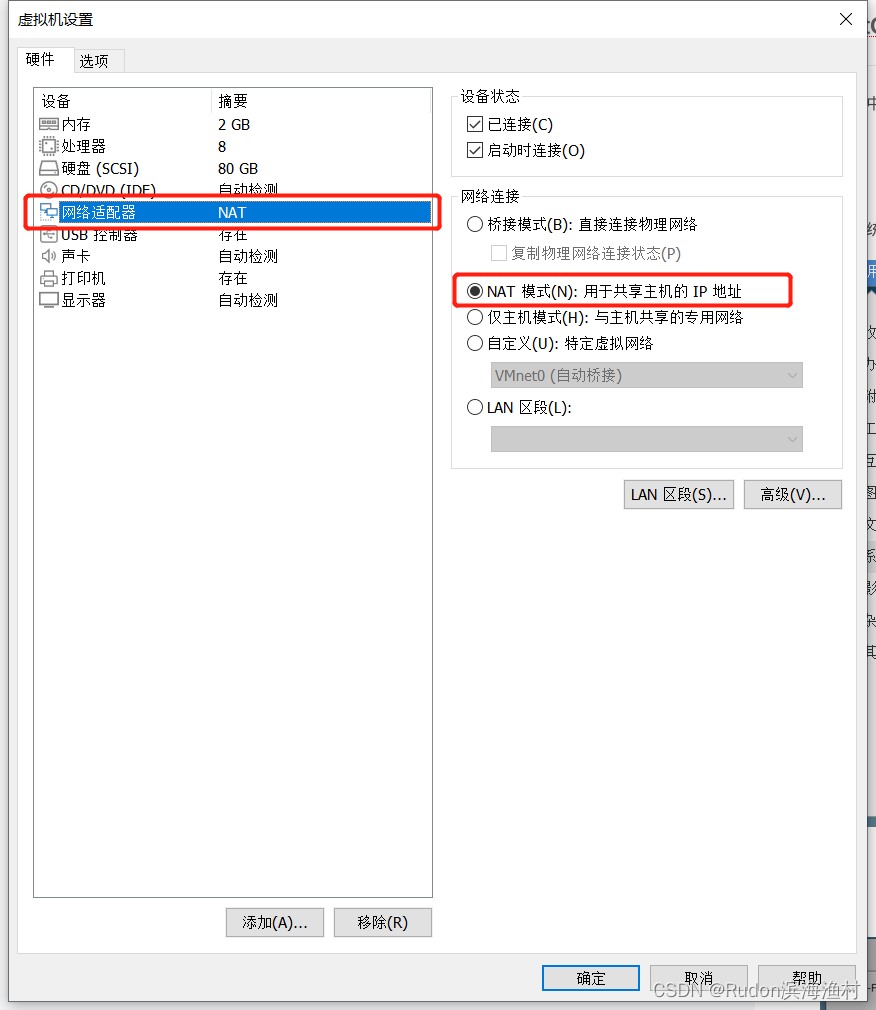
2. 虚拟机中启用CentOS网络:
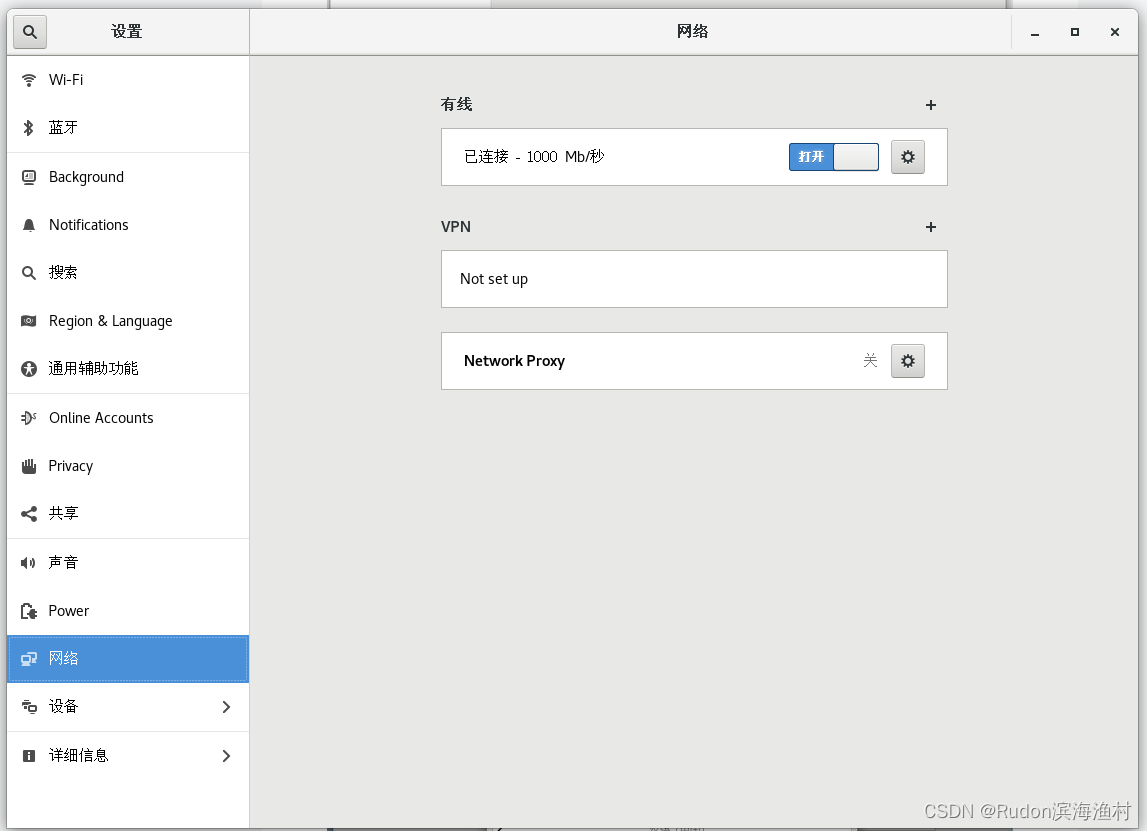
然后在CentOS系统设置中,开启有线网络:
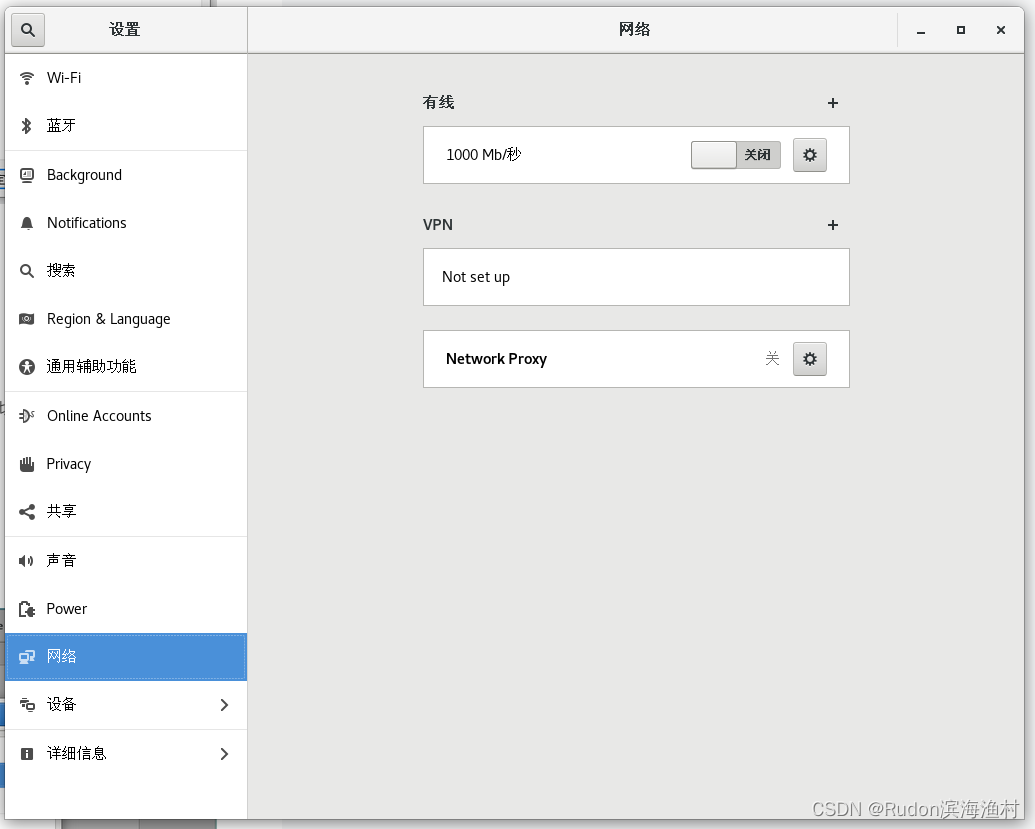
并设置为自动连接

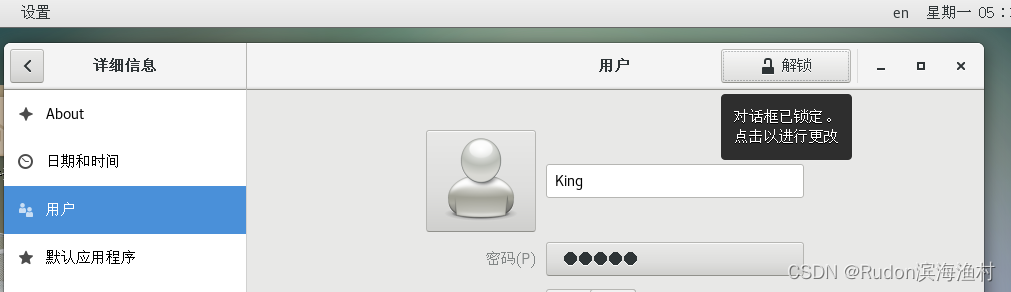
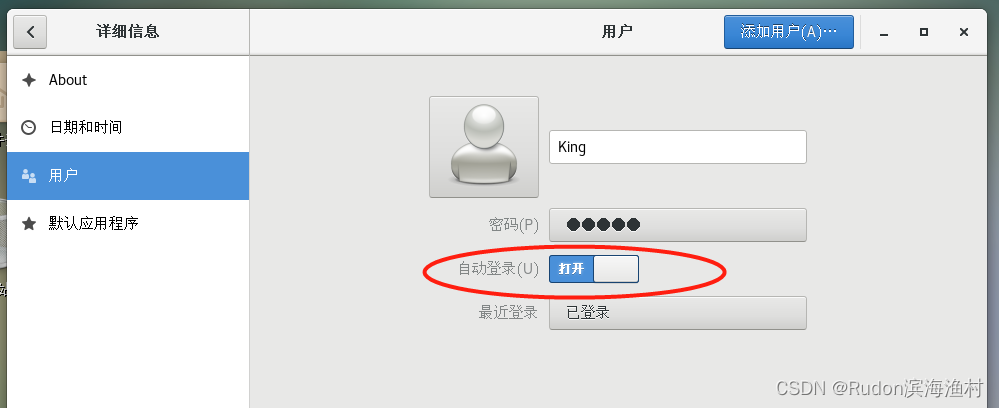
新增:设置用户自动登录(免密登录)
新增:CentOS7开机时的菜单选项及时间的修改 - 5秒太长改为1秒
vim /etc/default/grub
修改timeout =2
vim /boot/grub2/grub.cfg
修改以下内容中的timeout=5为timeout=1(两处),保存,重启即可
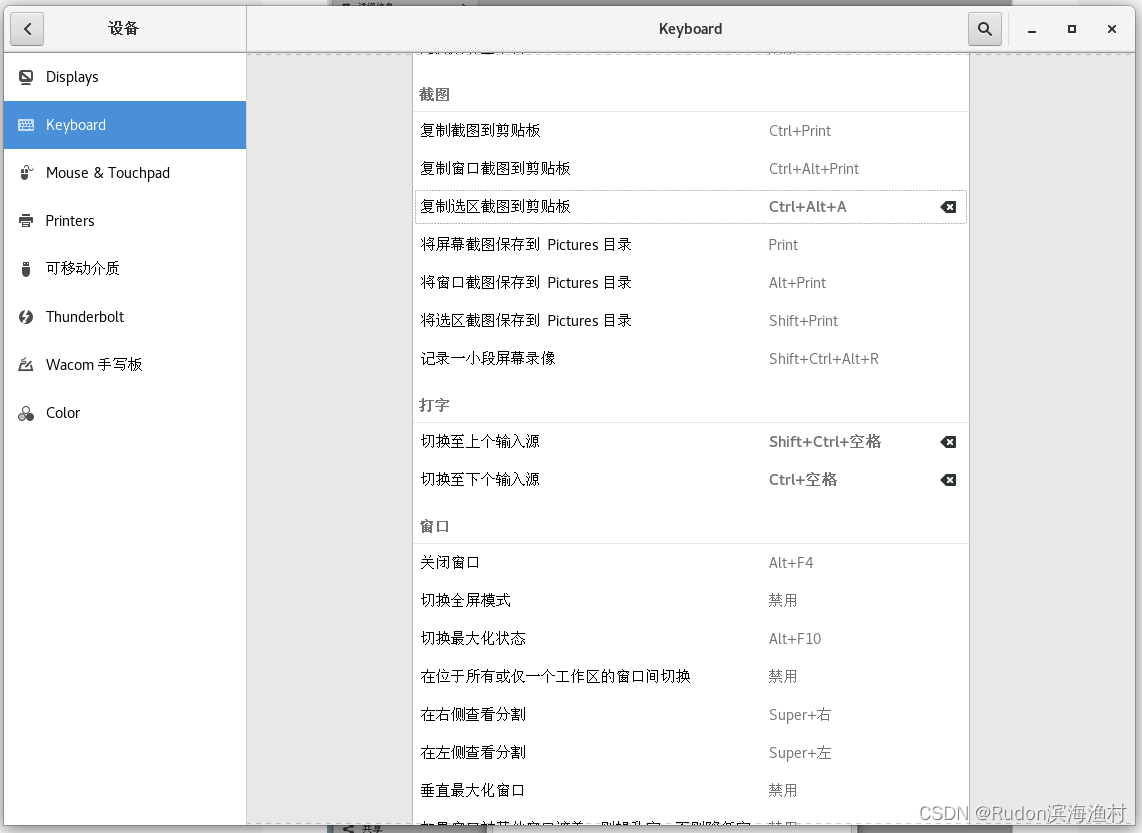
if [ x$feature_timeout_style = xy ] ; thenset timeout_style=menuset timeout=1# Fallback normal timeout code in case the timeout_style feature is# unavailable.elseset timeout=1fi3. 截图快捷键(框选截图):
默认Ctrl+Shift+Print
也可以自定义快捷键:设置》设备》Keyboard》复制选区截图到剪切版》设置快捷键
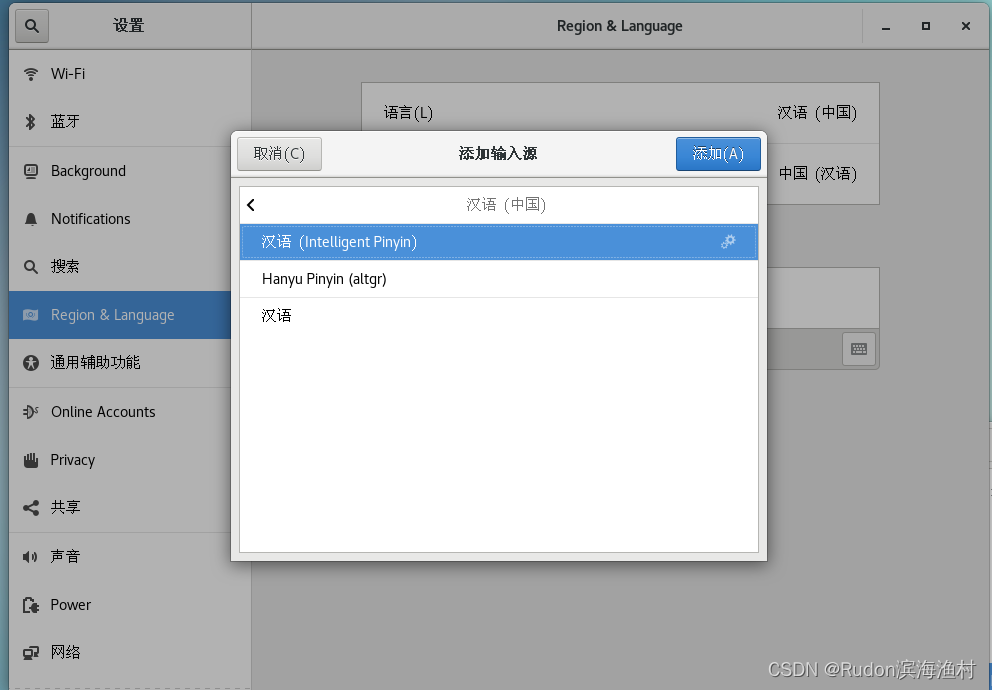
4. 添加中文输入法:
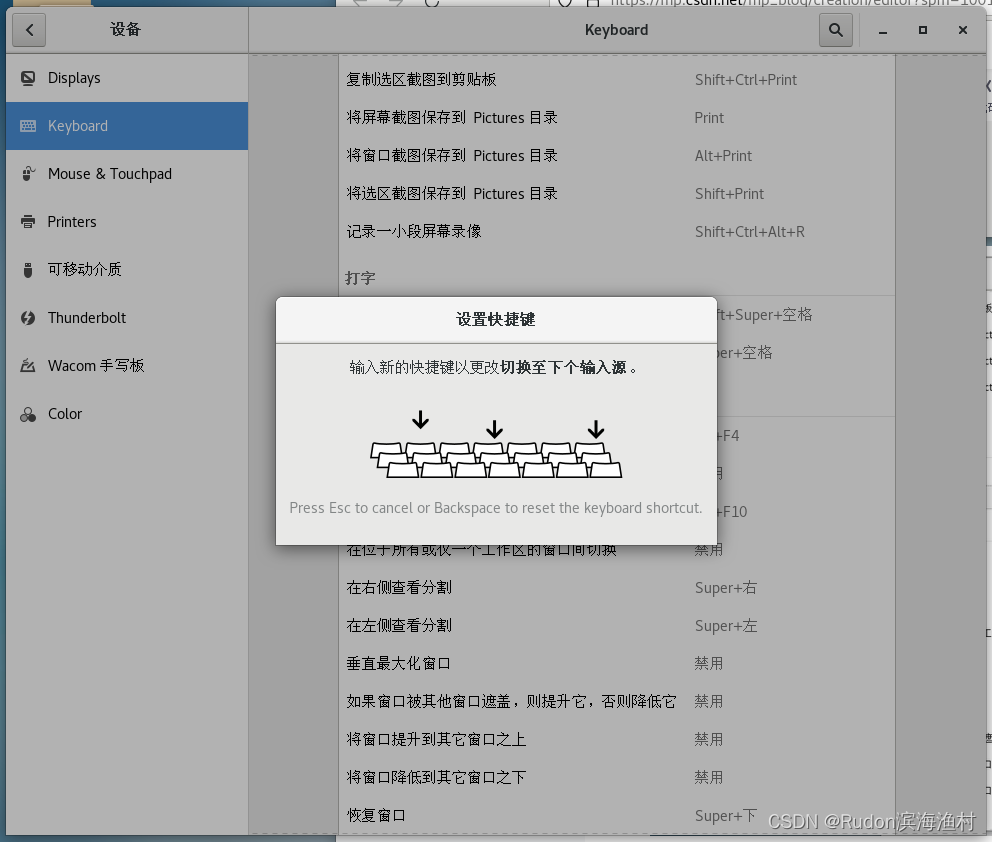
5. 添加切换输入法的快捷键:


6. 【提速】Centos7配置阿里云yum源及epel源
Centos7配置阿里云yum源及epel源_阿里yum源_WaiSaa的博客-CSDN博客全称“Yellow dog Updater, Modified”,是一个专门为了解决包的依赖关系而存在的软件包管理器。就好像 Windows 系统上可以通过 360 软件管家实现软件的一键安装、升级和卸载,Linux 系统也提供有这样的工具,就是 yum;当然除了这种可自动安装软件包(自动解决包之间依赖关系)的安装方式,还可以使用 SRPM 源码包和 RPM 二进制包安装软件,但这两种方法都比较繁琐,需要手动解决包之间具有依赖性的问题,尤其是库文件依赖,需要自行去网站上查找相关的 RPM 包;https://blog.csdn.net/qq_42761569/article/details/128543321
7. CentOS美化
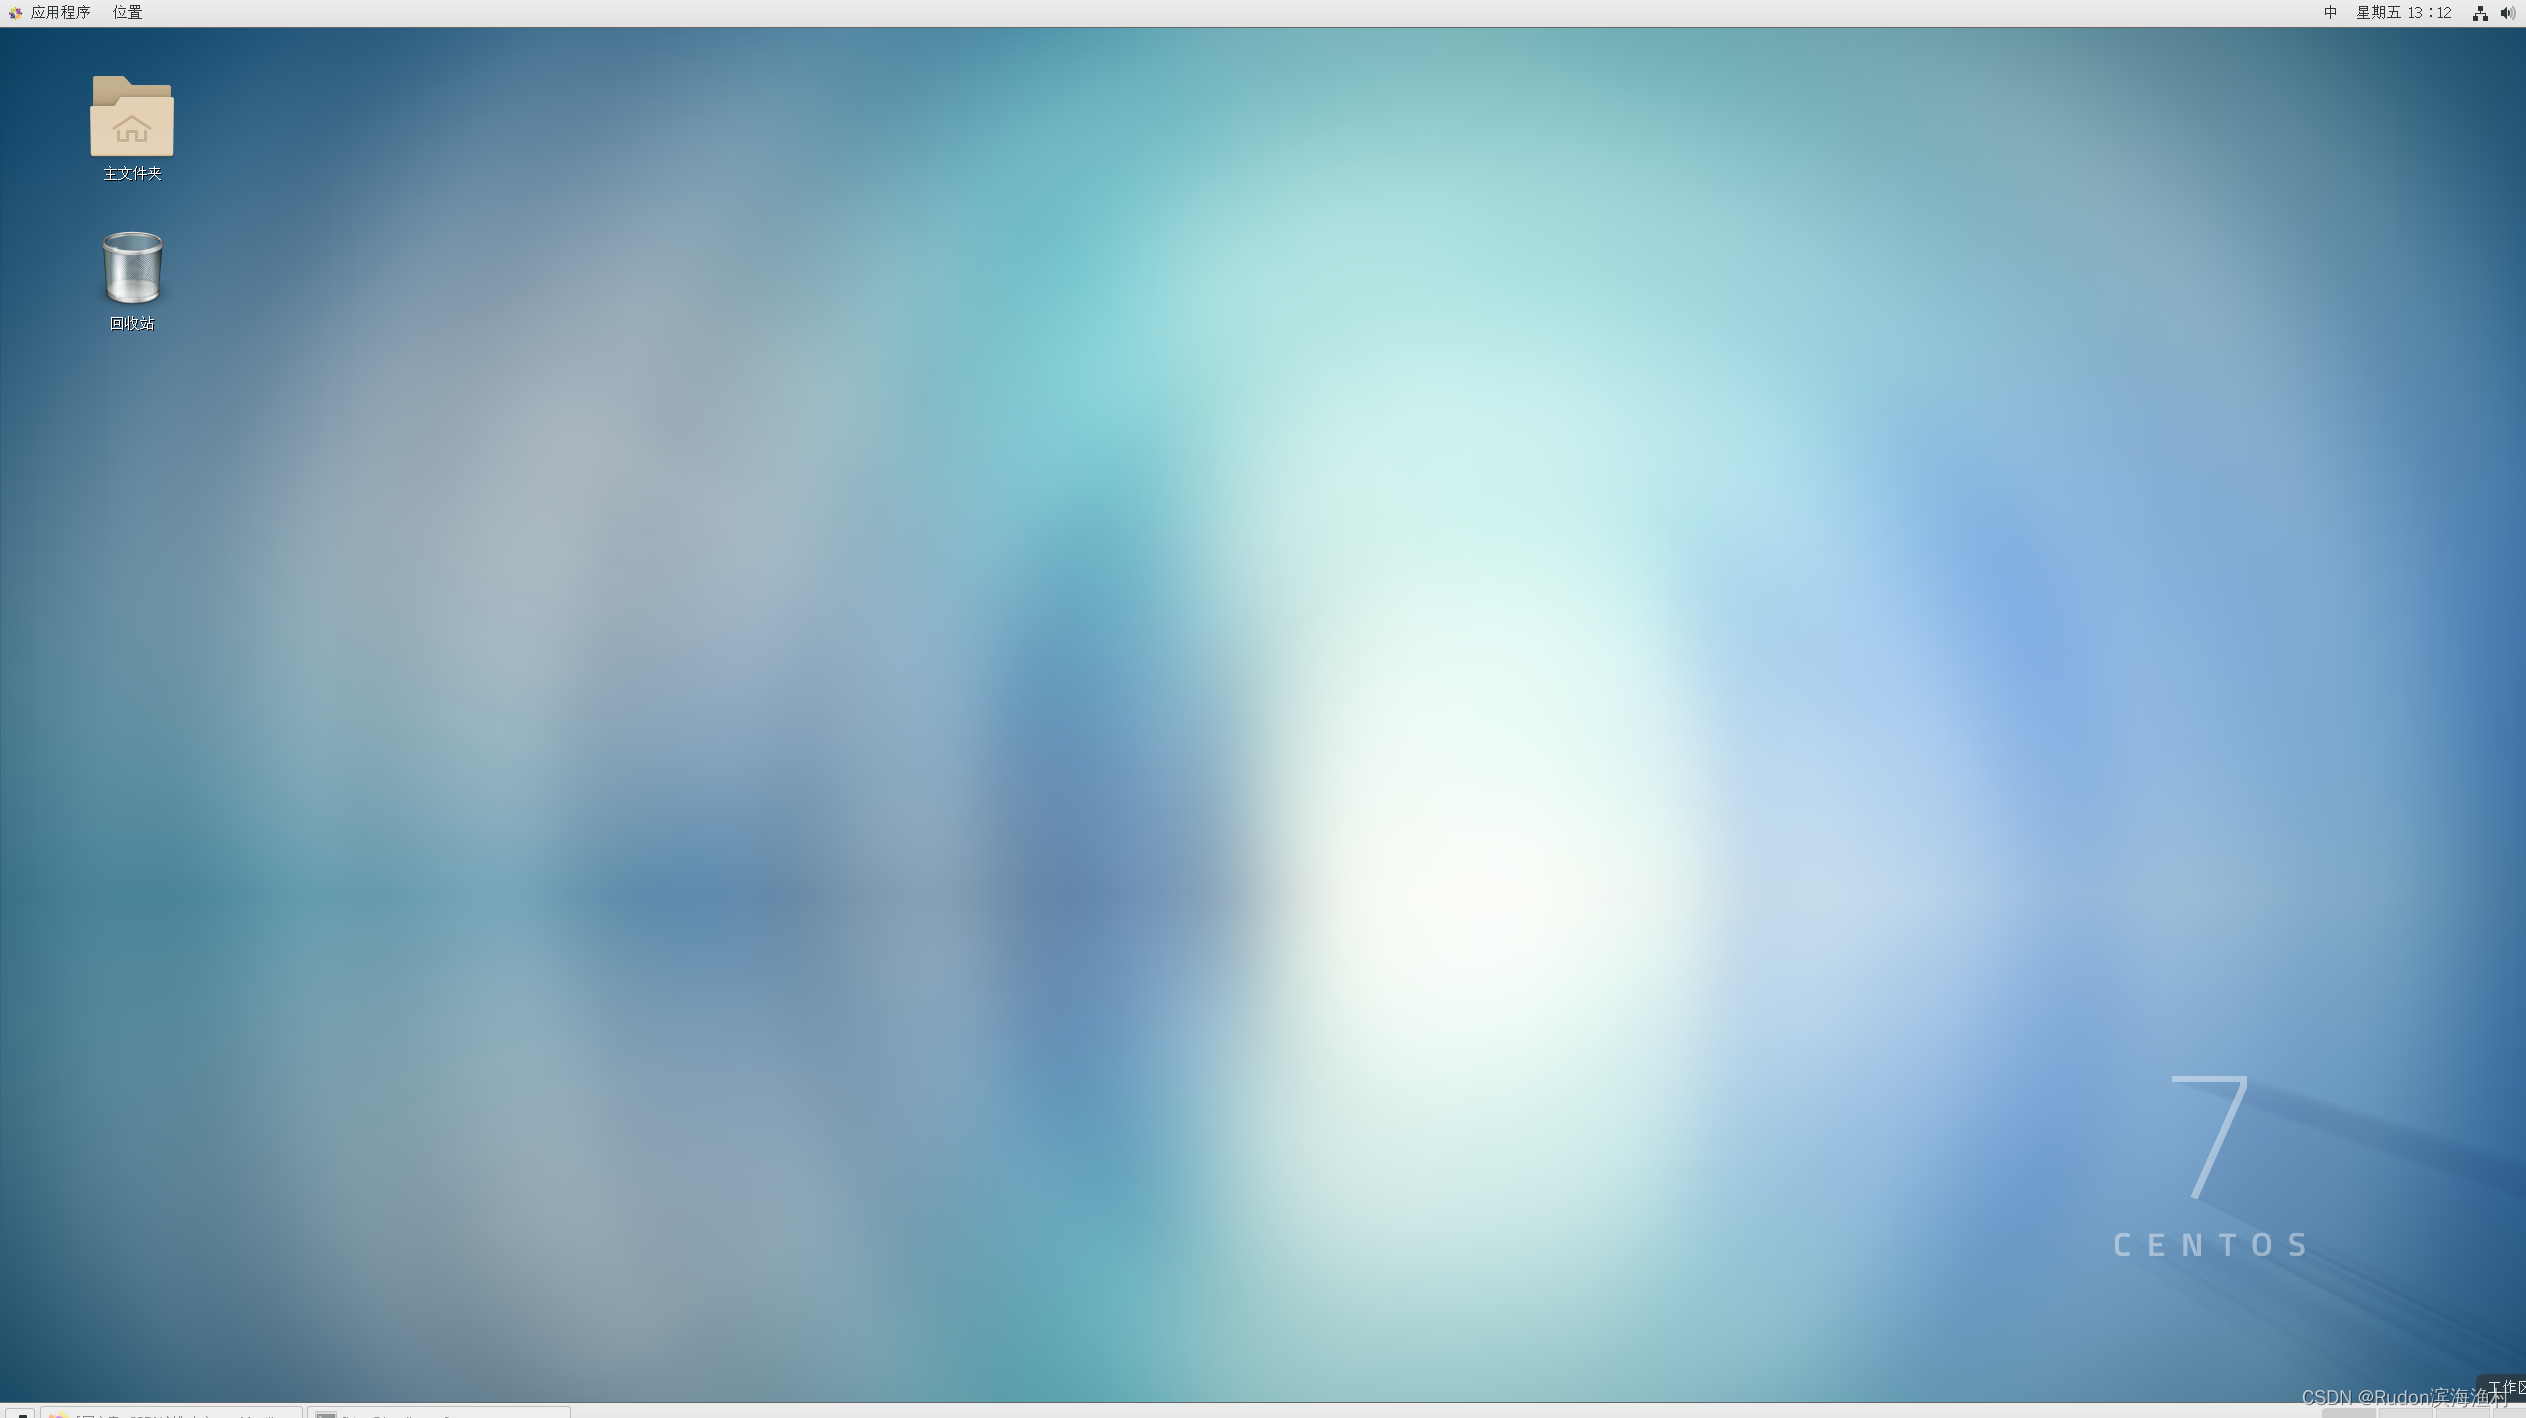
原桌面
优化后

步骤:
0) CentOS 7 安装Dash to Dock https://blog.csdn.net/ciji4412/article/details/100594258 重启
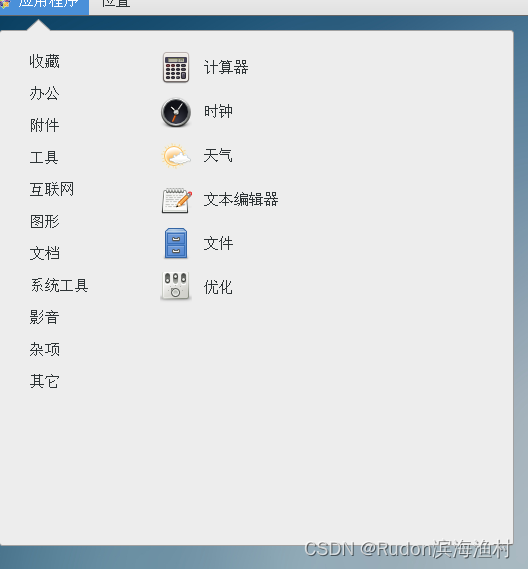
1) 开始》附件》优化
2) 参考 https://blog.csdn.net/qq_43412080/article/details/126811910 安装更多主题,在优化中选择其他主题即可
3) 其他更多主题 Gnome-look.org
8. 设置CentOS 7 用户密码长度限制为1位 --- 最新版使用pam_pwquality.so
参考: Linux(Centos7)取消密码复杂度及长度限制
https://blog.csdn.net/hu1010037197/article/details/120098683
具体步骤:
1)sudo nano /etc/pam.d/system-auth
2)找到包含“pam_pwquality.so”的行
3)在默认添加 空格+“minlen=1”
4)保存文件
5)直接命令行修改账户密码,错误提示也不用管,一路enter:
sudo passwd 用户名
6)更复杂的密码请参考 CentOS操作系统密码复杂度策略设置_try_first_pass local_users_only_咖啡那么浓的博客-CSDN博客在CentOS 7上实现密码复杂度策略设置,主要是使用PAM pwquality模块完成1、备份原有配置文件cp /etc/pam.d/system-auth /etc/pam.d/system-auth.bak2、设置复杂度策略vim /etc/pam.d/system-auth找到包含pam_pwquality.so模块的行,将原有行注释并修改为如下的新配置,密码长度最少12位,至少包含一个大写字母,一个小写字母,一个数字,一个特殊符号。password requisitehttps://blog.csdn.net/ywd1992/article/details/107831661
9. CentOS Docker初体验
1)什么是Docker?
https://cloud.tencent.com/developer/article/2085968
2)Docker 架构:
镜像(Image)-- 容器(Container) -- 仓库(Repository)
镜像=类,容器=new 类(), 仓库=git repo
3)设置稳定的仓库 -- 阿里云
sudo yum-config-manager \\--add-repo \\http://mirrors.aliyun.com/docker-ce/linux/centos/docker-ce.repo4)先卸载Docker,再安装最新版Docker,参考
Docker在centos7上安装升级卸载操作指导_centos7 docker卸载和升级安装_夜月鸿影的博客-CSDN博客Docker在centos7操作系统上安装升级卸载docker的操作指导https://blog.csdn.net/qq_34533957/article/details/125249387
具体:
uname -a
sudo yum remove docker  docker-common docker-selinux docker-engine
sudo yum install -y yum-utils device-mapper-persistent-data lvm2
sudo yum-config-manager --add-repo https://download.docker.com/linux/centos/docker-ce.repo
sudo yum install docker-ce
sudo systemctl enable docker
sudo systemctl start docker
sudo systemctl status docker
sudo docker version
其中CE代表免费的社区版,EE代表企业版。
5)预防DNS解析问题,导致docker pull镜像失败并报错:
“Error response from daemon: Head "https://registry-1.docker.io/v2/library/nginx/manifests/latest": dial tcp: lookup registry-1.docker.io on 192.168.xx.xx:53: no such host”:
>> 先设置docker的国内源,修改(或者新建文件)/etc/docker/daemon.json:
{"registry-mirrors":["https://docker.mirrors.ustc.edu.cn"]
}
>> 再重启docker:
sudo systemctl daemon-reload
sudo systemctl restart docker
>> 然后添加万能的DNS解析服务器,修改/etc/resolv.conf,注释掉原来的“nameserver 192.168.100.2”,添加:
nameserver 114.114.114.114
nameserver 8.8.8.8
>> 最后手动解析域名“registry-1.docker.io”的IP,把这个IP绑定关系写到/etc/host
dig @114.114.114.114 registry-1.docker.io# 在结果中找到“ANSWER SECTION”部分的IP,绑定到此域名,写入/etc/hosts
# 例如:
# ;; ANSWER SECTION:
# registry-1.docker.io.	124	IN	A	18.215.138.58
# registry-1.docker.io.	124	IN	A	52.1.184.176
# registry-1.docker.io.	124	IN	A	34.194.164.123
# 那么写入的绑定关系写为:“18.215.138.58 registry-1.docker.io”vim /etc/hosts
# 增加以下一行内容
18.215.138.58 registry-1.docker.io
# 保存,ok!
感谢:
docker拉取镜像时报错:docker: Error response from daemon: Get “https://registry-1.docker.io/v2/“: dial tcp:_王祺灏的博客-CSDN博客错误信息:docker: Error response from daemon: Get "https://registry-1.docker.io/v2/": dial tcp: lookup registry-1.docker.io on 192.168.100.2:53: server misbehaving.https://blog.csdn.net/qq_47354826/article/details/129090363
Docker拉取镜像失败报错Error response from daemon: Get https://registry-1.docker.io解决办法_Java高知社区的博客-CSDN博客我们docker安装mysql拉取镜像docker pull mysql:5.7 时报以下错误:[root@localhost ~]# docker pull mysql:5.7 Error response from daemon: Get https://registry-1.docker.io/v2/library/mysql/manifests/5.7: Get ht...https://blog.csdn.net/tjcyjd/article/details/105742086
【问题解决】Error response from daemon: Head https://registry-1.docker.io/v2/_JavonPeng的博客-CSDN博客Error response from daemon: Head https://registry-1.docker.io/v2/...: Get https://auth.docker.io/token?scope=repository%3Aespressif%2Fidf%3Apull&service=registry.docker.io: net/http: TLS handshake timeouthttps://blog.csdn.net/p1279030826/article/details/126186916
6)更多命令:
设置为开机启动
sudo systemctl enable docker启动
sudo systemctl start docker查看启动状态
sudo systemctl status docker查看版本
sudo docker version7)Docker 镜像库
https://hub.docker.com/
10. Docker安装 LNMP (Linux+Nginx+MySQL+PHP)
Docker 安装 Nginx
https://www.runoob.com/docker/docker-install-nginx.html
Docker 安装 PHP
https://www.runoob.com/docker/docker-install-php.html
Docker 安装 MySQL
https://www.runoob.com/docker/docker-install-mysql.html