从Vue2到Vue3的差别学习升级

目录
1 从data,methods到setup
超级NB的写法
2 使用props、emit和context
使用props
使用emit
3 路由变化
4 变量初始化的变化
1 从data,methods到setup
<script>
export default {components:{NPagination:NPagination,},name: "MyPaging",setup(){//基本数据类型使用ref//其他类型使用reactiveconst currentPage=ref(1);const totalCount=ref(100);const pageSize=ref(100)function pageF(){if (currentPage.value){alert(currentPage.value)}}return{currentPage,pageSize,totalCount,pageF,}}
}
</script>
超级NB的写法
使用标签中的setup语法糖
<script setup></script>
作用:
1 使用后,引入普通的组件无需注册组件就可以使用了
2 无需一个个返回setup中的东西了
3 无需定义暴露当前组件的名字,会默认使用当前的文件名作为暴露的组件的名字!!
<script setup>
import {NPagination} from "naive-ui"
import {ref} from "vue";
const currentPage=ref(1)
const totalCount=ref(100)
const pageSize=ref(100)
function pageF(){if (currentPage.value){alert(currentPage.value)}
}
</script>
兄弟们!!是不是吊炸天了!!!
2 使用props、emit和context
使用props
父组件
<my-paging :cs="111"></my-paging>子组件
<template><n-pagination/>
</template><script setup>
//使用props
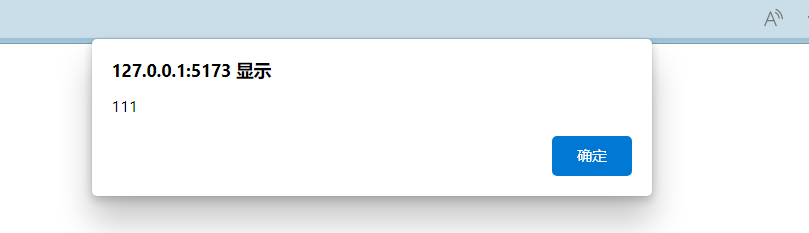
const mycs=defineProps({"cs":Number
});
alert(mycs.cs)
</script><style scoped></style>
结果:
使用emit
1 父组件
<MyPaging :cs="111" @click-page="mydata"></MyPaging><script setup>
const mydata=(data)=>{alert(data)
}
</script>
子组件
<template><div @click="ceclick()" style="width: 1000px;background-color: #fecfef;height: 1000px"/>
</template><script setup>
//使用emit
//定义emit
const myemit=defineEmits(["click-page"])
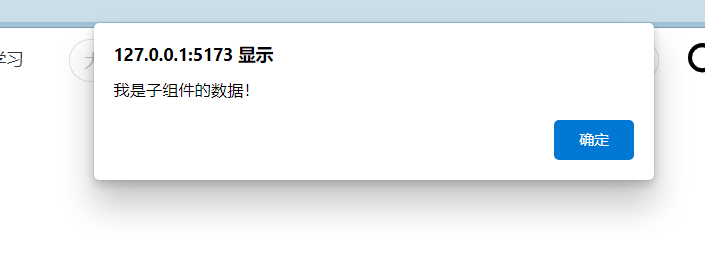
function ceclick(){myemit("click-page","我是子组件的数据!")
}
</script><style scoped></style>
效果:
3 路由变化
Vue2 路由的使用
const path = navigator.userAgent.match(/(phone|pad|pod|iPhone|iPod|ios|iPad|Android|Mobile|BlackBerry|IEMobile|MQQBrowser|JUC|Fennec|wOSBrowser|BrowserNG|WebOS|Symbian|Windows Phone)/i) ? 'mobile/' : 'pc/'
console.log(path)
export const  data={        routes: [               {                   name: "index",  path: "/",      component: MyIndex=>{require([`@/components/MyPage/${path}MyIndex`],MyIndex)},    meta: {title: "xx"}             }]
}
import VueRouter from "vue-router";
import axios from "axios";
import {data} from "@/routers/details";
//创建路由
const MyRouter = new VueRouter(data)
export default MyRouter;
Vue3中的使用:
const path = navigator.userAgent.match(/(phone|pad|pod|iPhone|iPod|ios|iPad|Android|Mobile|BlackBerry|IEMobile|MQQBrowser|JUC|Fennec|wOSBrowser|BrowserNG|WebOS|Symbian|Windows Phone)/i) ? 'mobile/' : 'pc/'
console.log(path)
export const  data={routes: [{name: "index",path: "/",component: MyIndex=>{import([`@/components/MyPage/${path}MyIndex`],MyIndex)},meta: {title: "xx"}}]
}
import VueRouter, {createRouter, createWebHistory} from "vue-router";
import axios from "axios";
import {data} from "./details";
//创建路由器
const MyRouter = createRouter({history: createWebHistory(),data
})
export default MyRouter;
主要的变化是:
1 路由创建:createRouter()({
参数
})
2 组件引入:import(xx)
4 变量初始化的变化
vue2
data(){return{name:"zs",age:12,city:{"sh":"上海","bj":"北京"}}
}
vue3
const name=ref("zs");
const age=ref(12);const city=reactive({"sh":"上海","bj":"北京"})
总结:
简单类型使用ref()初始化
复杂类型使用reactive初始化