uni-app:登录与支付--用户信息

用户信息
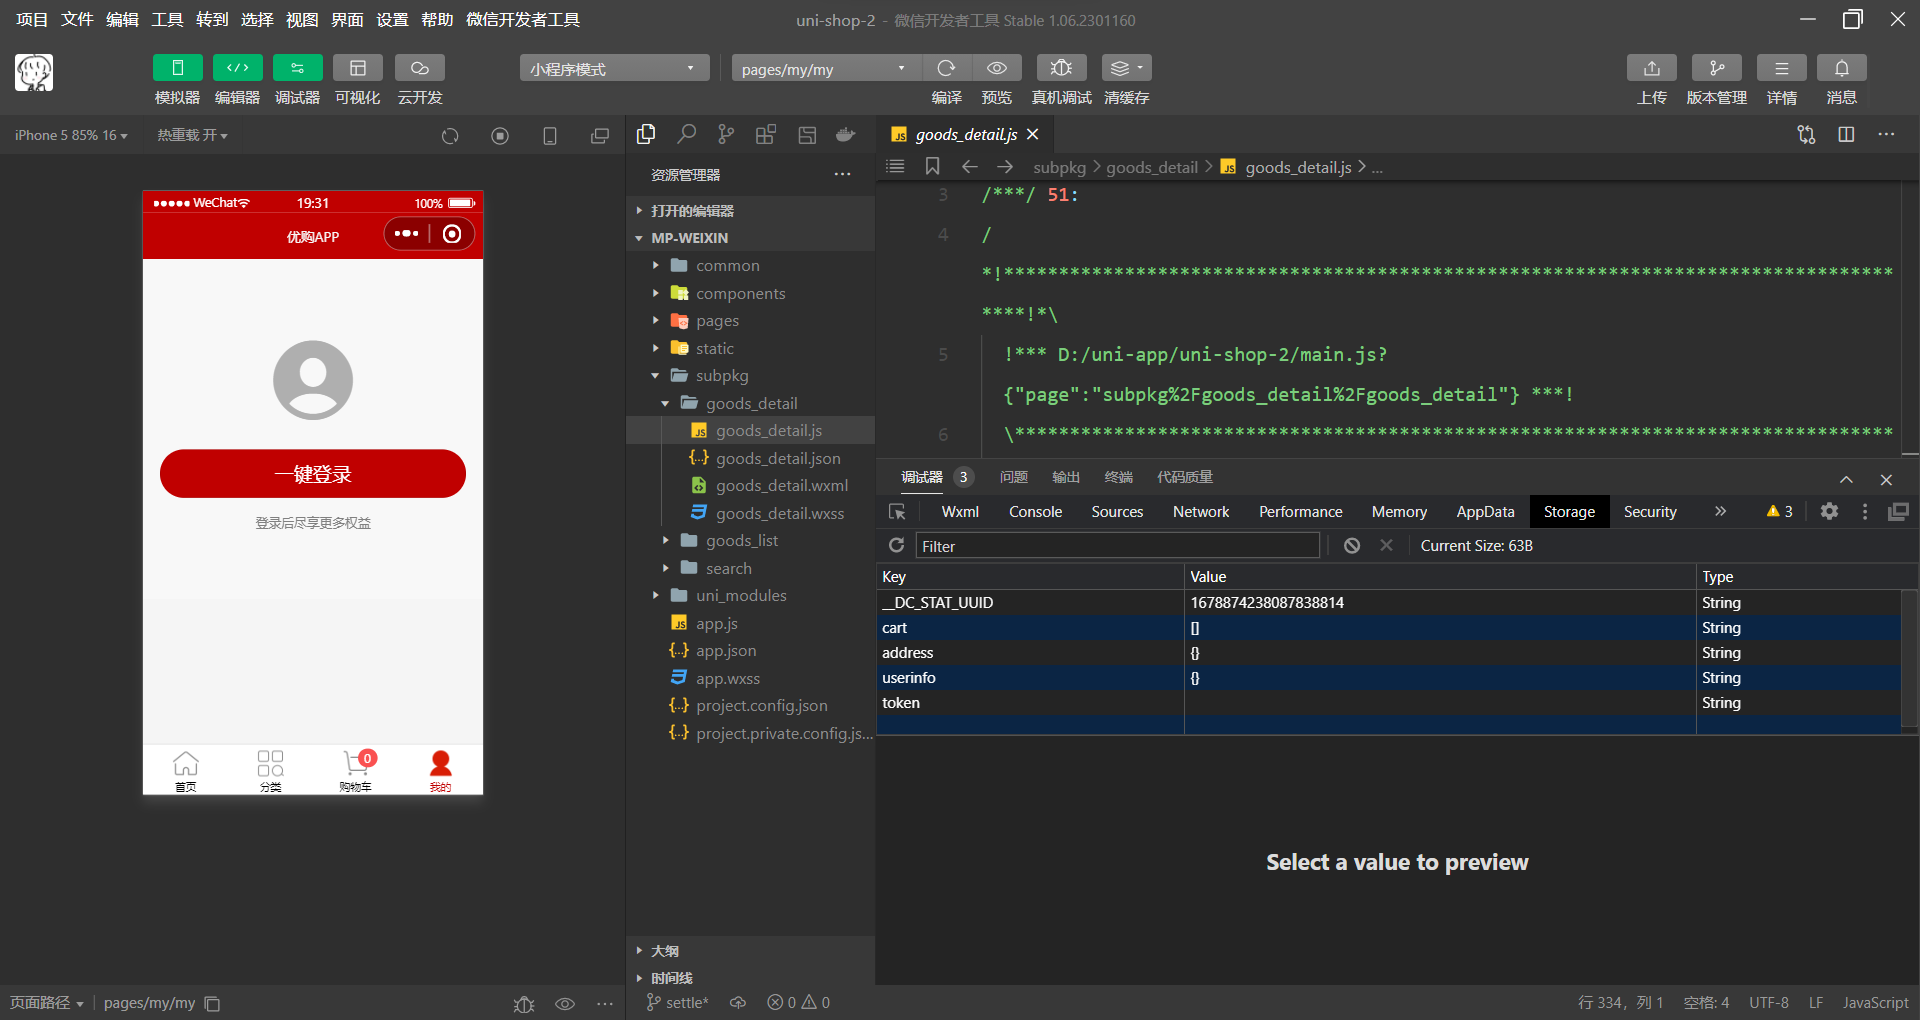
实现用户头像昵称区域的基本布局
-
在
my-userinfo组件中,定义如下的 UI 结构:
<template><view class="my-userinfo-container"><!-- 头像昵称区域 --><view class="top-box"><image src="" class="avatar"></image><view class="nickname">xxx</view></view></view>
</template>
美化当前组件的样式:
.my-userinfo-container {height: 100%;// 为整个组件的结构添加浅灰色的背景background-color: #f4f4f4;.top-box {height: 400rpx;background-color: #c00000;display: flex;flex-direction: column;align-items: center;justify-content: center;.avatar {display: block;width: 90px;height: 90px;border-radius: 45px;border: 2px solid white;box-shadow: 0 1px 5px black;}.nickname {color: white;font-weight: bold;font-size: 16px;margin-top: 10px;}}
}
在 my.vue 页面中,为最外层包裹性质的 view 容器,添加 class="my-container" 的类名,并美化样式如下:
page,
.my-container {height: 100%;
}

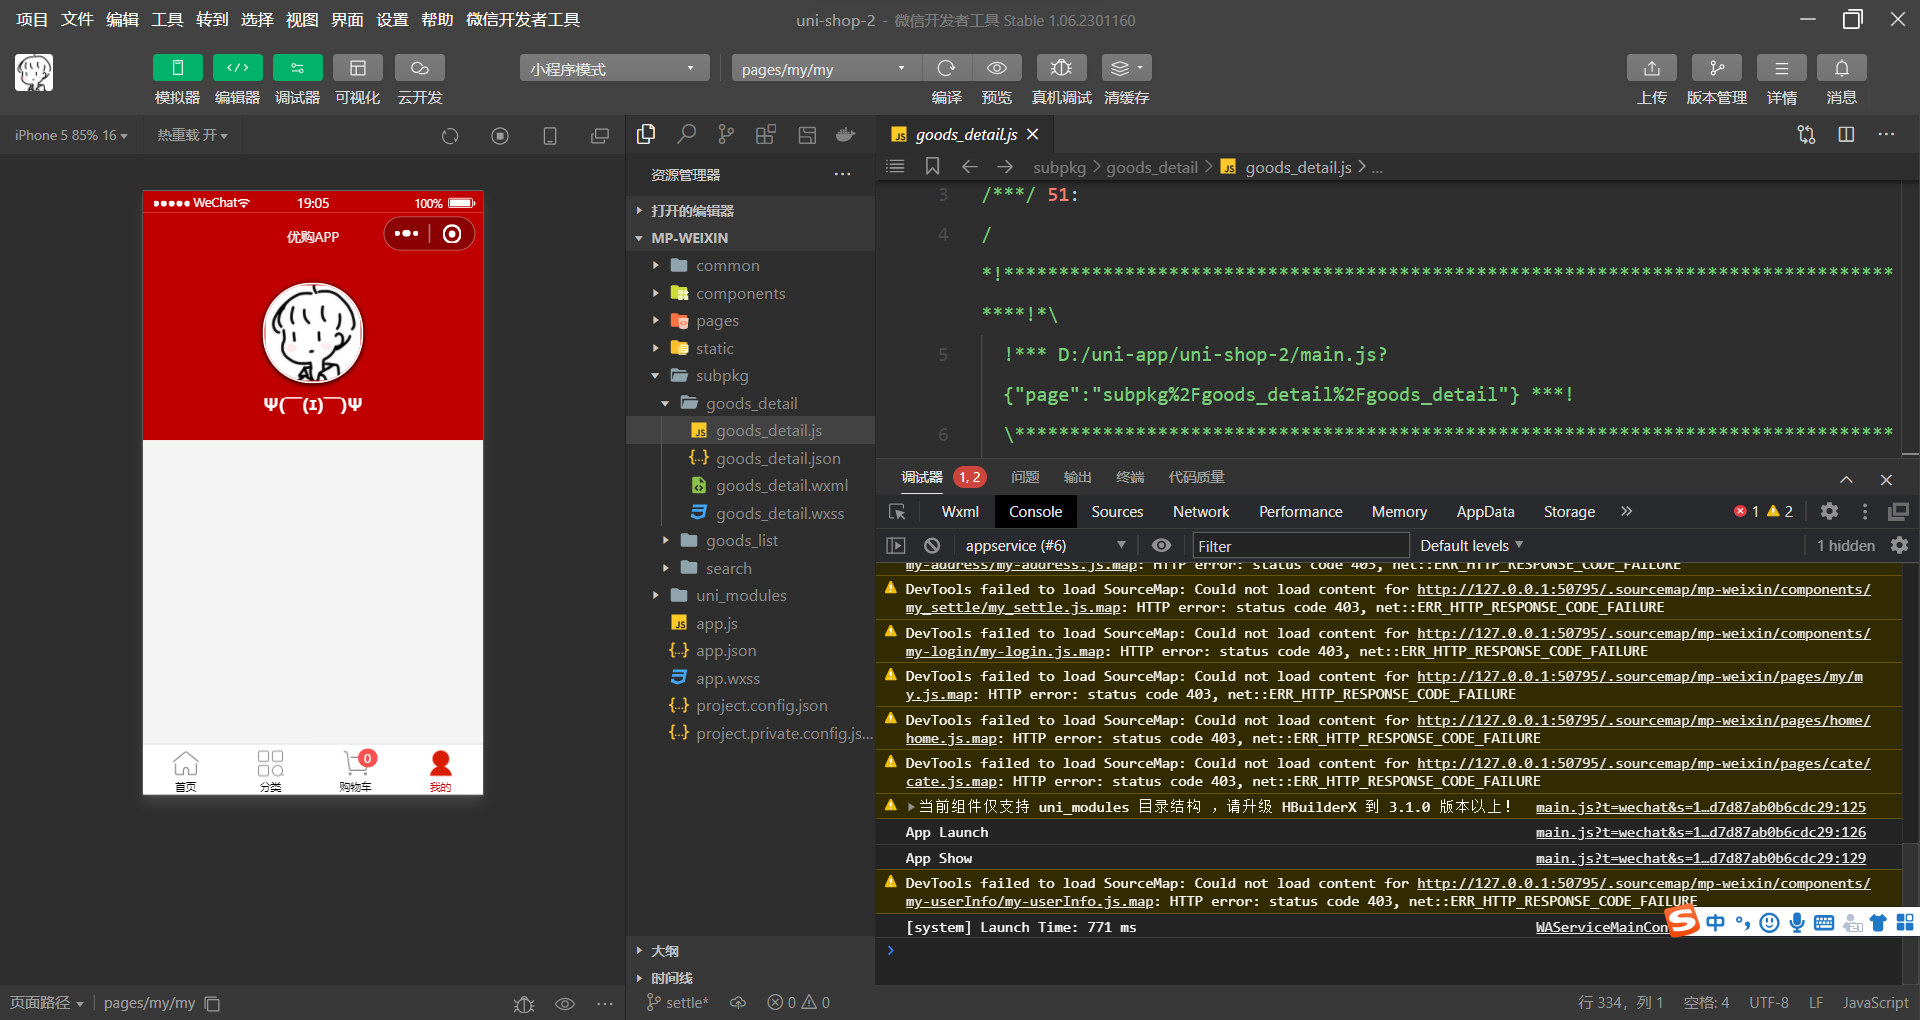
渲染用户的头像和昵称
-
在
my-userinfo组件中,通过mapState辅助函数,将需要的成员映射到当前组件中使用:
// 按需导入 mapState 辅助函数
import { mapState } from 'vuex'export default {computed: {// 将 m_user 模块中的 userinfo 映射到当前页面中使用...mapState('m_user', ['userinfo']),},data() {return {}},
}
将用户的头像和昵称渲染到页面中:
<!-- 头像昵称区域 -->
<view class="top-box"><image :src="userinfo.avatarUrl" class="avatar"></image><view class="nickname">{{userinfo.nickName}}</view>
</view>
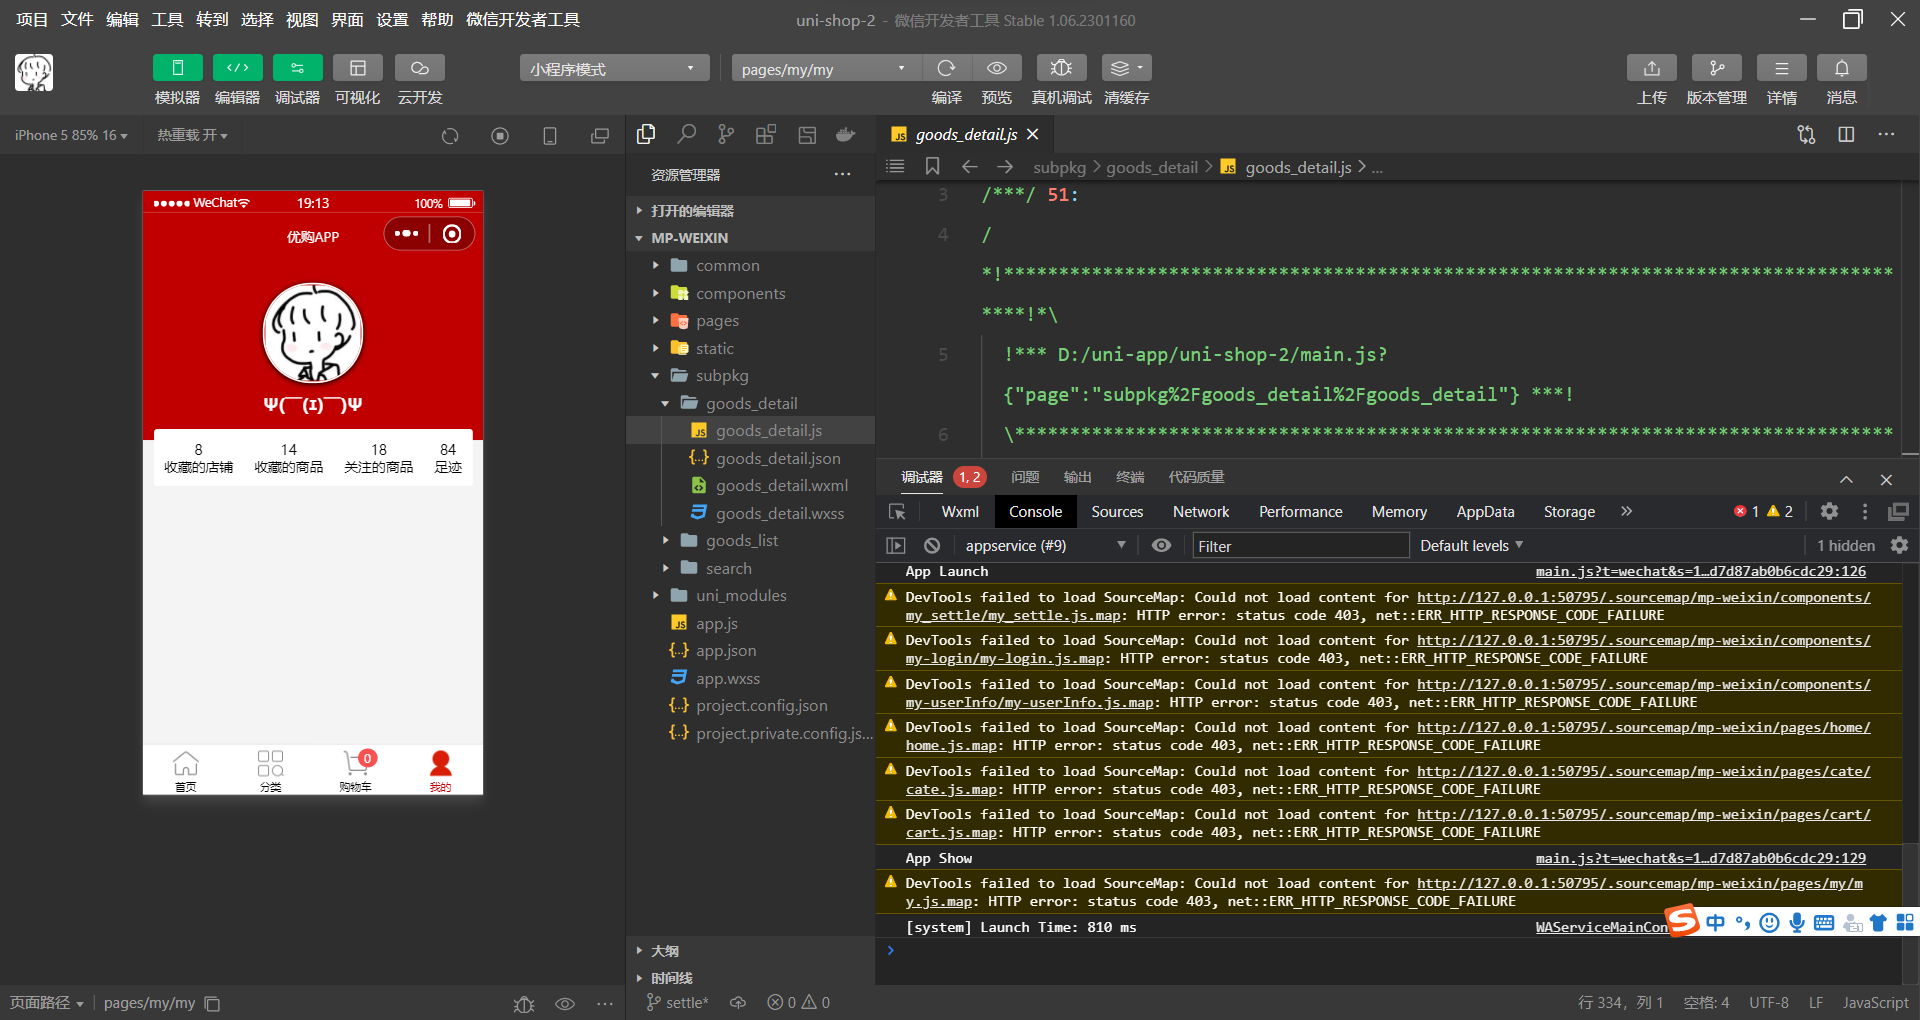
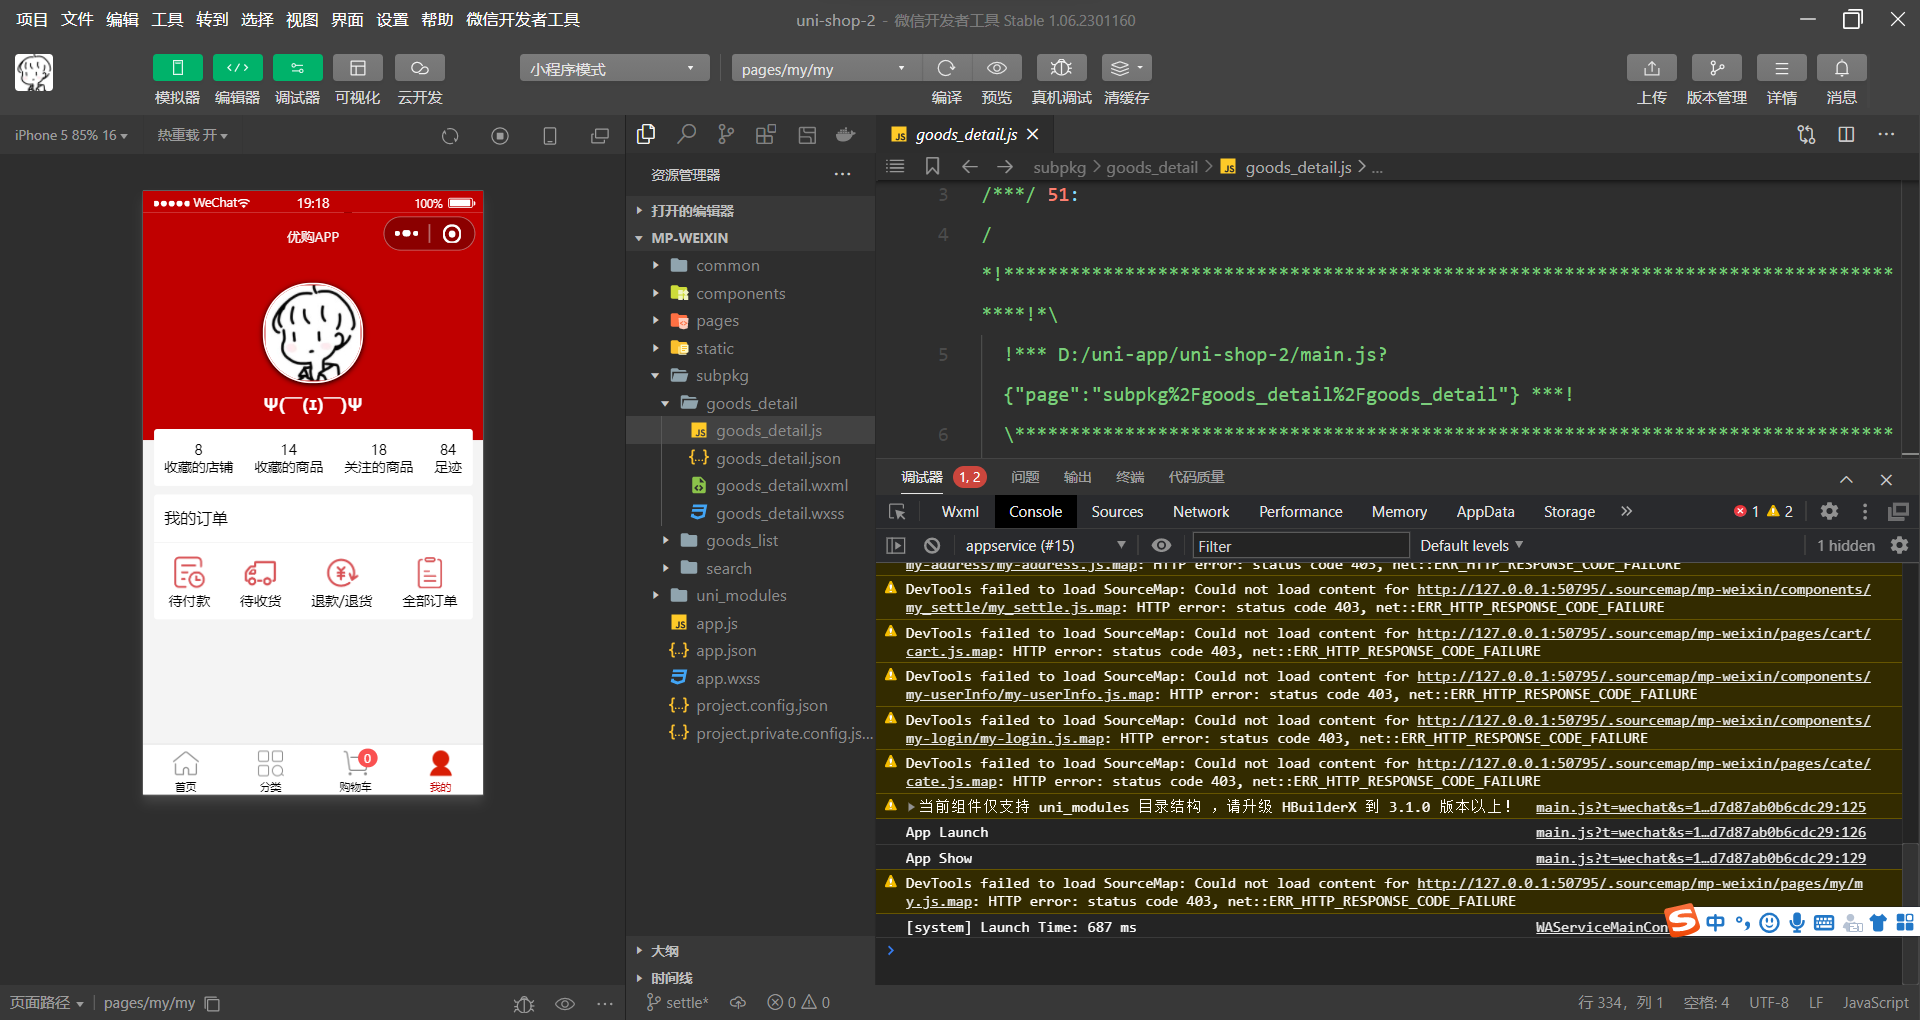
渲染第一个面板区域
在 my-userinfo 组件中,定义如下的 UI 结构:
<!-- 面板的列表区域 -->
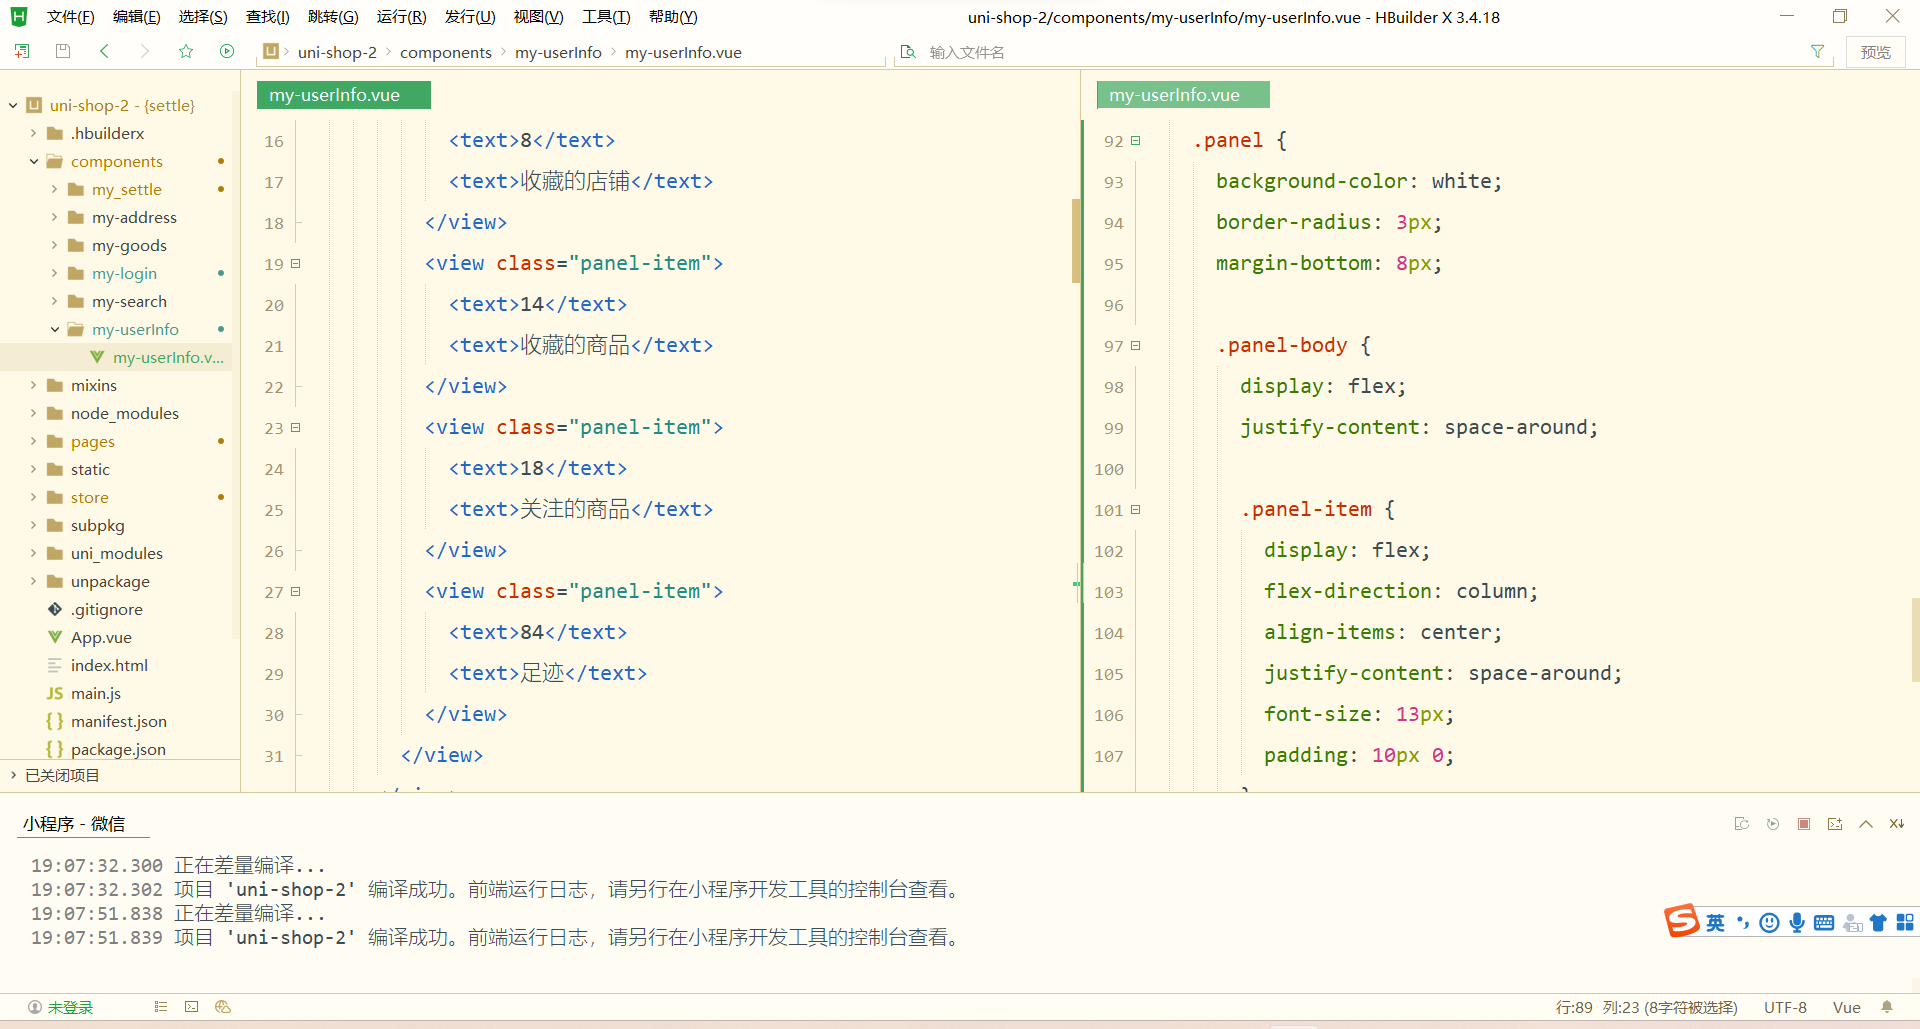
<view class="panel-list"><!-- 第一个面板 --><view class="panel"><!-- panel 的主体区域 --><view class="panel-body"><!-- panel 的 item 项 --><view class="panel-item"><text>8</text><text>收藏的店铺</text></view><view class="panel-item"><text>14</text><text>收藏的商品</text></view><view class="panel-item"><text>18</text><text>关注的商品</text></view><view class="panel-item"><text>84</text><text>足迹</text></view></view></view><!-- 第二个面板 --><!-- 第三个面板 -->
</view>美化第一个面板的样式:
.panel-list {padding: 0 10px;position: relative;top: -10px;.panel {background-color: white;border-radius: 3px;margin-bottom: 8px;.panel-body {display: flex;justify-content: space-around;.panel-item {display: flex;flex-direction: column;align-items: center;justify-content: space-around;font-size: 13px;padding: 10px 0;}}}
}
渲染第二个面板区域
-
定义第二个面板区域的 UI 结构:
<!-- 第二个面板 -->
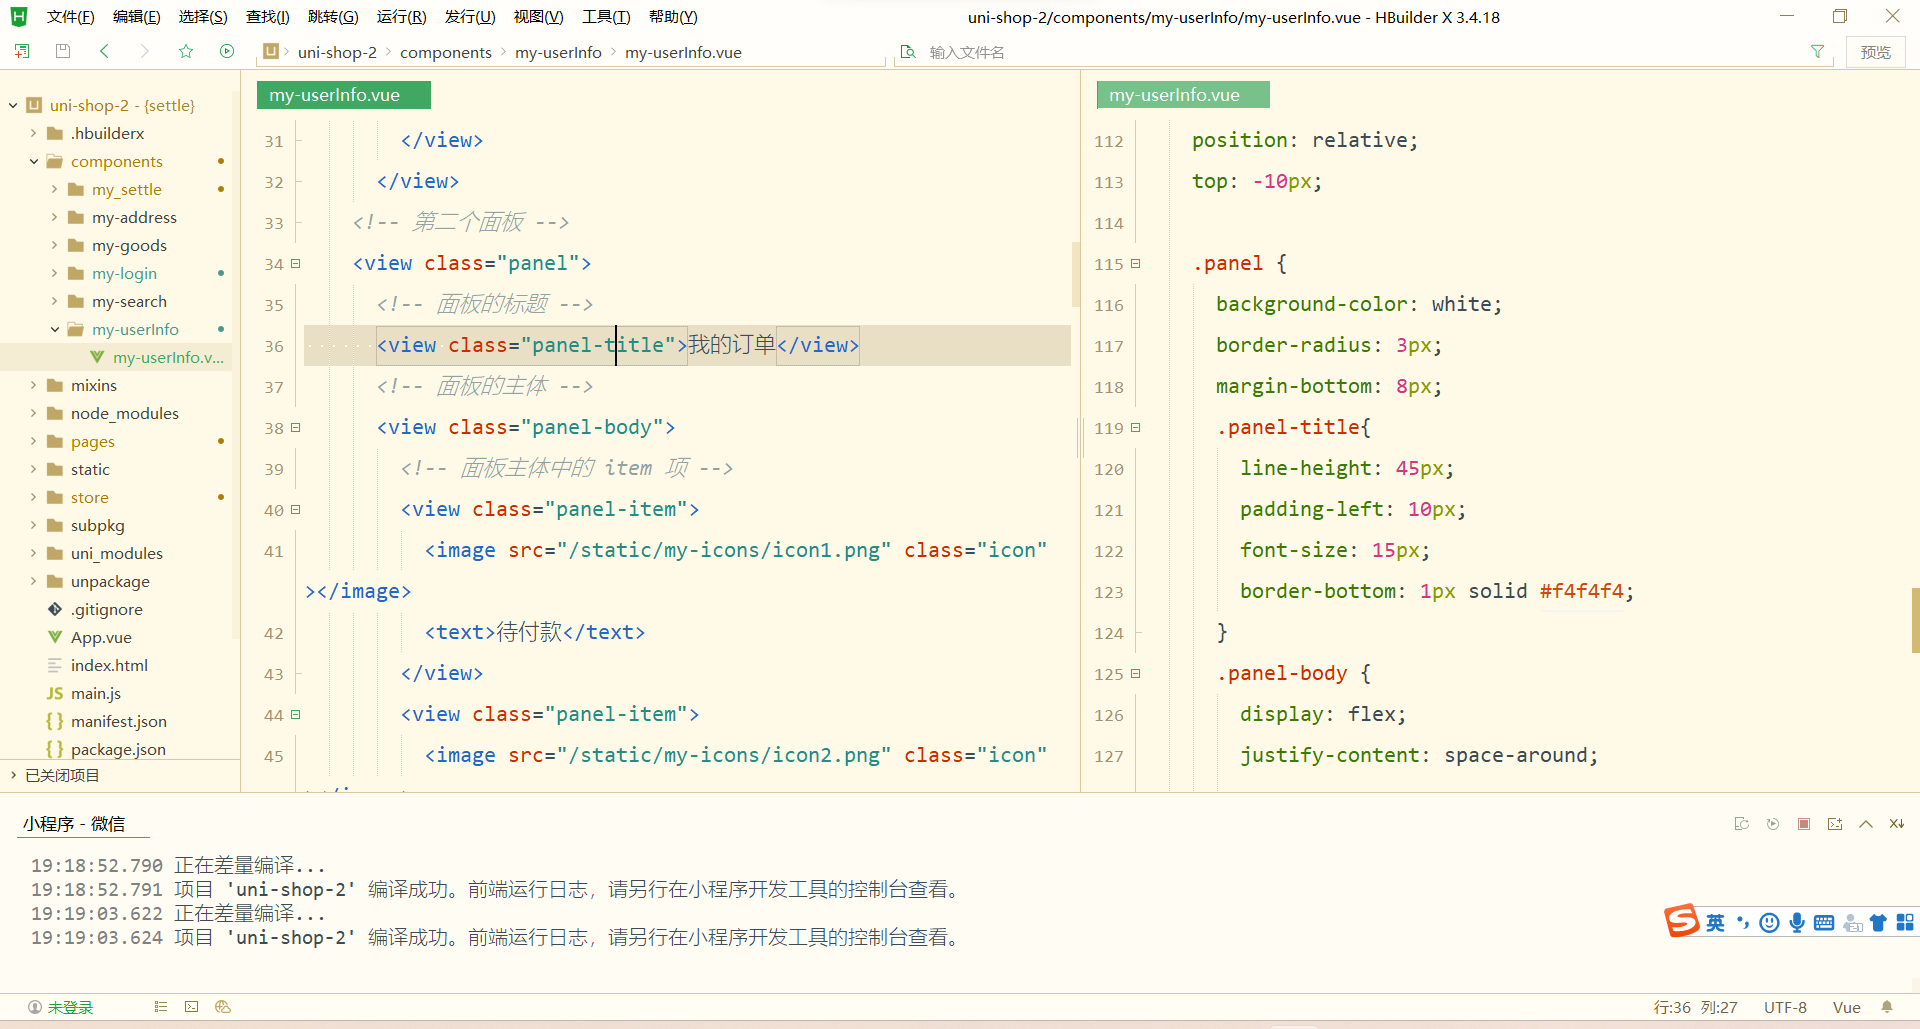
<view class="panel"><!-- 面板的标题 --><view class="panel-title">我的订单</view><!-- 面板的主体 --><view class="panel-body"><!-- 面板主体中的 item 项 --><view class="panel-item"><image src="/static/my-icons/icon1.png" class="icon"></image><text>待付款</text></view><view class="panel-item"><image src="/static/my-icons/icon2.png" class="icon"></image><text>待收货</text></view><view class="panel-item"><image src="/static/my-icons/icon3.png" class="icon"></image><text>退款/退货</text></view><view class="panel-item"><image src="/static/my-icons/icon4.png" class="icon"></image><text>全部订单</text></view></view>
</view>对之前的 SCSS 样式进行改造,从而美化第二个面板的样式:
.panel-list {padding: 0 10px;position: relative;top: -10px;.panel {background-color: white;border-radius: 3px;margin-bottom: 8px;.panel-title {line-height: 45px;padding-left: 10px;font-size: 15px;border-bottom: 1px solid #f4f4f4;}.panel-body {display: flex;justify-content: space-around;.panel-item {display: flex;flex-direction: column;align-items: center;justify-content: space-around;font-size: 13px;padding: 10px 0;.icon {width: 35px;height: 35px;}}}}
}
渲染第三个面板区域
定义第三个面板区域的 UI 结构:
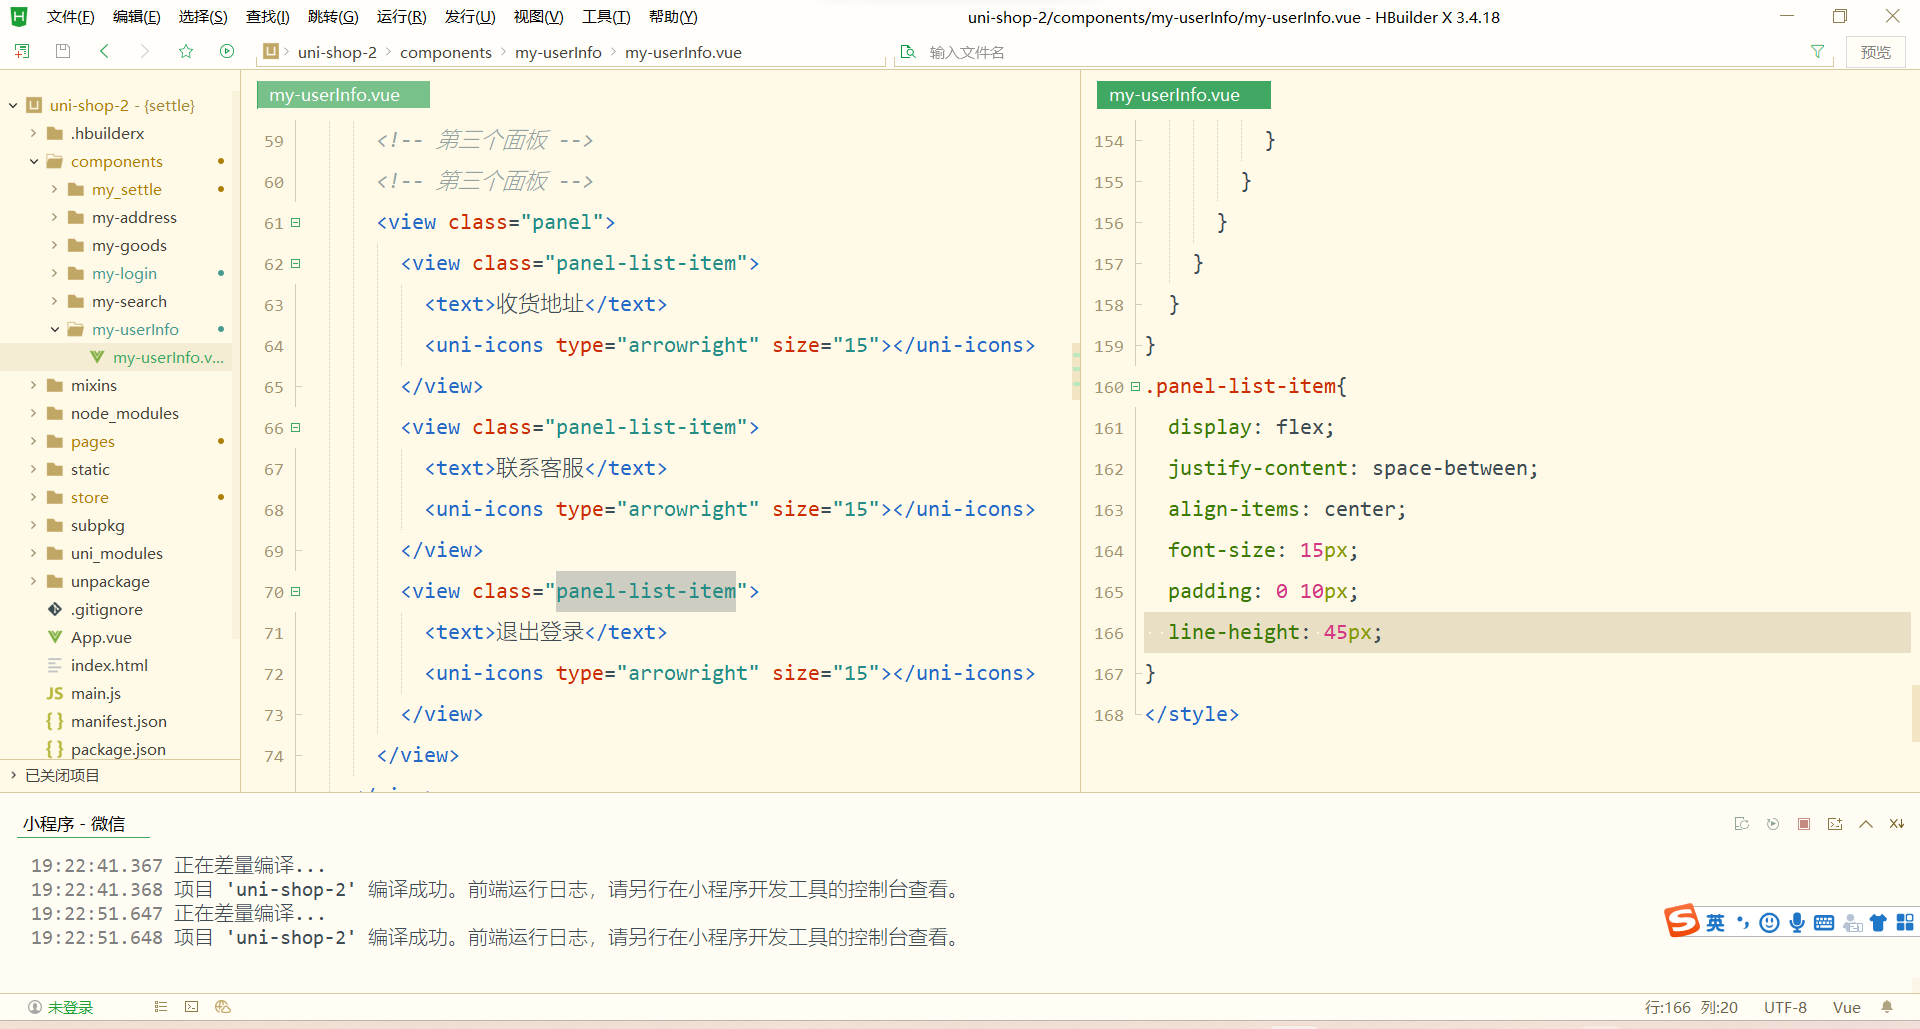
<!-- 第三个面板 -->
<view class="panel"><view class="panel-list-item"><text>收货地址</text><uni-icons type="arrowright" size="15"></uni-icons></view><view class="panel-list-item"><text>联系客服</text><uni-icons type="arrowright" size="15"></uni-icons></view><view class="panel-list-item"><text>退出登录</text><uni-icons type="arrowright" size="15"></uni-icons></view>
</view>
美化第三个面板区域的样式:
.panel-list-item {height: 45px;display: flex;justify-content: space-between;align-items: center;font-size: 15px;padding: 0 10px;
}
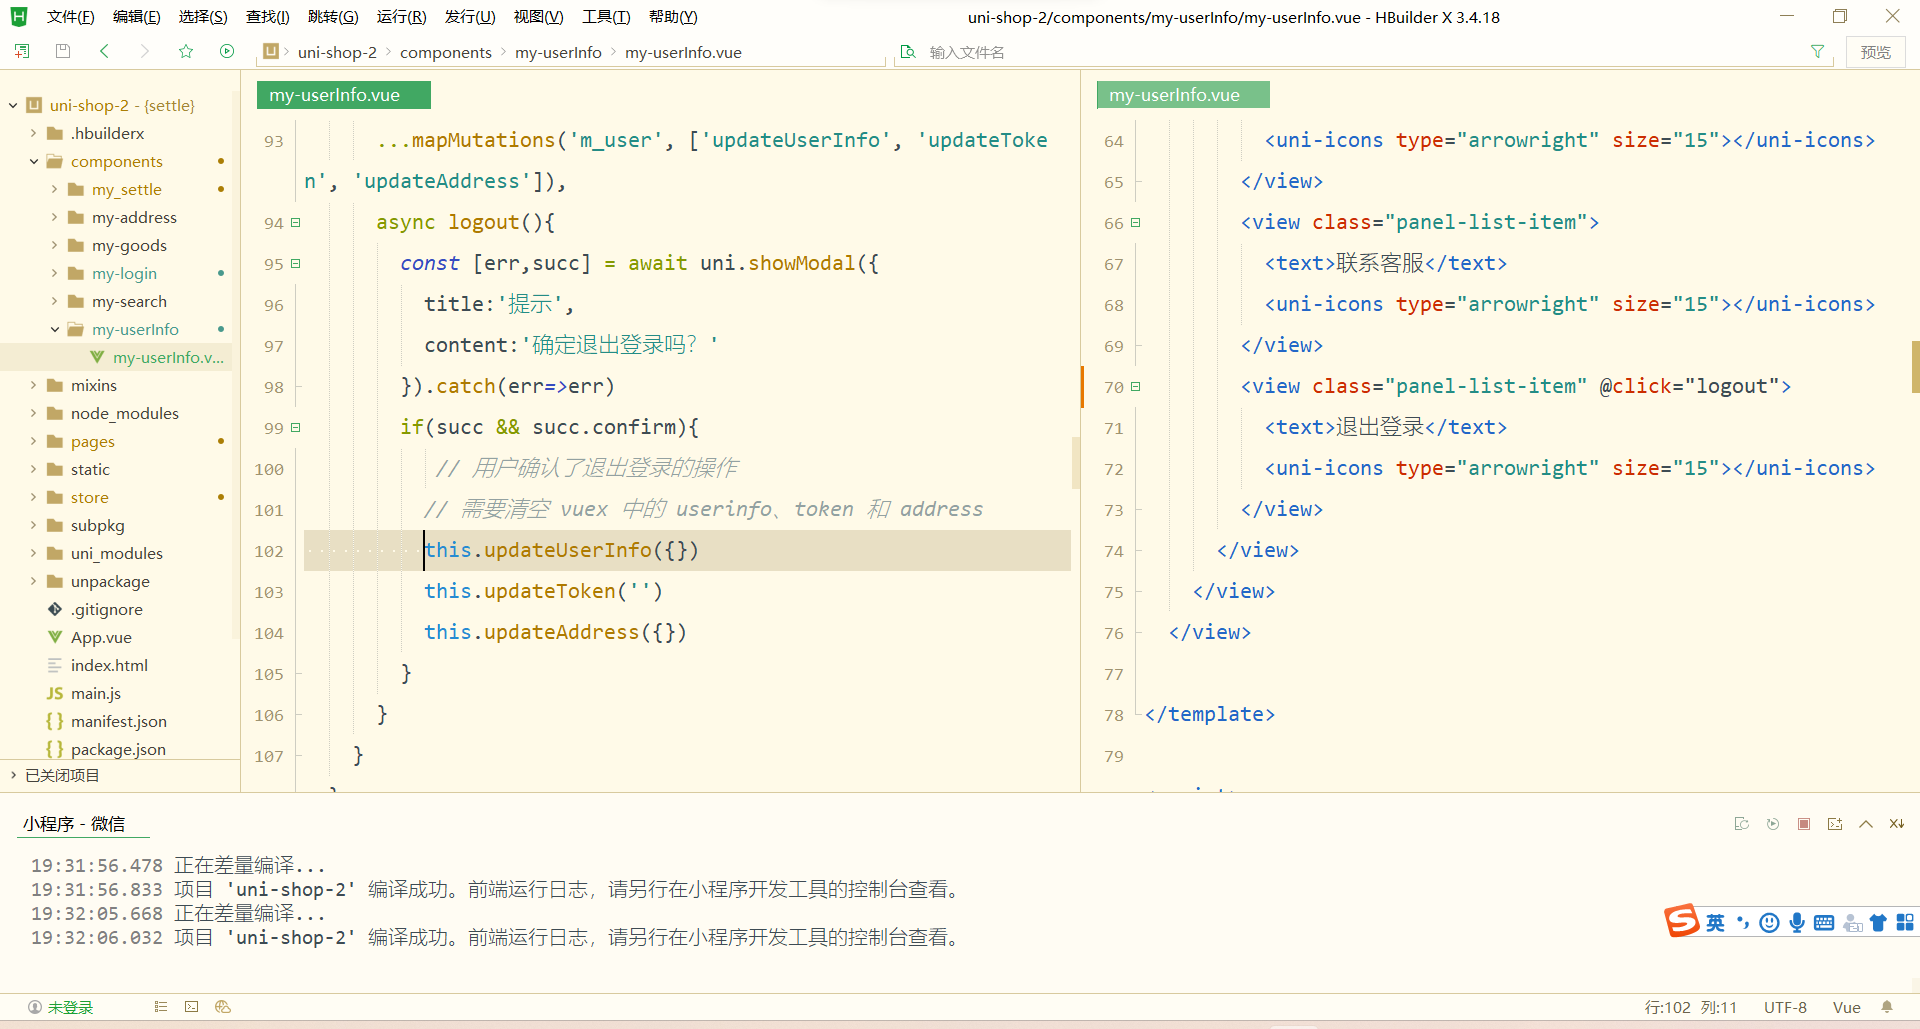
 实现退出登录的功能
为第三个面板区域中的 退出登录 项绑定 click 点击事件处理函数:
<view class="panel-list-item" @click="logout"><text>退出登录</text><uni-icons type="arrowright" size="15"></uni-icons>
</view>
在 my-userinfo 组件的 methods 节点中定义 logout 事件处理函数:
// 退出登录
async logout() {// 询问用户是否退出登录const [err, succ] = await uni.showModal({title: '提示',content: '确认退出登录吗?'}).catch(err => err)if (succ && succ.confirm) {// 用户确认了退出登录的操作// 需要清空 vuex 中的 userinfo、token 和 addressthis.updateUserInfo({})this.updateToken('')this.updateAddress({})}
}
使用 mapMutations 辅助方法,将需要用到的 mutations 方法映射到当前组件中:
// 按需导入辅助函数
import { mapState, mapMutations } from 'vuex'export default {methods: {...mapMutations('m_user', ['updateUserInfo', 'updateToken', 'updateAddress']),},
}