Jupyter notebook安装教程

文章目录
- 前言
- 一、安装步骤
-
- 1、安装 Python 编译器
- 2、安装 jupyter
- 3、运行 Jupyter notebook
- 二、 更改打开文件位置和快捷启动方式
-
- 1、更改打开文件位置
- 2、创建快捷启动方式
前言
Jupyter Notebook 是以网页的形式打开,可以在网页页面中直接编写代码和运行代码,代码的运行结果也会直接在代码块下显示的程序。如在编程过程中需要编写说明文档,可在同一个页面中直接编写,便于作及时的说明和解释。
一、安装步骤
1、安装 Python 编译器
①、在安装Jupyter notebook 之前,确认你已安装python编译器(python官网)
打开命令行,执行:
python --version

2、安装 jupyter
pip3 install jupyter
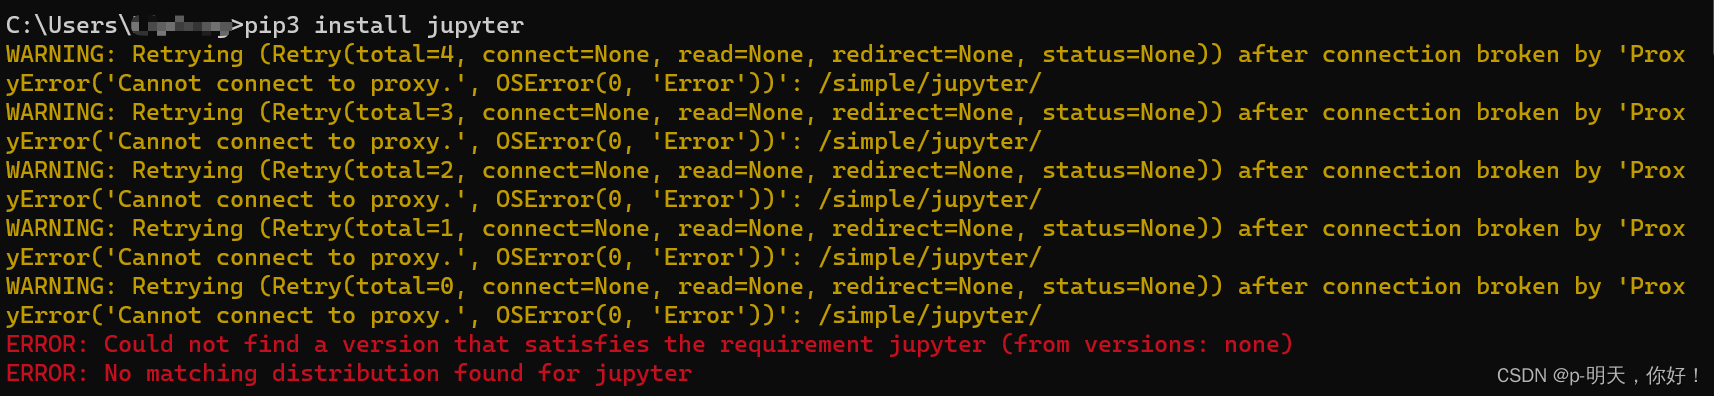
报错了,报错信息:
Could not find a version that satisfies the requirement jupyterthemes (from versions: none)
解决方法:
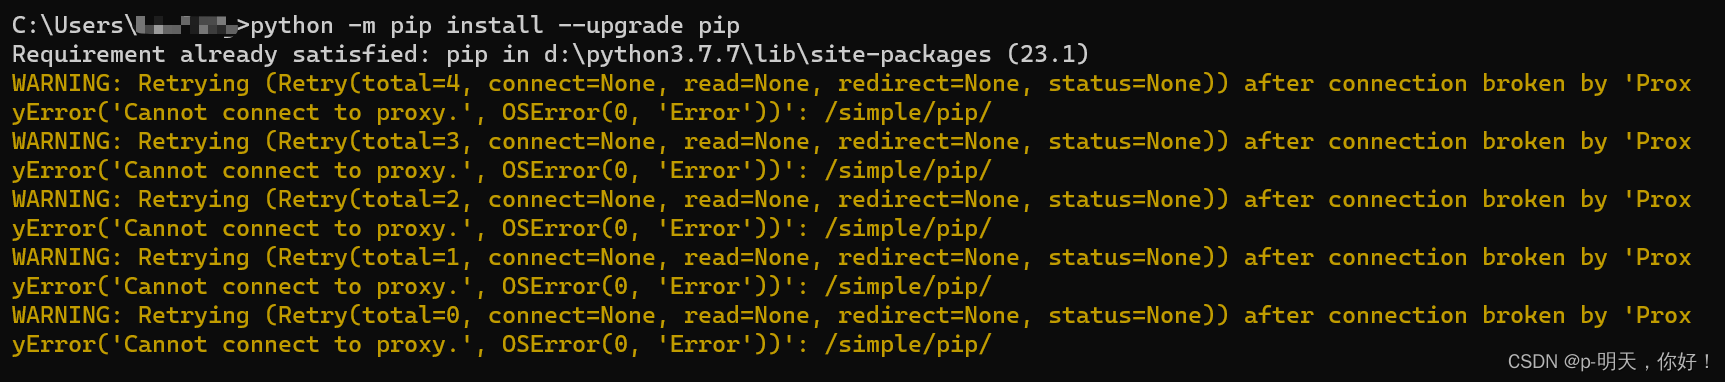
(1)可能是pip版本低,需要更新pip(多更新几次):
python -m pip install --upgrade pip
(2)还会继续报错,可以利用国内镜像源:
pip install jupyter -i http://pypi.douban.com/simple/ --trusted-host pypi.douban.com

3、运行 Jupyter notebook
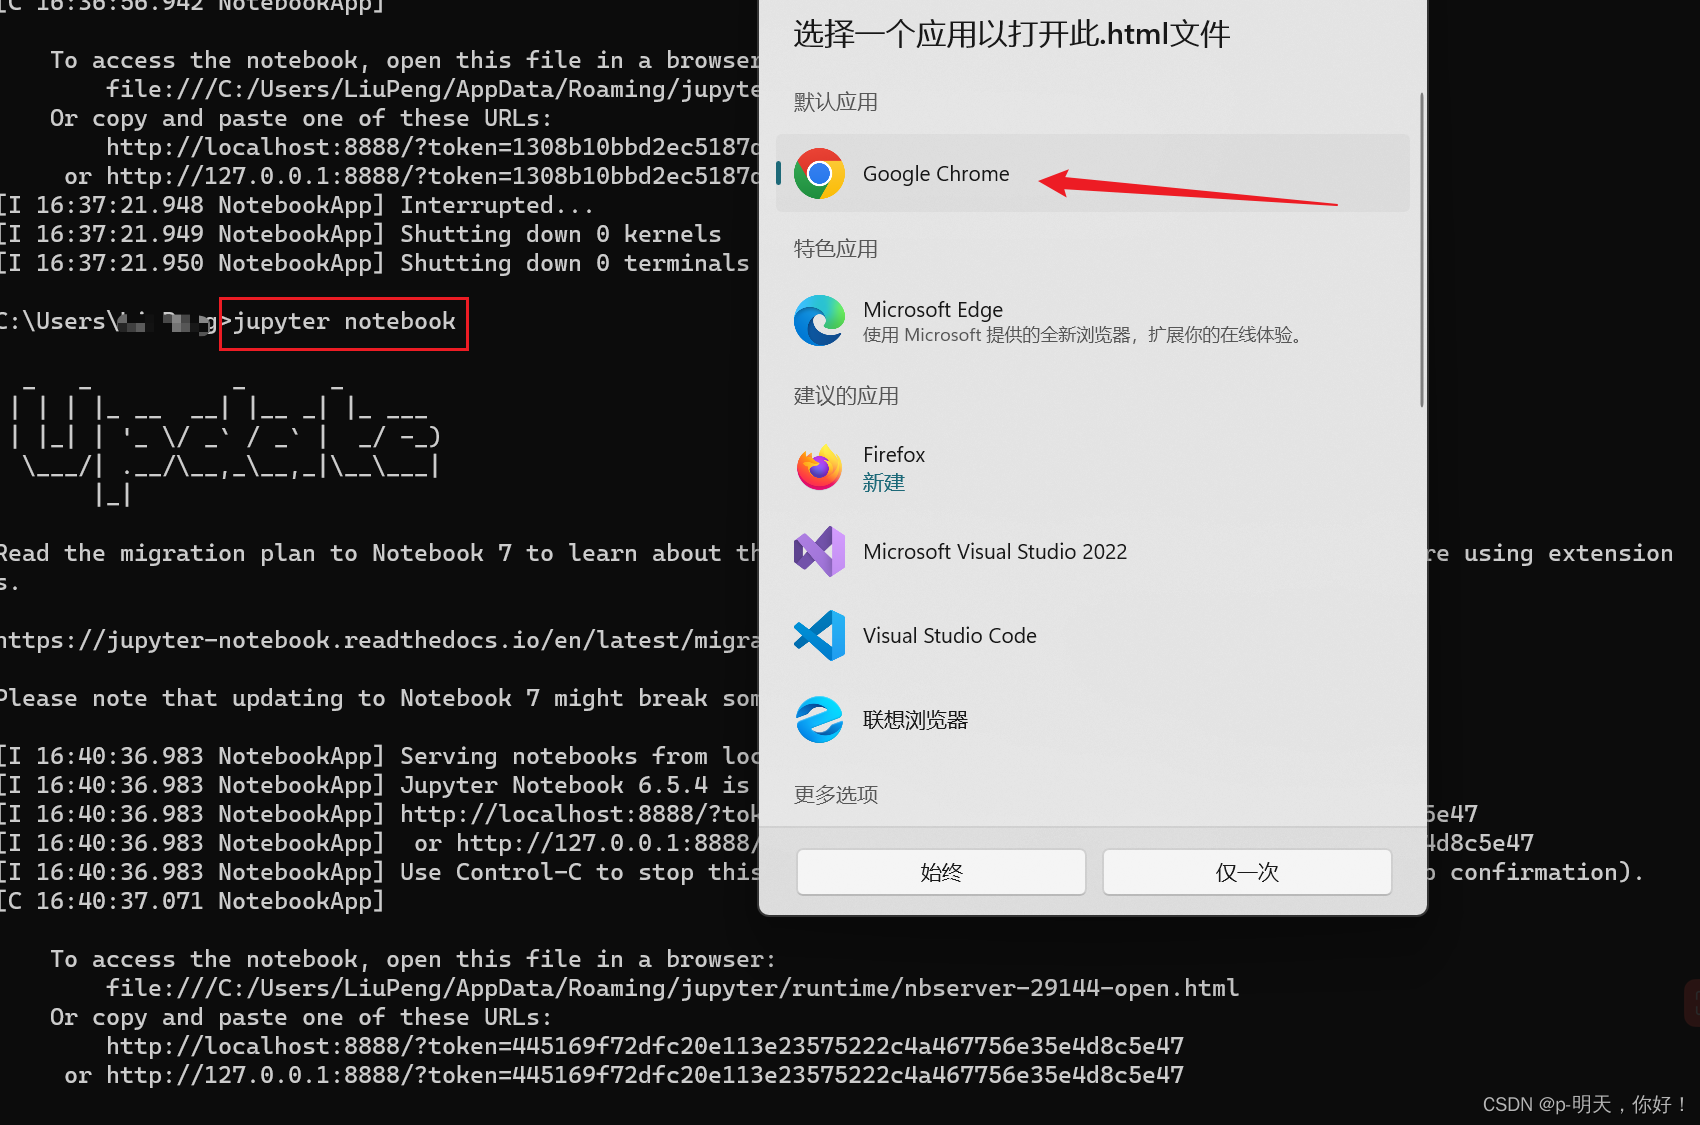
①、输入启动命令 jupyter notebook 回车
jupyter notebook
选择以谷歌浏览器打开 html 文件
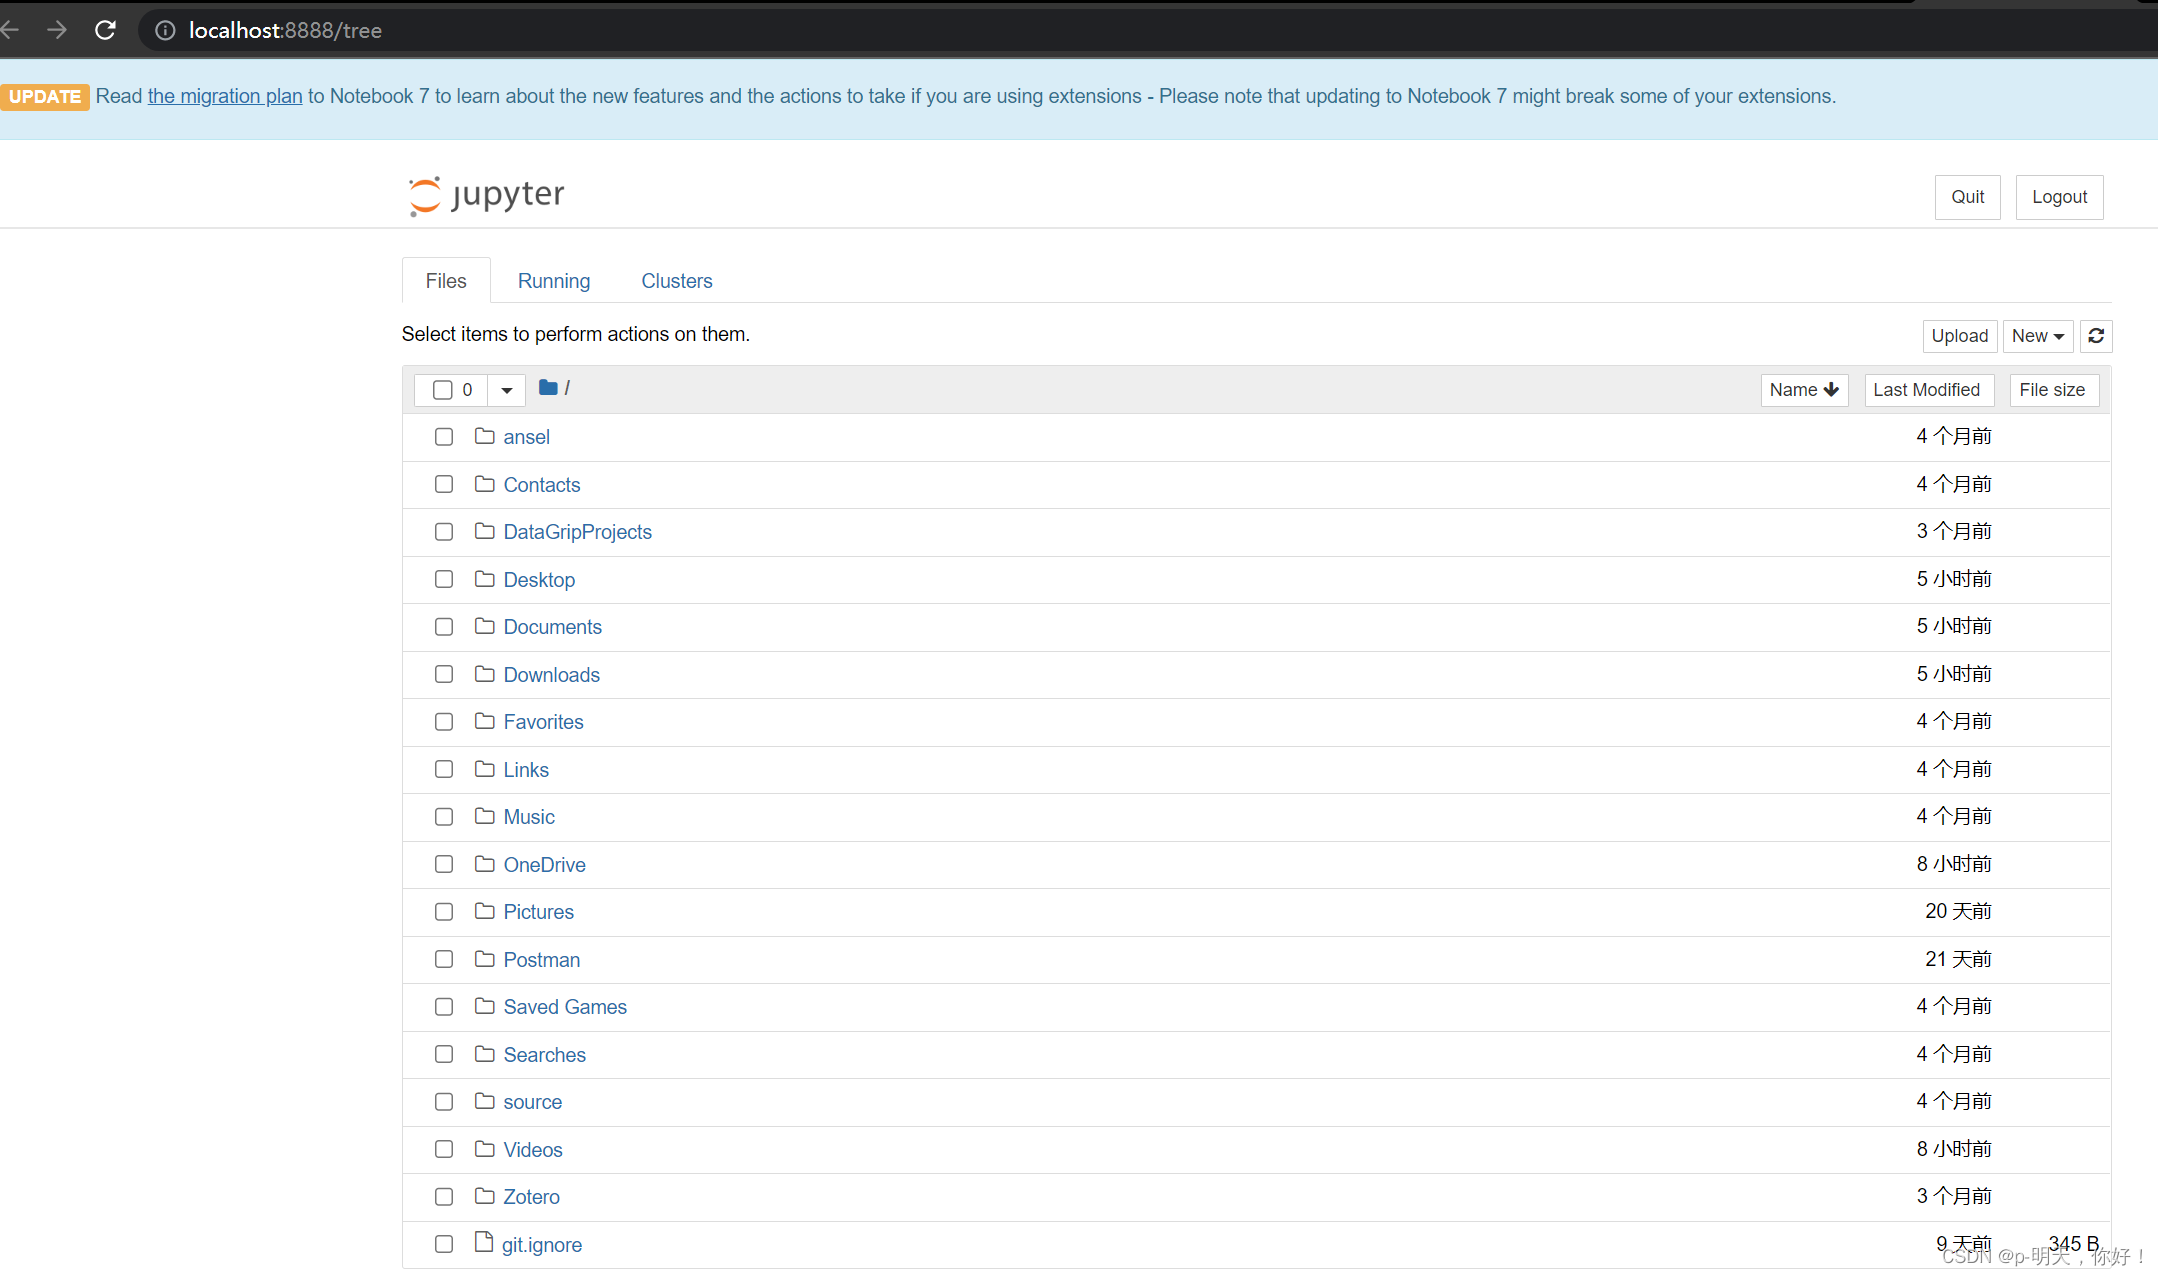
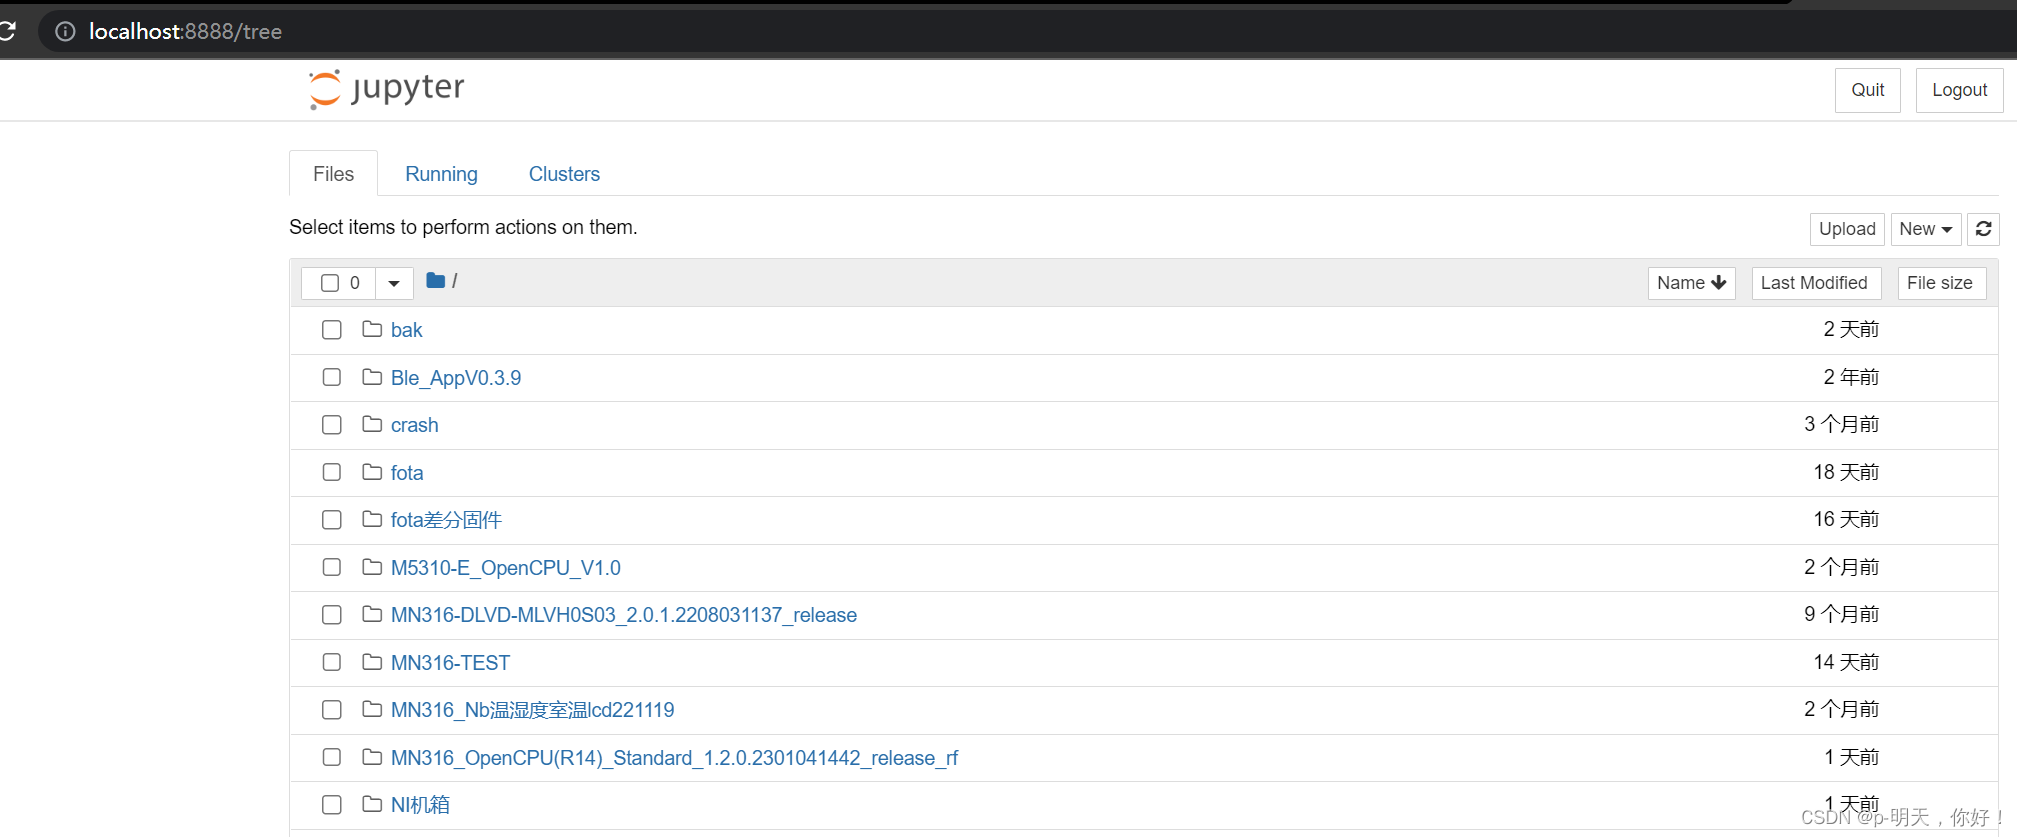
②、启动完成后,浏览器(这里打开的浏览器是默认浏览器 )就会打开一个jupyter notebook的编辑项目窗口 (默认打开位置在此电脑位置)
二、 更改打开文件位置和快捷启动方式
1、更改打开文件位置
①、在Dos命令窗口 输入 jupyter notebook --generate-config 命令 查看配置文件地址
jupyter notebook --generate-config

打开上述提示的文件位置
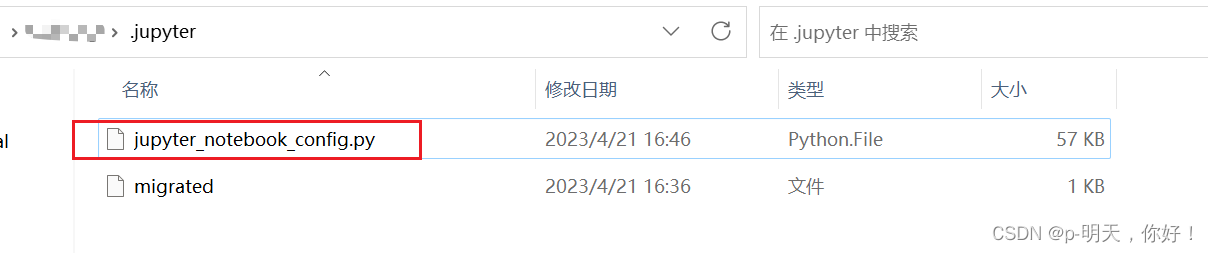
②、使用 notepad 打开,找到 # c.NotebookApp.notebook_dir = ’ ’ 位置,把前面的 #号删除,引号中添加你要选择 jupyter 启动的文件位置,这里我选择的路径是桌面
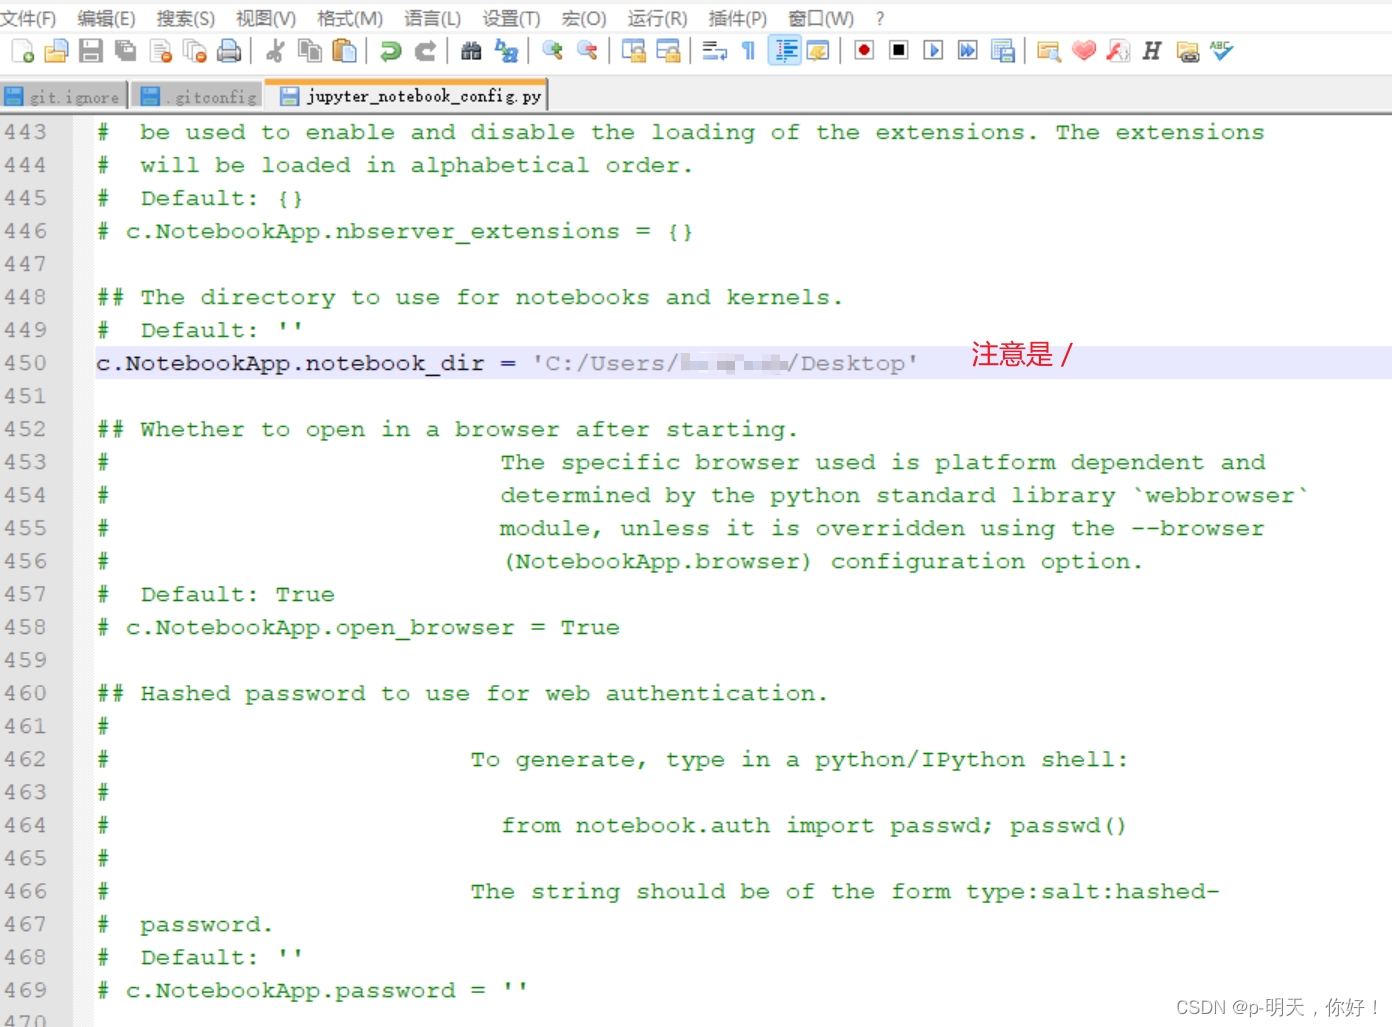
保存文件,然后关闭
2、创建快捷启动方式
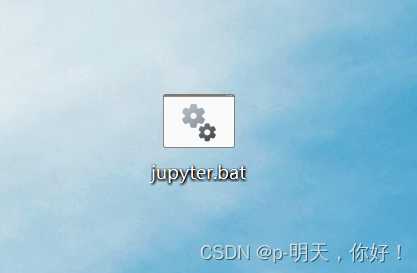
①、在桌面新建一个文本文档,打开文本文档输入 jupyter notebook,文本文档起名为 jupyter.bat

②、右键选择 jupyter.bat ,以管理员身份运行
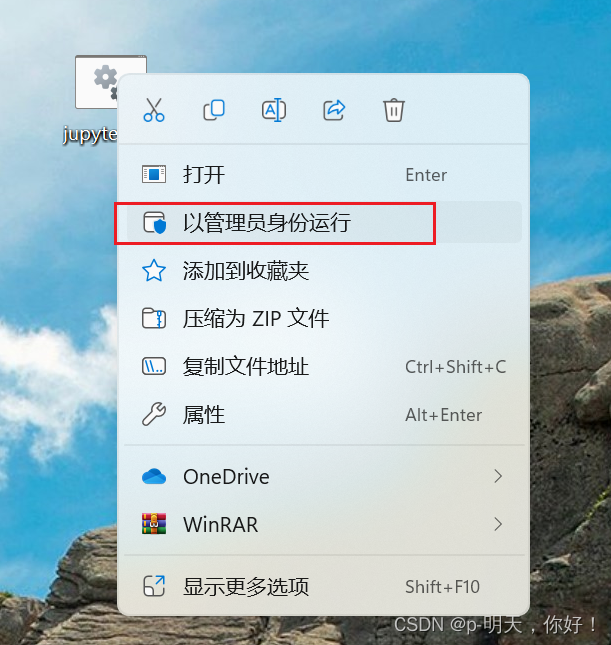
运行后可成功登录到桌面界面
我的qq:2442391036,欢迎交流!