腾讯云COS+ElmentUI+SpringBoot视频上传功能实现

今天在做项目的时候需要完成一个视频上传的功能,这里做一个记录!
第一步:选择合适的组件并整合到项目中
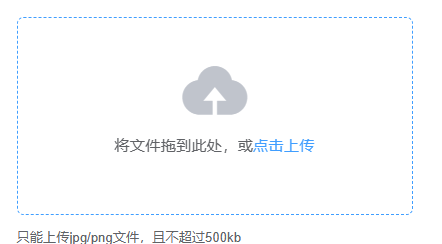
<el-uploadclass="upload-demo"dragaction="https://jsonplaceholder.typicode.com/posts/"multiple><i class="el-icon-upload"></i><div class="el-upload__text">将文件拖到此处,或<em>点击上传</em></div><div class="el-upload__tip" slot="tip">只能上传jpg/png文件,且不超过500kb</div>
</el-upload>
第二步:前端校验
同时在这里我修改了action,这个是我自己的视频上传接口,在实现的时候,你也需要完成这样一个后端接口做对接,后面会详细说明!
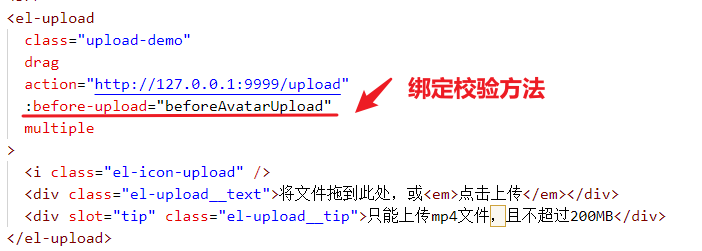
:before-upload="beforeAvatarUpload"
方法实现: 这里限制了视频大小不超过200MB,同时仅支持mp4格式
beforeAvatarUpload(file) {this.fullscreenLoading = trueconst isJPG = file.type === 'video/mp4'const isLt2M = file.size / 1024 / 1024 < 200if (!isJPG) {this.$message.error('上传头像图片只能是 MP4 格式!')}if (!isLt2M) {this.$message.error('上传头像图片大小不能超过 200MB!')}return isJPG && isLt2M
},
第三步:绑定上传成功方法

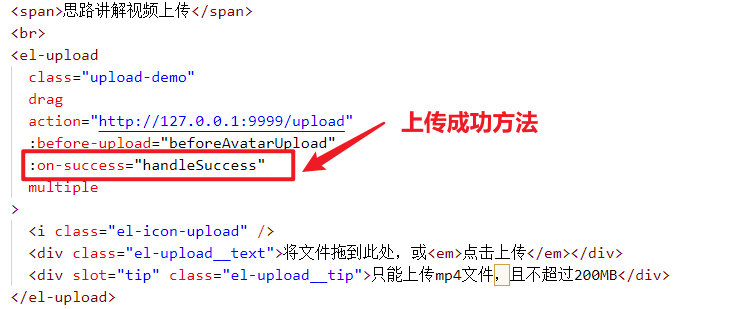
handleSuccess(response, file, fileList) {this.vidio.url1 = response.messagethis.fullscreenLoading = falsethis.$message.success('上传成功')},
这里是当文件上传成功,从后端响应中获取返回的当前视频链接,这里我将链接存入到前端一个对象中,后面在进行表单提交的时候,将这个链接写入到数据库中即可!

完成以上效果,并且上方弹出上传成功提示就完成了视频的上传!
第四步:腾讯云cos后端接口配置
这里我已经申请了腾讯COS对象存储服务,并拿到了对应的key。
@Api(tags = {"数据上传接口"})
@RestController
public class FileUploadController {@PostMapping("/upload")public Result<String> handleFileUpload(@RequestParam("file") MultipartFile file){String secretId = "你自己的";//用户的 SecretId,建议使用子账号密钥,授权遵循最小权限指引,降低使用风险。子账号密钥获取可参见 https://cloud.tencent.com/document/product/598/37140String secretKey = "你自己的";//用户的 SecretKey,建议使用子账号密钥,授权遵循最小权限指引,降低使用风险。子账号密钥获取可参见 https://cloud.tencent.com/document/product/598/37140COSCredentials cred = new BasicCOSCredentials(secretId, secretKey);Region region = new Region("ap-beijing");ClientConfig clientConfig = new ClientConfig(region);clientConfig.setHttpProtocol(HttpProtocol.https);COSClient cosClient = new COSClient(cred, clientConfig);// 存储桶的命名格式为 BucketName-APPID,此处填写的存储桶名称必须为此格式String bucketName = "你自己的";// 对象键(Key)是对象在存储桶中的唯一标识。String key = file.getOriginalFilename();UUID uuid=UUID.randomUUID();String str=uuid.toString();key=str+key;String url="";try {InputStream inputStream =file.getInputStream();ObjectMetadata objectMetadata = new ObjectMetadata();PutObjectRequest putObjectRequest = new PutObjectRequest(bucketName, key, inputStream, objectMetadata);putObjectRequest.setStorageClass(StorageClass.Standard_IA);PutObjectResult putObjectResult = cosClient.putObject(putObjectRequest);url="https://lh-13134你自己的myqcloud.com"+"/"+key;} catch (CosServiceException e) {e.printStackTrace();} catch (CosClientException e) {e.printStackTrace();} catch (Exception e) {e.printStackTrace();}return Result.success(url);}
}
这个接口中你需要修改对应的id和key以及存储桶名称,就可以实现将视频文件上传到腾讯云中了
接下来就是提交表单数据,将表单中的内容存储到数据库就可以了!这里就不演示 了