完整搭建 SpringCloud 项目

目录
1、数据库表结构设计
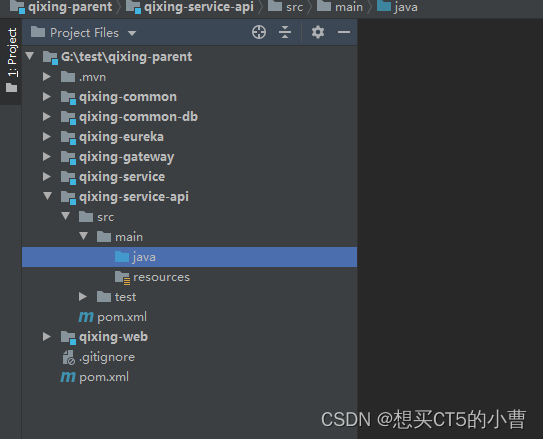
2、项目结构设计搭建
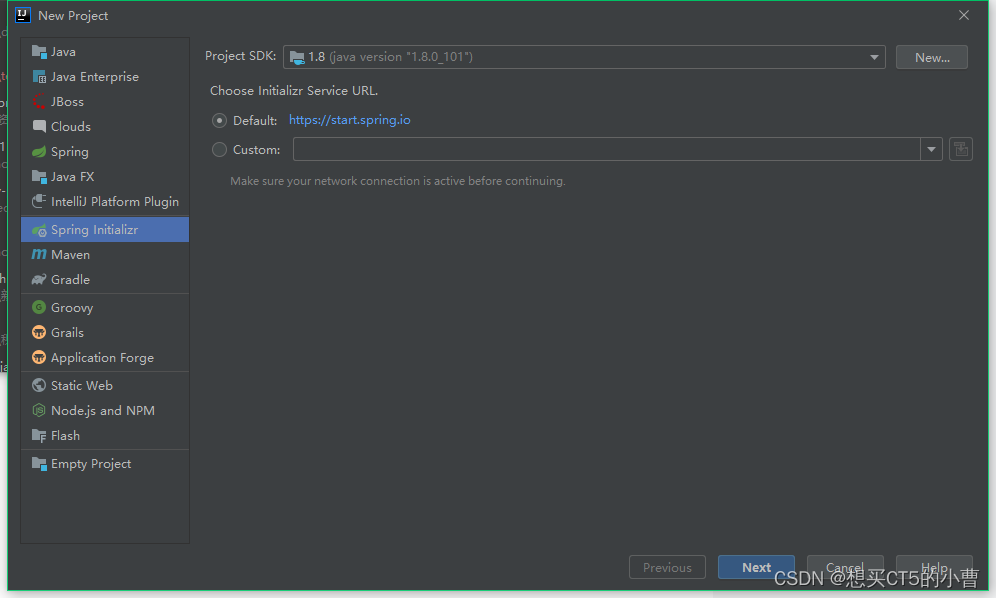
(1)创建父工程(SpringBoot 类型)
(2)其他功能模块搭建
(3)创建 eureka
(4)创建common 模块
(5)数据访问模块搭建
1、数据库表结构设计
2、项目结构设计搭建
(1)创建父工程(SpringBoot 类型)
创建版本是JDK 1.8
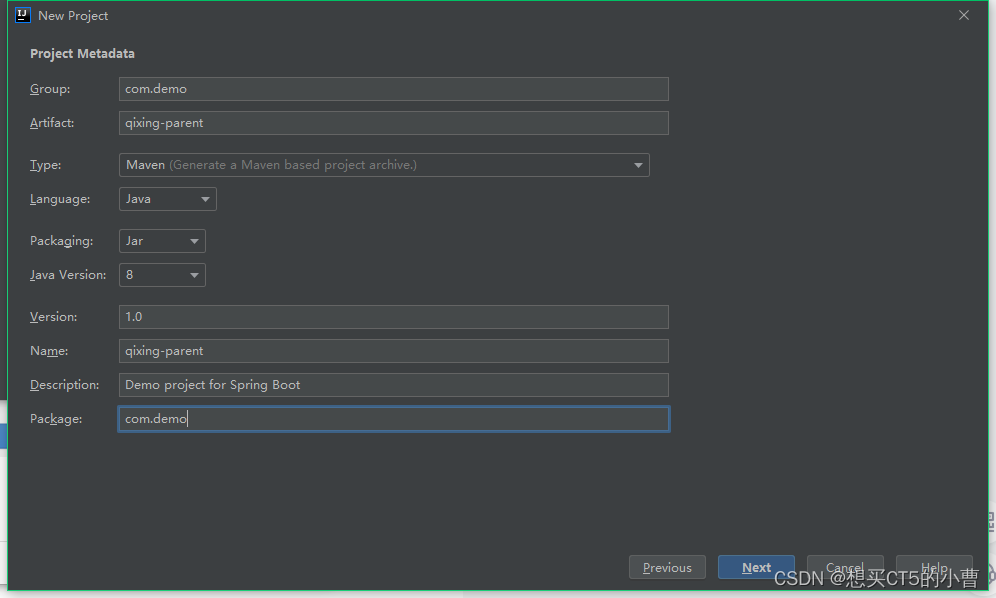
填写项目信息
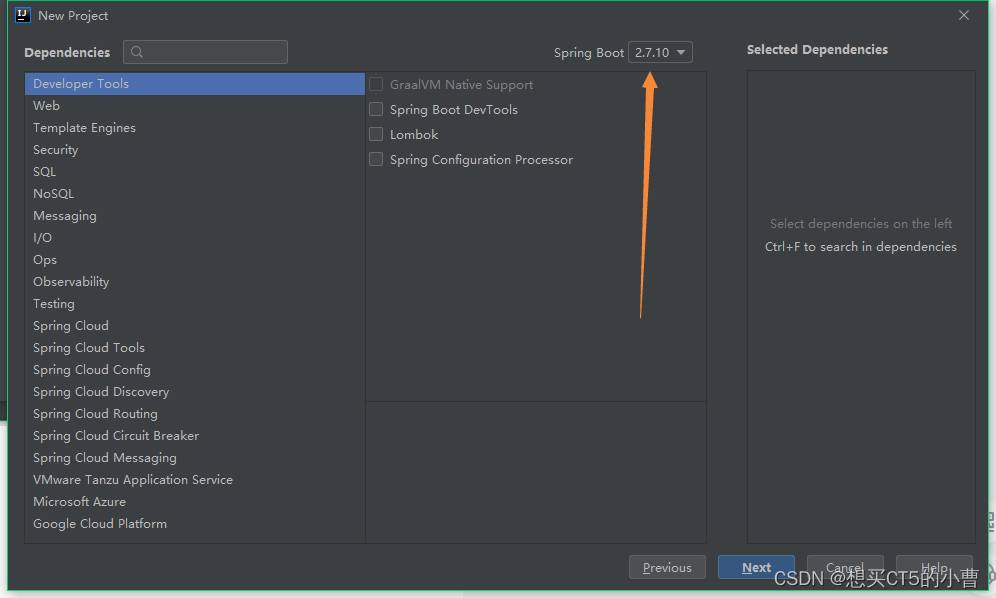
在pom文件中添加
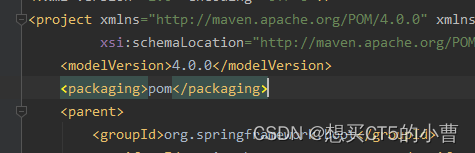

代码如下:
<packaging>pom</packaging>
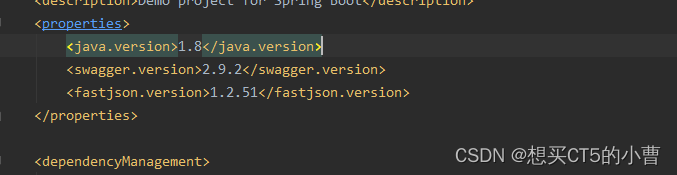
<swagger.version>2.9.2</swagger.version><fastjson.version>1.2.51</fastjson.version> <dependencyManagement><dependencies><!-- springCloud --><dependency><groupId>org.springframework.cloud</groupId><artifactId>spring-cloud-dependencies</artifactId><version>${spring-cloud.version}</version><type>pom</type><scope>import</scope></dependency></dependencies></dependencyManagement>
完整pom文件代码
<?xml version="1.0" encoding="UTF-8"?>
<project xmlns="http://maven.apache.org/POM/4.0.0" xmlns:xsi="http://www.w3.org/2001/XMLSchema-instance"xsi:schemaLocation="http://maven.apache.org/POM/4.0.0 https://maven.apache.org/xsd/maven-4.0.0.xsd"><modelVersion>4.0.0</modelVersion><packaging>pom</packaging><parent><groupId>org.springframework.boot</groupId><artifactId>spring-boot-starter-parent</artifactId><version>2.7.10</version><relativePath/> <!-- lookup parent from repository --></parent><groupId>com.demo</groupId><artifactId>qixing-parent</artifactId><version>1.0</version><name>qixing-parent</name><description>Demo project for Spring Boot</description><properties><java.version>1.8</java.version><swagger.version>2.9.2</swagger.version><fastjson.version>1.2.51</fastjson.version></properties><dependencyManagement><dependencies><!-- springCloud --><dependency><groupId>org.springframework.cloud</groupId><artifactId>spring-cloud-dependencies</artifactId><version>${spring-cloud.version}</version><type>pom</type><scope>import</scope></dependency></dependencies></dependencyManagement><dependencies><dependency><groupId>org.springframework.boot</groupId><artifactId>spring-boot-starter</artifactId></dependency><dependency><groupId>org.springframework.boot</groupId><artifactId>spring-boot-starter-test</artifactId><scope>test</scope><exclusions><exclusion><groupId>org.junit.vintage</groupId><artifactId>junit-vintage-engine</artifactId></exclusion></exclusions></dependency><!--fastjson--><dependency><groupId>com.alibaba</groupId><artifactId>fastjson</artifactId><version>${fastjson.version}</version></dependency><!--swagger--><!-- https://mvnrepository.com/artifact/io.springfox/springfox-swagger2 --><dependency><groupId>io.springfox</groupId><artifactId>springfox-swagger2</artifactId><version>${swagger.version}</version></dependency><!-- https://mvnrepository.com/artifact/io.springfox/springfox-swagger-ui --><dependency><groupId>io.springfox</groupId><artifactId>springfox-swagger-ui</artifactId><version>${swagger.version}</version></dependency></dependencies></project>
在父工程中引入了SpringCloud等很多以后需要用到的依赖,以后创建的子工程就不需要自己引入了。
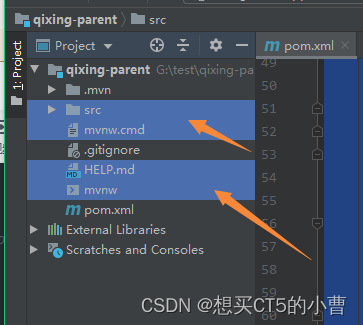
删除以上四个文件
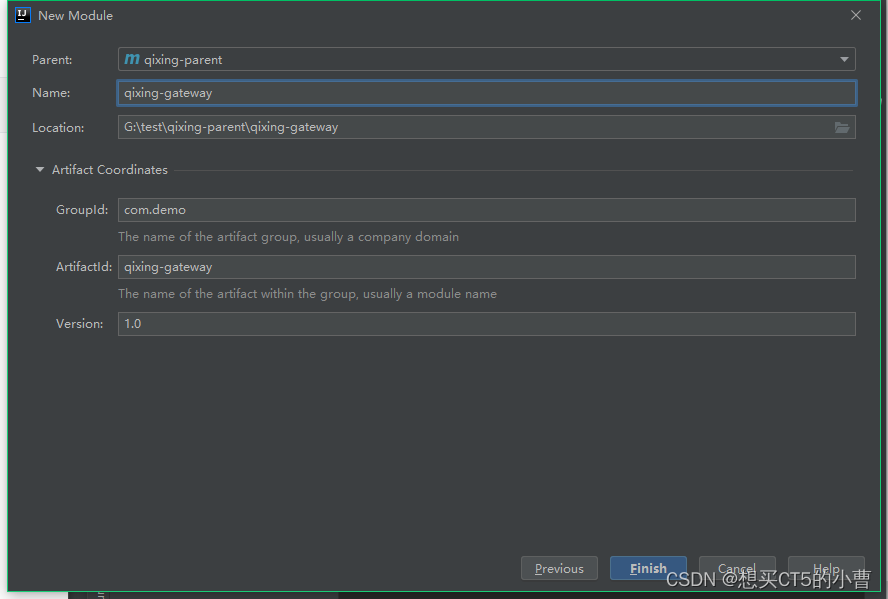
(2)其他功能模块搭建
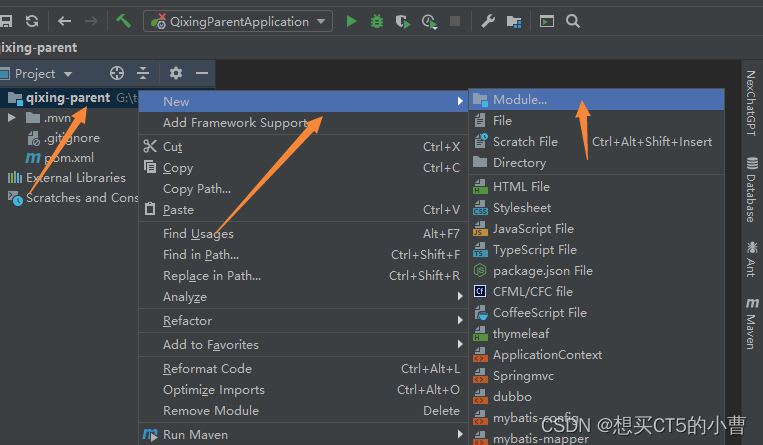
创建 Maven 项目,注意版本号的选择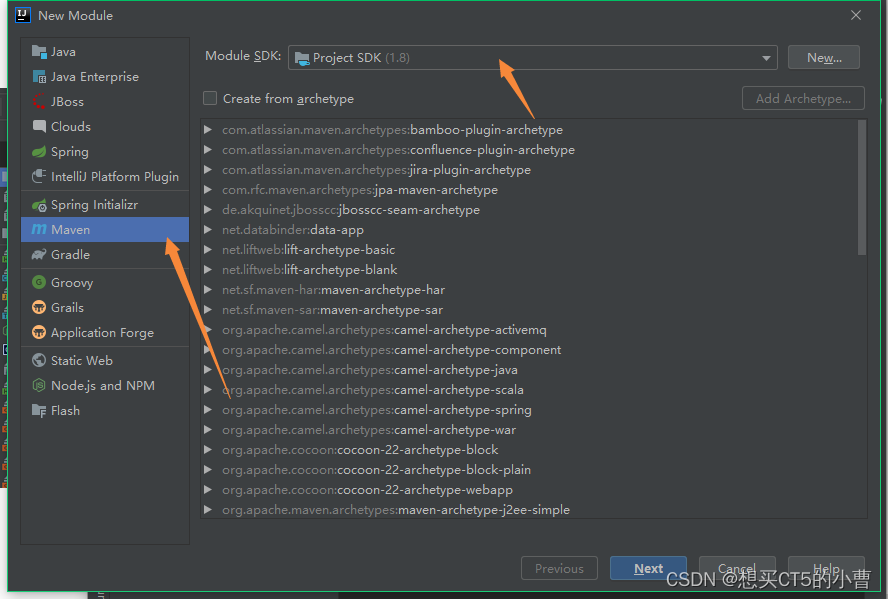
添加这句话
<packaging>pom</packaging> 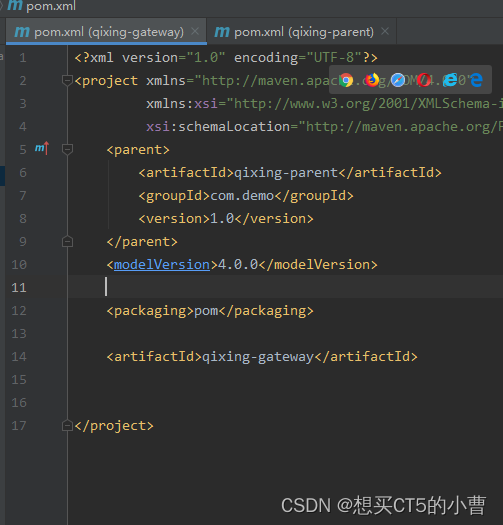
删除 src 文件夹
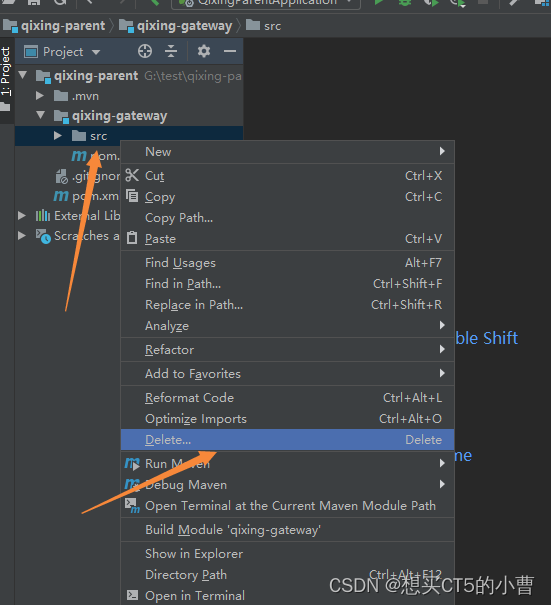
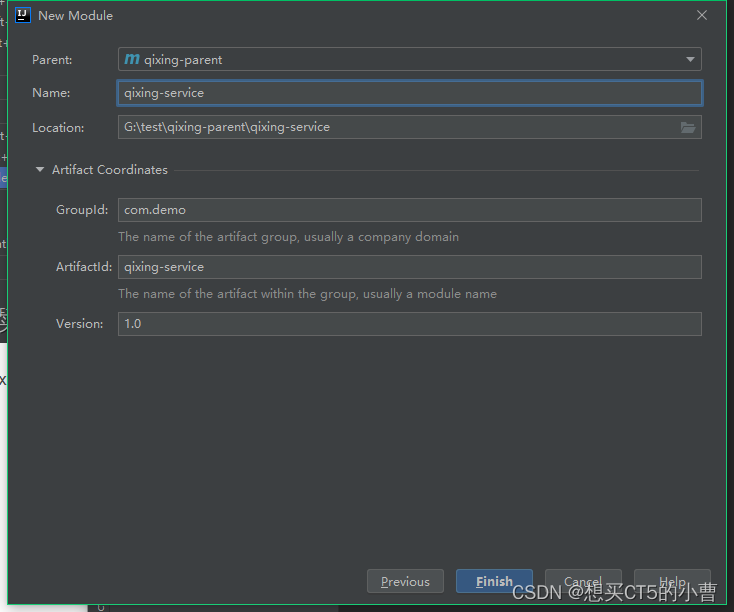
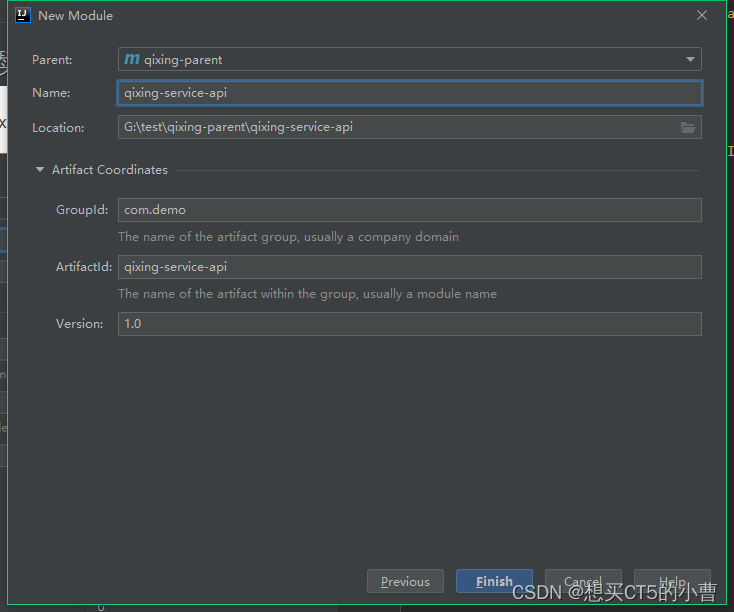
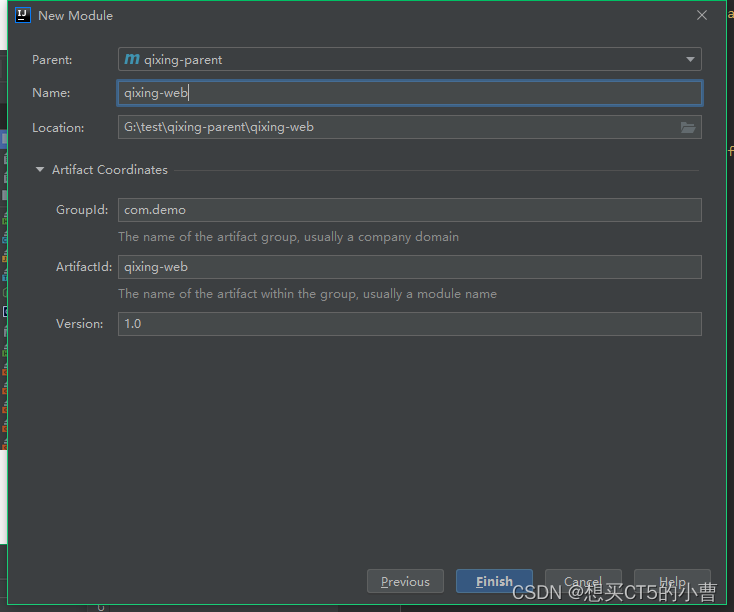
其他模块重复操作,创建qixing-service,qixing-service-api,qixing-web工程。注意pom文件需要修改打包方式
(3)创建 eureka

eureka的pom文件代码如下:
<?xml version="1.0" encoding="UTF-8"?>
<project xmlns="http://maven.apache.org/POM/4.0.0"xmlns:xsi="http://www.w3.org/2001/XMLSchema-instance"xsi:schemaLocation="http://maven.apache.org/POM/4.0.0 http://maven.apache.org/xsd/maven-4.0.0.xsd"><parent><artifactId>qixing-parent</artifactId><groupId>com.demo</groupId><version>1.0</version></parent><modelVersion>4.0.0</modelVersion><artifactId>qixing-eureka</artifactId><dependencies><dependency><groupId>org.springframework.cloud</groupId><artifactId>spring-cloud-starter-netflix-eureka-server</artifactId></dependency></dependencies></project>
在eureka模块中的 resources中建立 application.yml
server:port: 8761
spring:application:name: qixing-eureka
eureka:instance:hostname: 127.0.0.1client:register-with-eureka: false   #是否将自己注册到eureka中fetch-registry: false         #是否从eureka中获取信息service-url:defaultZone: http://${eureka.instance.hostname}:${server.port}/eurekaserver:enable-self-preservation: false # 关闭自我保护eviction-interval-timer-in-ms: 5000 # 每隔5秒进行一次服务列表清理
在eureka中创建如下目录及文件

代码如下:
package com.qixing;import org.springframework.boot.SpringApplication;
import org.springframework.boot.autoconfigure.SpringBootApplication;
import org.springframework.cloud.netflix.eureka.server.EnableEurekaServer;/* @Author caojun* @Date 2023/4/20 14:55* @Description :caojun java*/
@SpringBootApplication
@EnableEurekaServer
public class EurekaApplication {public static void main(String[] args) {SpringApplication.run(EurekaApplication.class,args);}
}
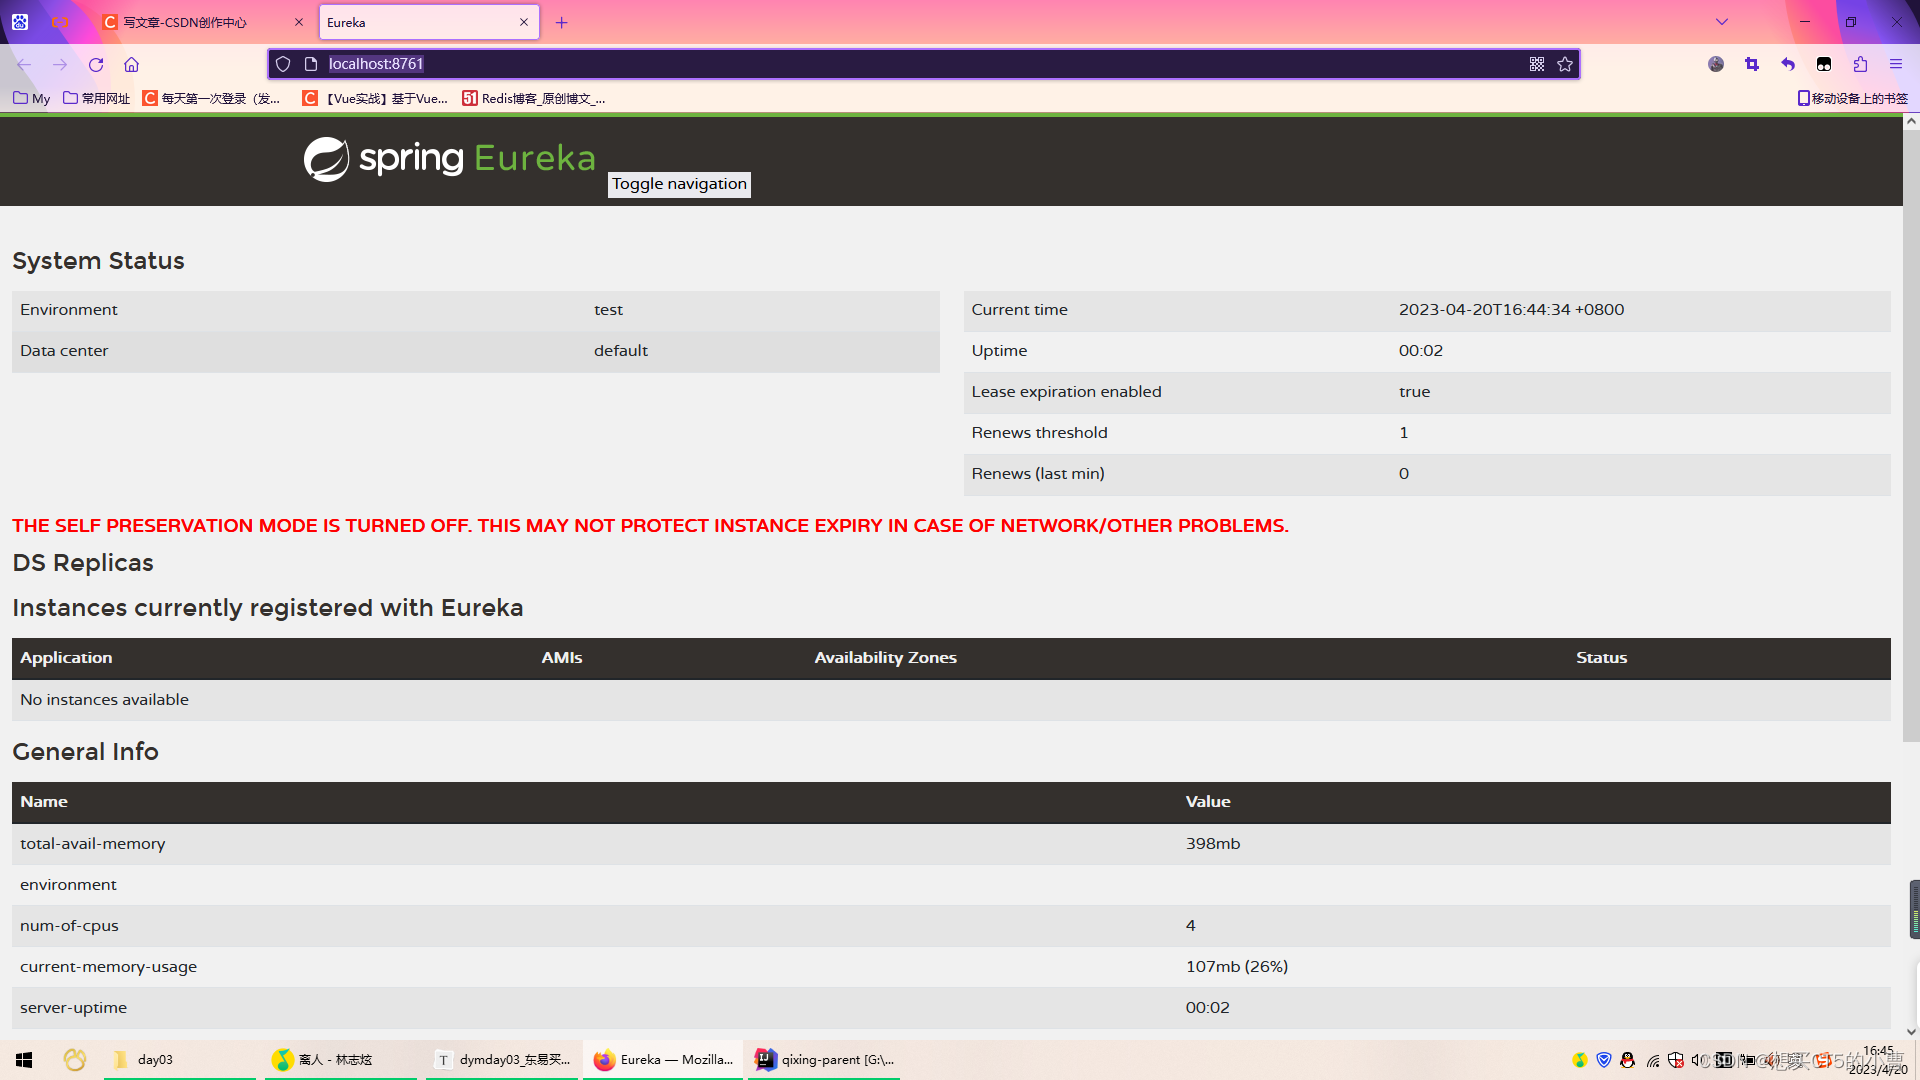
启动可以看到 eureka 主页,访问 http://localhost:8761/
(4)创建common 模块
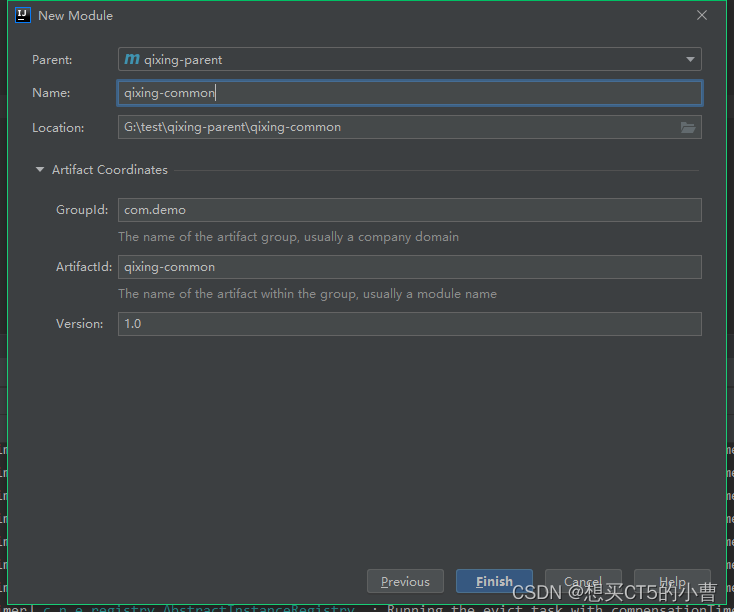
在common模块中的pom文件代码如下:
<?xml version="1.0" encoding="UTF-8"?>
<project xmlns="http://maven.apache.org/POM/4.0.0"xmlns:xsi="http://www.w3.org/2001/XMLSchema-instance"xsi:schemaLocation="http://maven.apache.org/POM/4.0.0 http://maven.apache.org/xsd/maven-4.0.0.xsd"><parent><artifactId>qixing-parent</artifactId><groupId>com.demo</groupId><version>1.0</version></parent><modelVersion>4.0.0</modelVersion><artifactId>qixing-common</artifactId><dependencies><!--web起步依赖--><dependency><groupId>org.springframework.boot</groupId><artifactId>spring-boot-starter-web</artifactId></dependency><!-- redis 使用--><dependency><groupId>org.springframework.boot</groupId><artifactId>spring-boot-starter-data-redis</artifactId></dependency><!--eureka-client--><dependency><groupId>org.springframework.cloud</groupId><artifactId>spring-cloud-starter-netflix-eureka-client</artifactId><version>3.1.3</version></dependency><!--openfeign--><dependency><groupId>org.springframework.cloud</groupId><artifactId>spring-cloud-starter-openfeign</artifactId><version>3.0.2</version></dependency><!--json字符串转换--><dependency><groupId>com.alibaba</groupId><artifactId>fastjson</artifactId><version>1.2.15</version></dependency><!--发送短信等需要的依赖--><dependency><groupId>org.apache.httpcomponents</groupId><artifactId>httpclient</artifactId><version>4.2.1</version></dependency><dependency><groupId>org.apache.httpcomponents</groupId><artifactId>httpcore</artifactId><version>4.2.1</version></dependency><dependency><groupId>commons-lang</groupId><artifactId>commons-lang</artifactId><version>2.6</version></dependency><dependency><groupId>org.eclipse.jetty</groupId><artifactId>jetty-util</artifactId><version>9.3.7.v20160115</version></dependency><dependency><groupId>junit</groupId><artifactId>junit</artifactId><version>4.5</version><scope>test</scope></dependency></dependencies></project>
(5)数据访问模块搭建
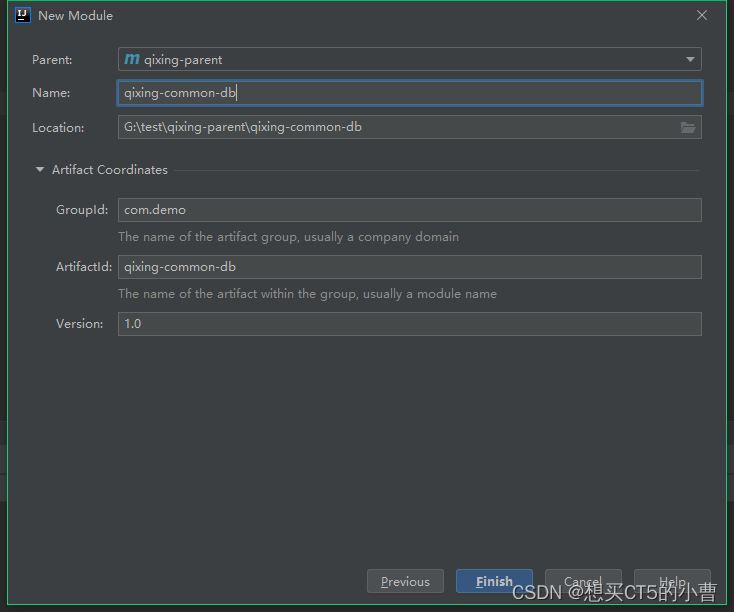
<?xml version="1.0" encoding="UTF-8"?>
<project xmlns="http://maven.apache.org/POM/4.0.0"xmlns:xsi="http://www.w3.org/2001/XMLSchema-instance"xsi:schemaLocation="http://maven.apache.org/POM/4.0.0 http://maven.apache.org/xsd/maven-4.0.0.xsd"><parent><artifactId>qixing-parent</artifactId><groupId>com.demo</groupId><version>1.0</version></parent><modelVersion>4.0.0</modelVersion><artifactId>qixing-common-db</artifactId><dependencies><dependency><groupId>com.demo</groupId><artifactId>qixing-common</artifactId><version>1.0</version></dependency><dependency><groupId>mysql</groupId><artifactId>mysql-connector-java</artifactId><version>8.0.23</version></dependency><!-- 连接池 --><!-- <dependency><groupId>com.alibaba</groupId><artifactId>druid</artifactId><version>1.1.14</version></dependency> --><!--druid 依赖--><dependency><groupId>com.alibaba</groupId><artifactId>druid-spring-boot-starter</artifactId><version>1.1.9</version></dependency><!-- MyBatisPlus --><dependency><groupId>com.baomidou</groupId><artifactId>mybatis-plus-boot-starter</artifactId><version>3.4.2</version></dependency></dependencies></project>
接下来就是在service-api模块搭建实际的业务代码了,略