谷歌Colab云端部署Stable Diffusion 进行绘图

系列文章目录
本地部署Stable Diffusion教程,亲测可以安装成功
Stable Diffusion界面参数及模型使用
文章目录
- 系列文章目录
- 前言
- 一、Colab是什么?
- 二、操作步骤
-
- 1.找到对应的脚本
- 2.在谷歌Colab里执行脚本
- 3.装载想要的模型
- 4.开始绘图
前言
在之前的博客里,我们提到本地电脑部署Stable Diffusion安全又方便,可以无限生成图片,但是对自己电脑的显卡有一定要求(显存最好大于4G)。如果我们的电脑配置较低,但也想用Stable Diffusion无限生成图片,本文介绍一种Google Colab云端部署的方式,前提是要有谷歌账号且能正常访问谷歌网站。
一、Colab是什么?
Colab 是Colaboratory的简称,是谷歌的一个在线工作平台,可以让用户在浏览器中编写和执行 Python 脚本,最重要的是,它提供免费的GPU
二、操作步骤
1.找到对应的脚本
在浏览器里打开这个网址:
https://github.com/camenduru/stable-diffusion-webui-colab
往下翻,在README.md部分找到🦒 Colab区域
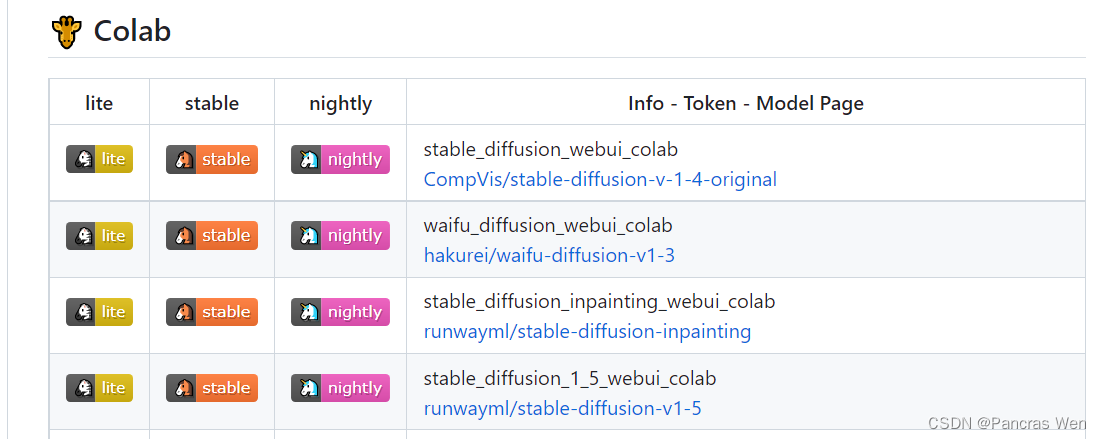
分为三种类型
lite:有一个稳定的WebUI和稳定安装的扩展。
stable:拥有ControlNet,一个稳定的WebUI,以及稳定安装的扩展。
nightly:拥有ControlNet v1.1、最新的WebUI和每日安装的扩展更新
笔者选择了CompVis/stable-diffusion-v-1-4-original的稳定版,点击橙色图标
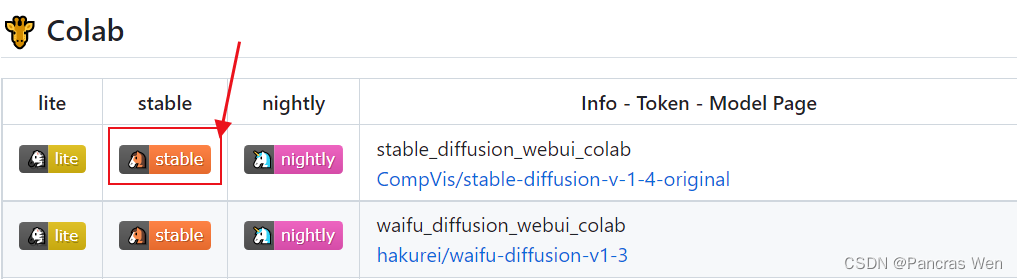
就会跳转到Google Colab的网页
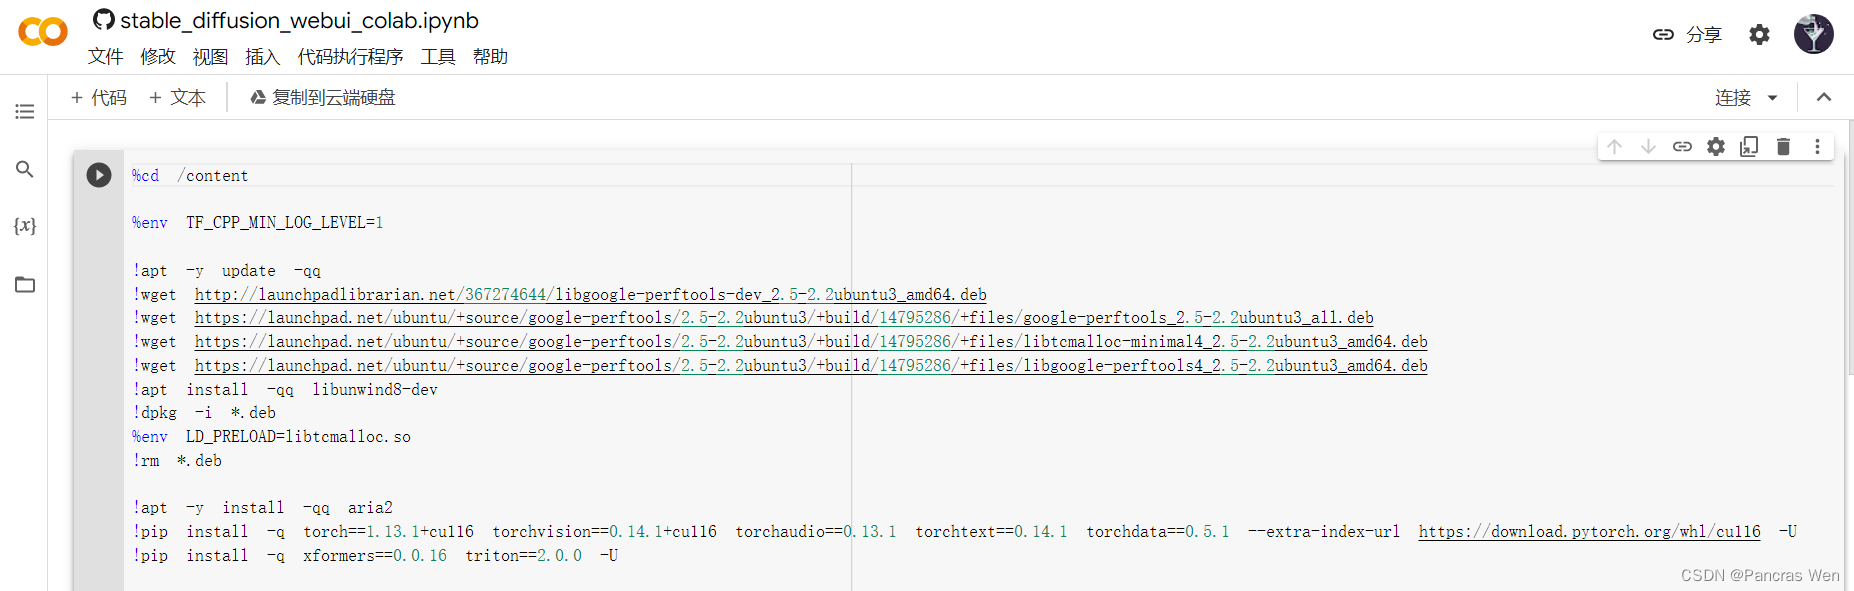
登录谷歌账号后,可以将此脚本复制到自己的云端硬盘里

2.在谷歌Colab里执行脚本
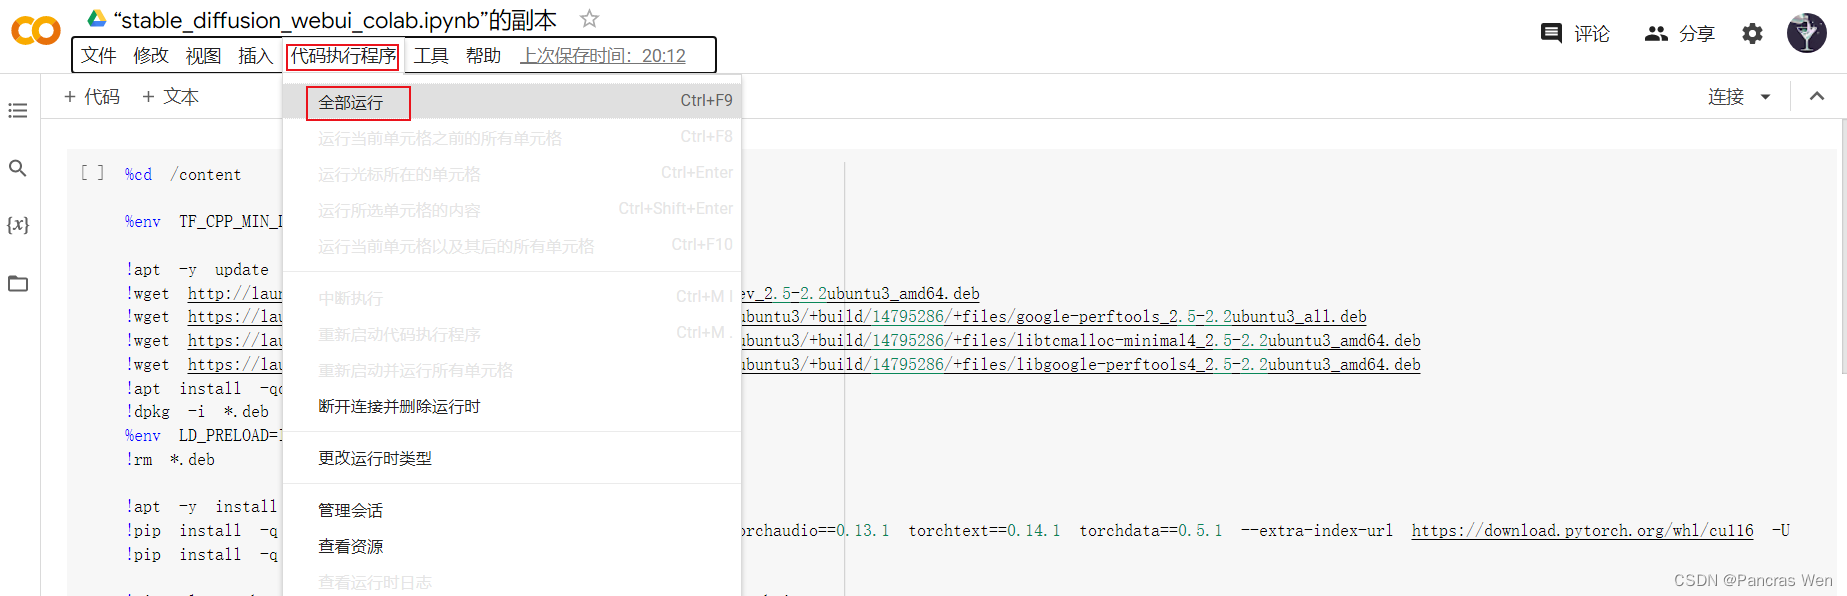
点击【代码执行程序】,选择下拉菜单中的【全部运行】
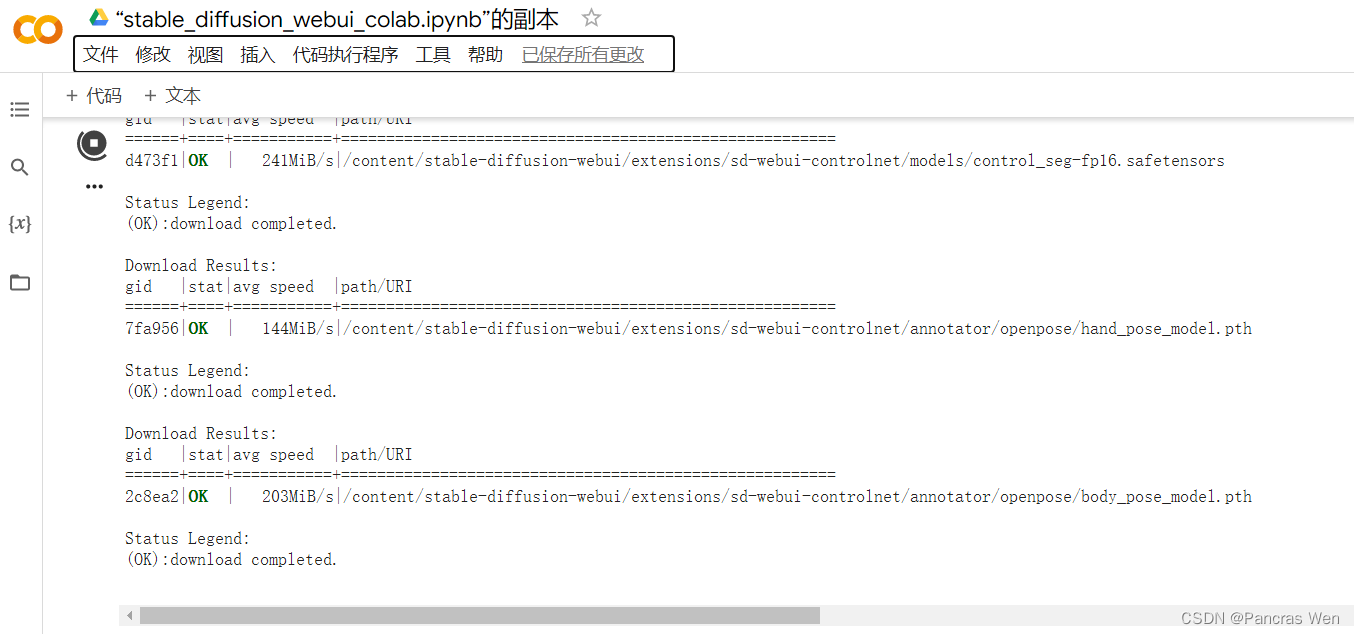
接下来就是等待安装过程,大概9分钟
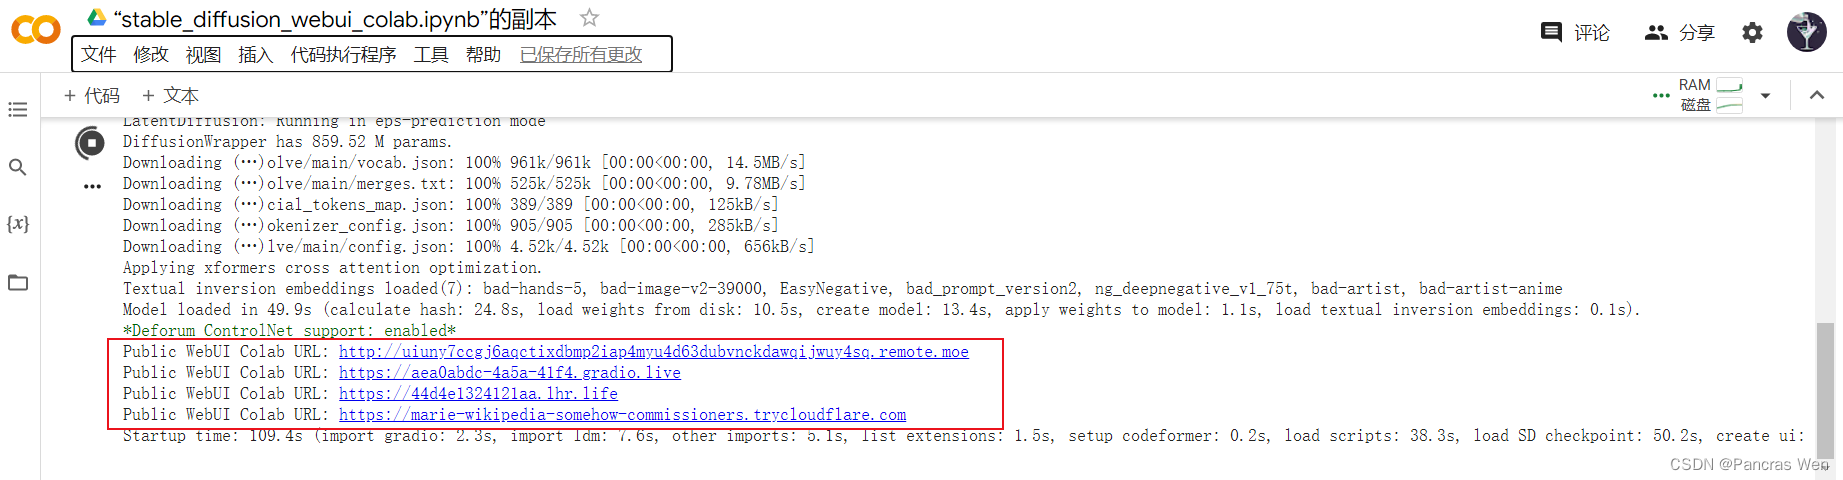
安装完毕了,出现了公共地址,选择一个公共地址打开
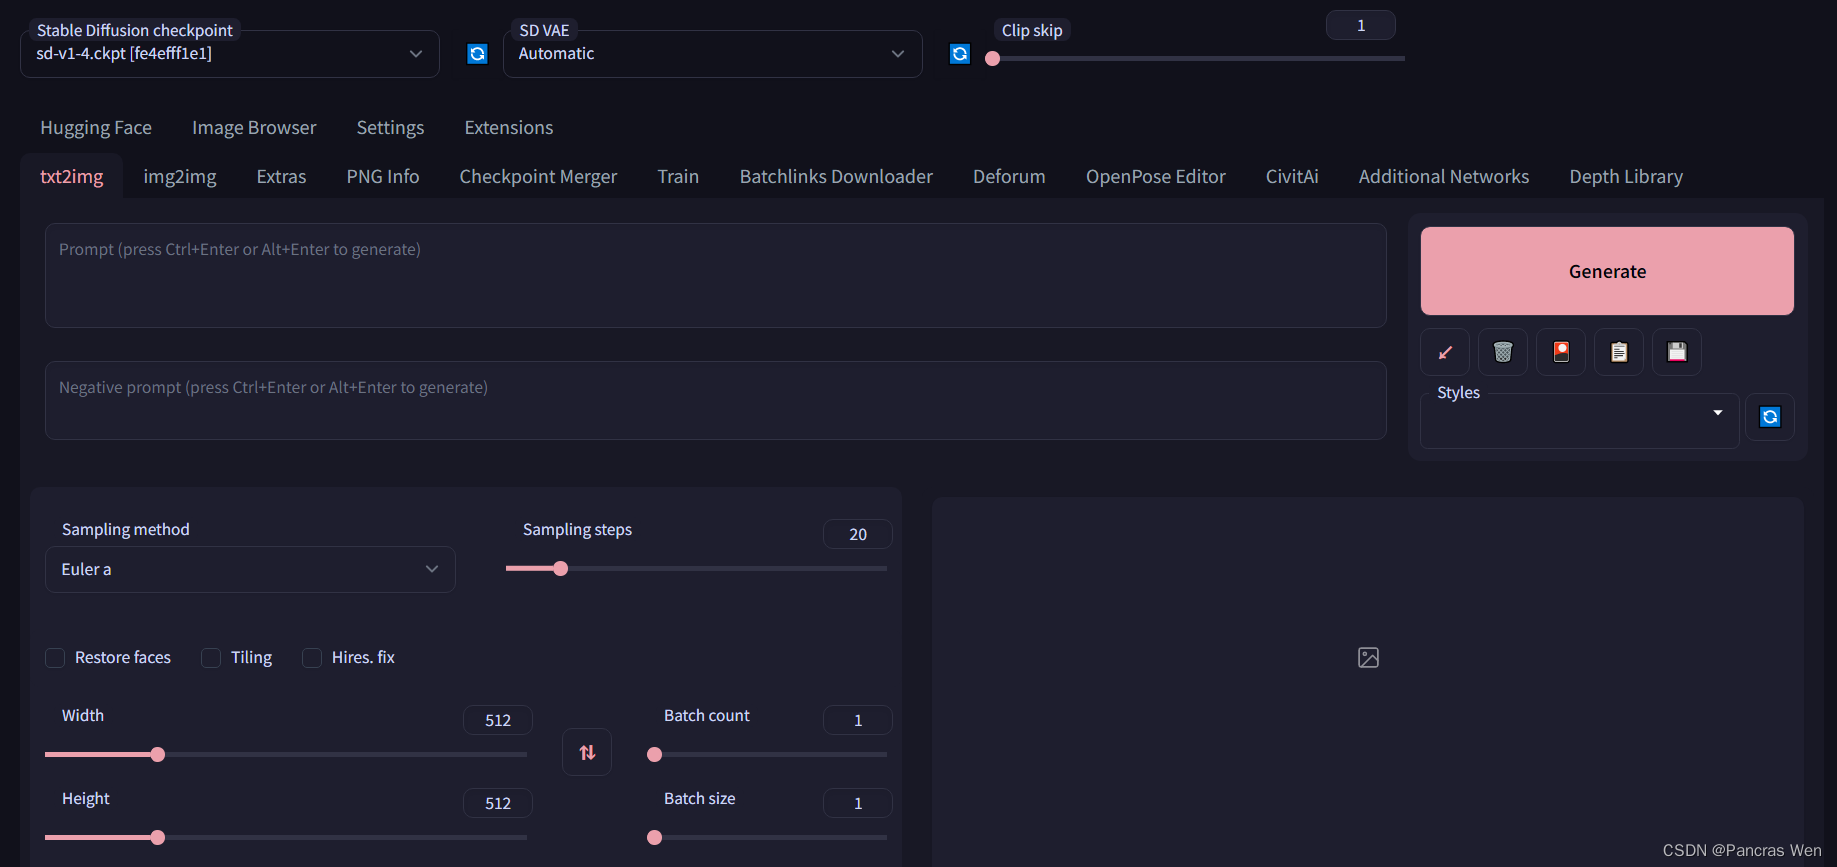
就进入了stable_diffusion_webui界面
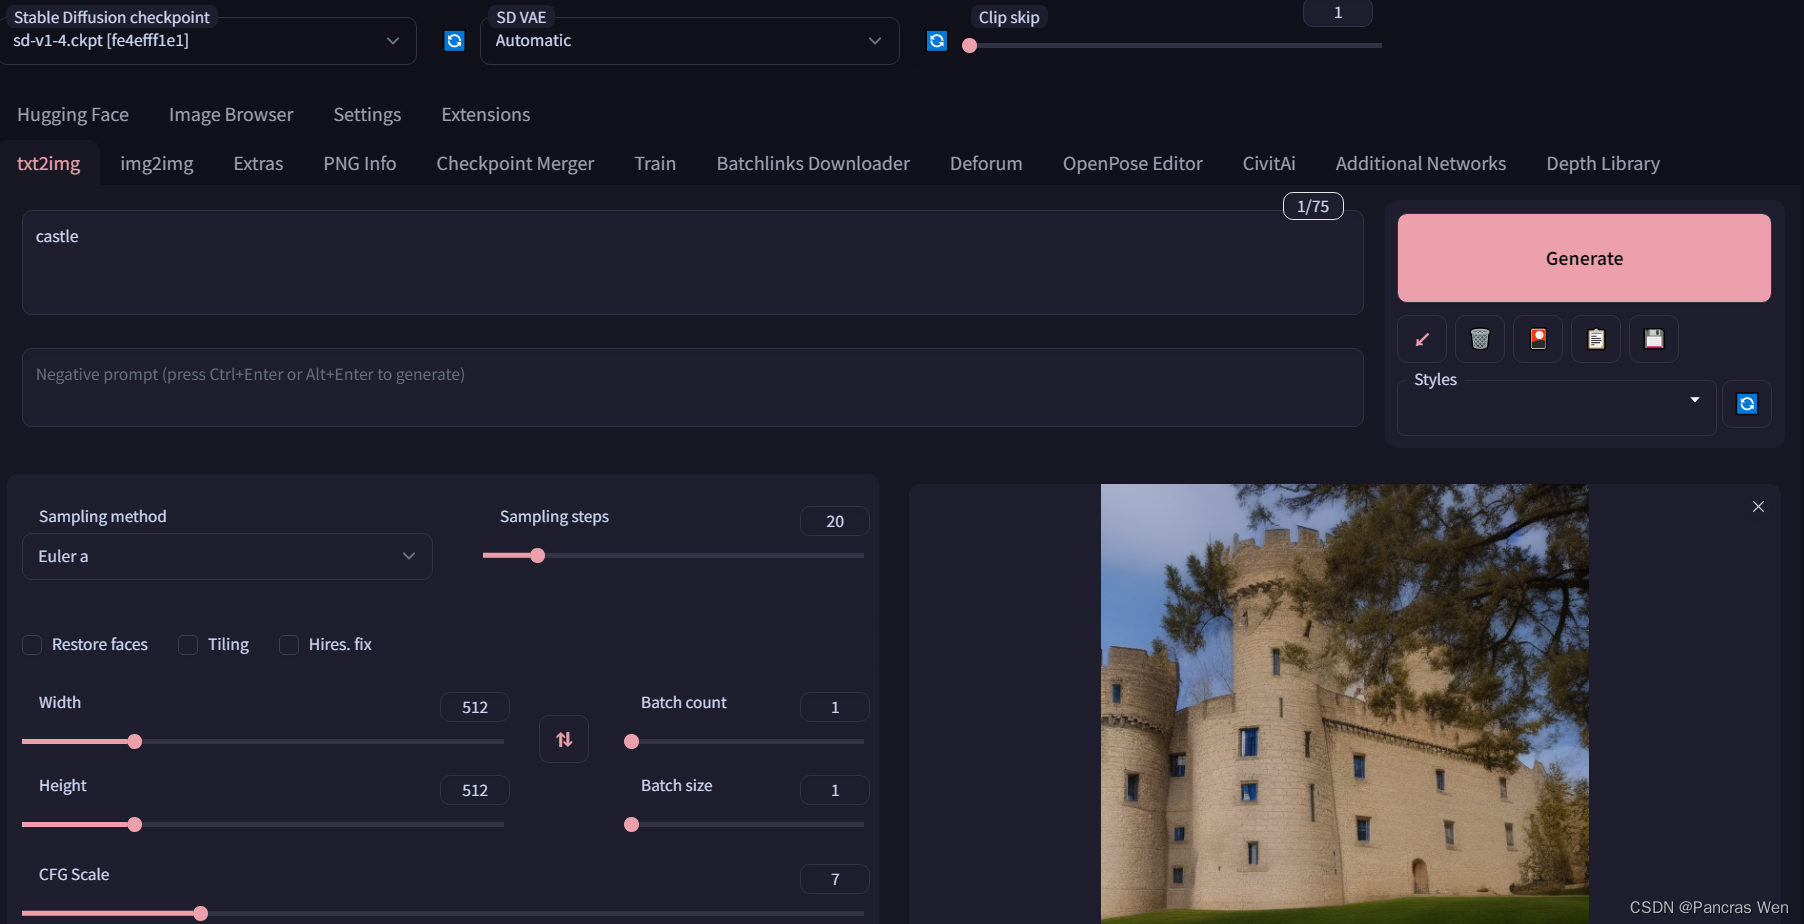
试着用此基础模型生成图片
3.装载想要的模型
C站
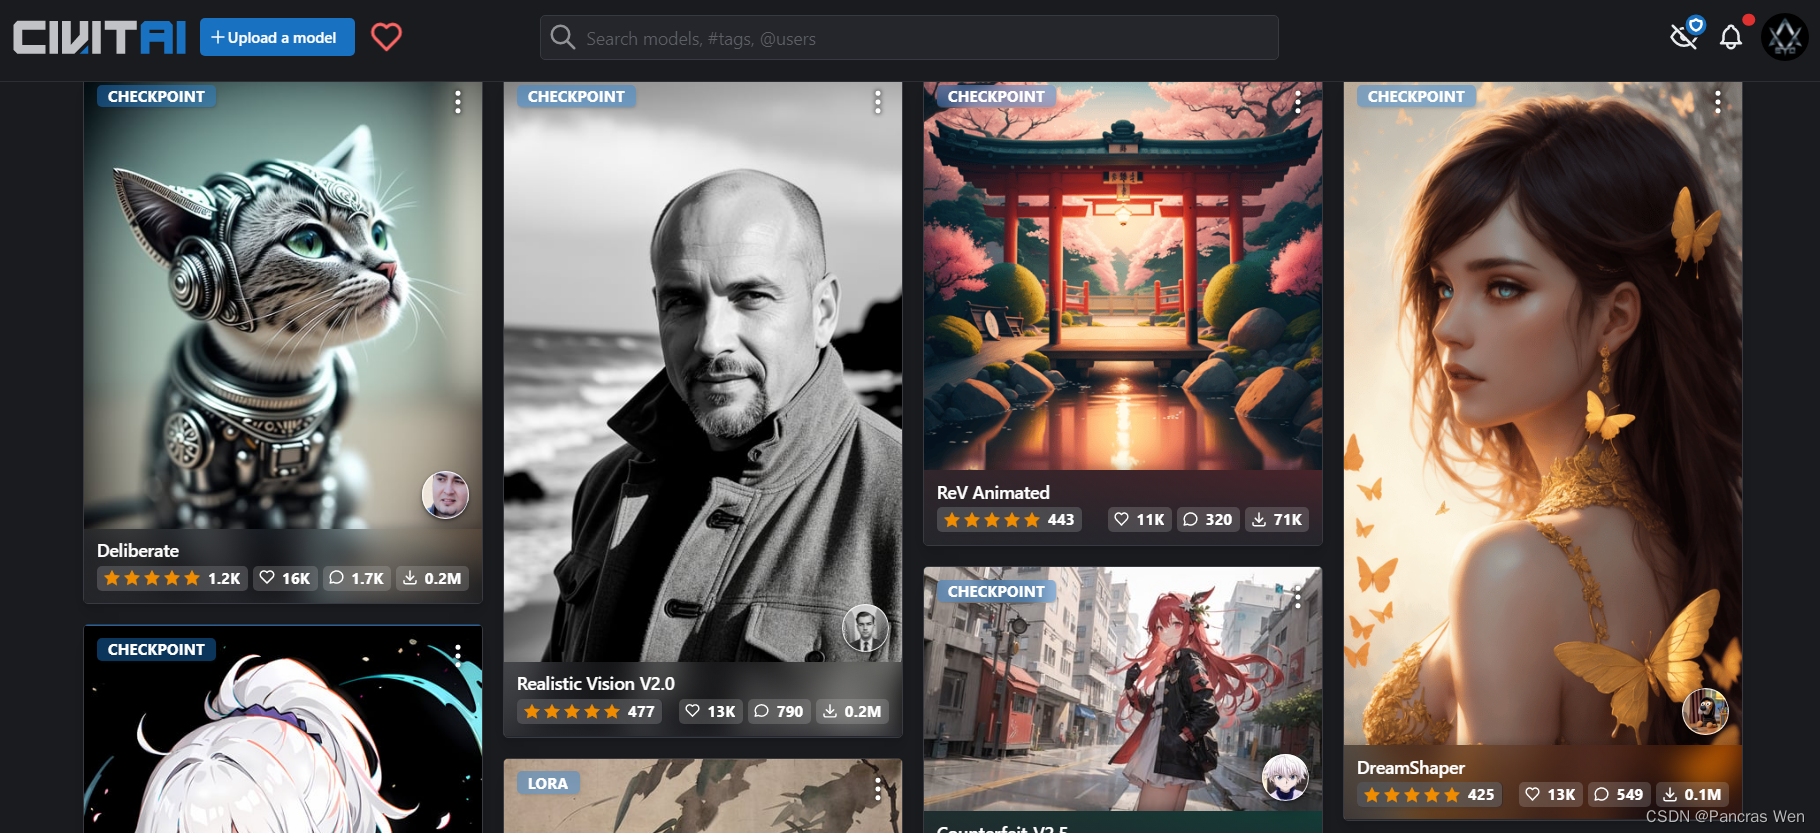
比如我们在C站看到了一款叫DreamShaper的模型,想要用它来绘图,怎样进行安装呢?
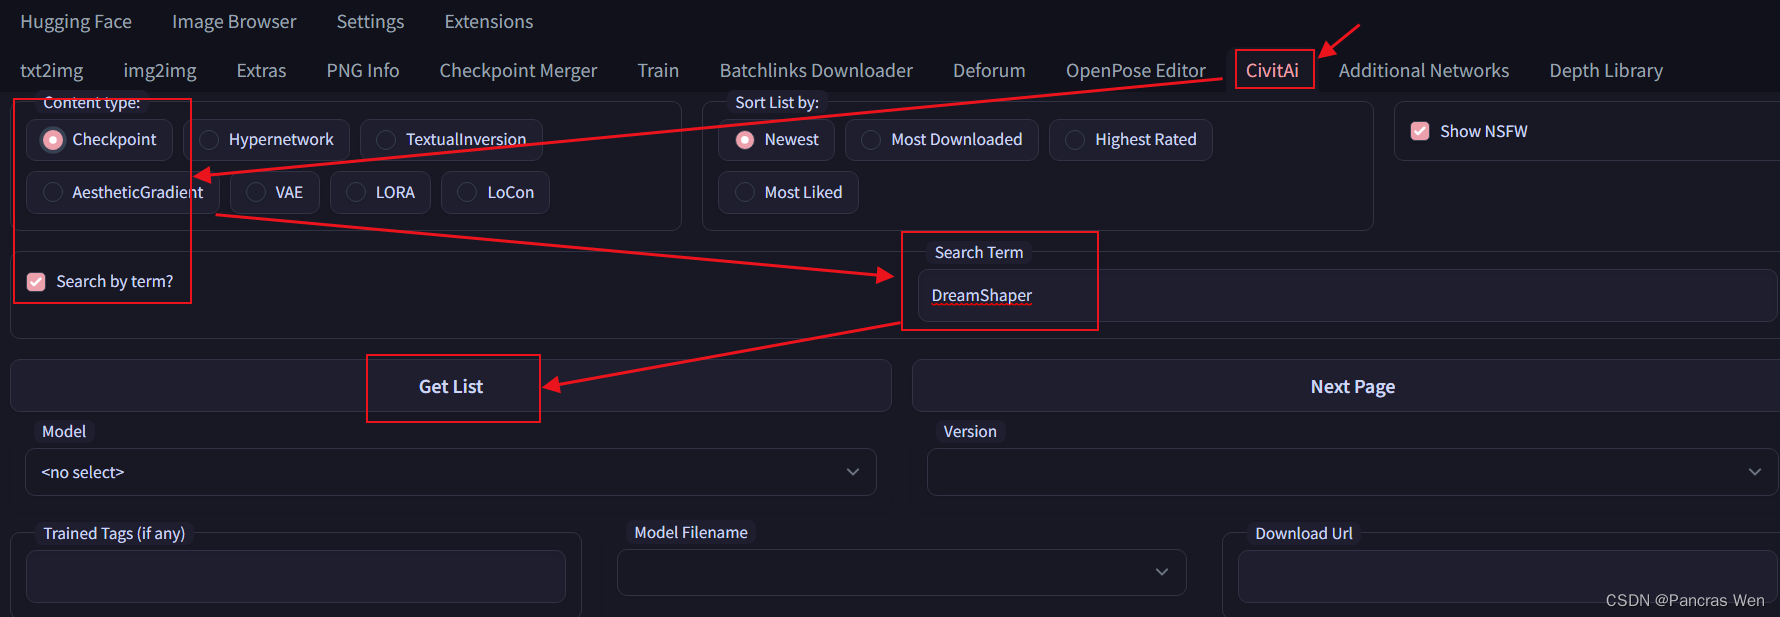
首先来到stable_diffusion_webui界面,先点击【CivitAi】,然后勾选上【Checkpoint】和【Search by term】,之后在【Search term】一栏输入我们要找的模型关键词“DreamShaper”,最后点击【Get List】
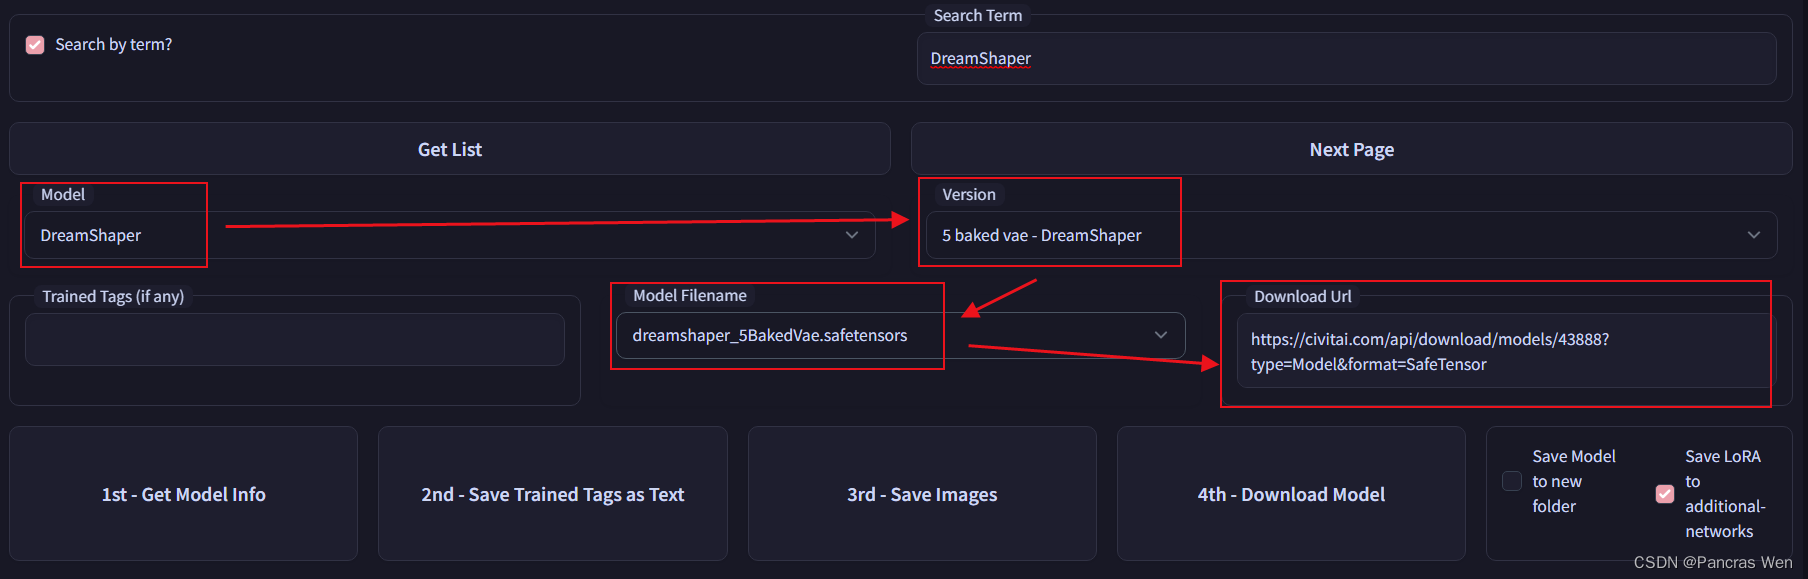
这时会有搜索的进度条闪过,之后在【Model】一栏点击下拉小箭头,在里面可以找到我们想找的“DreamShaper”,同时在右侧的【Version】一栏可以选择版本,选择好之后【Model Filename】和【Download Url】会出现对应的内容
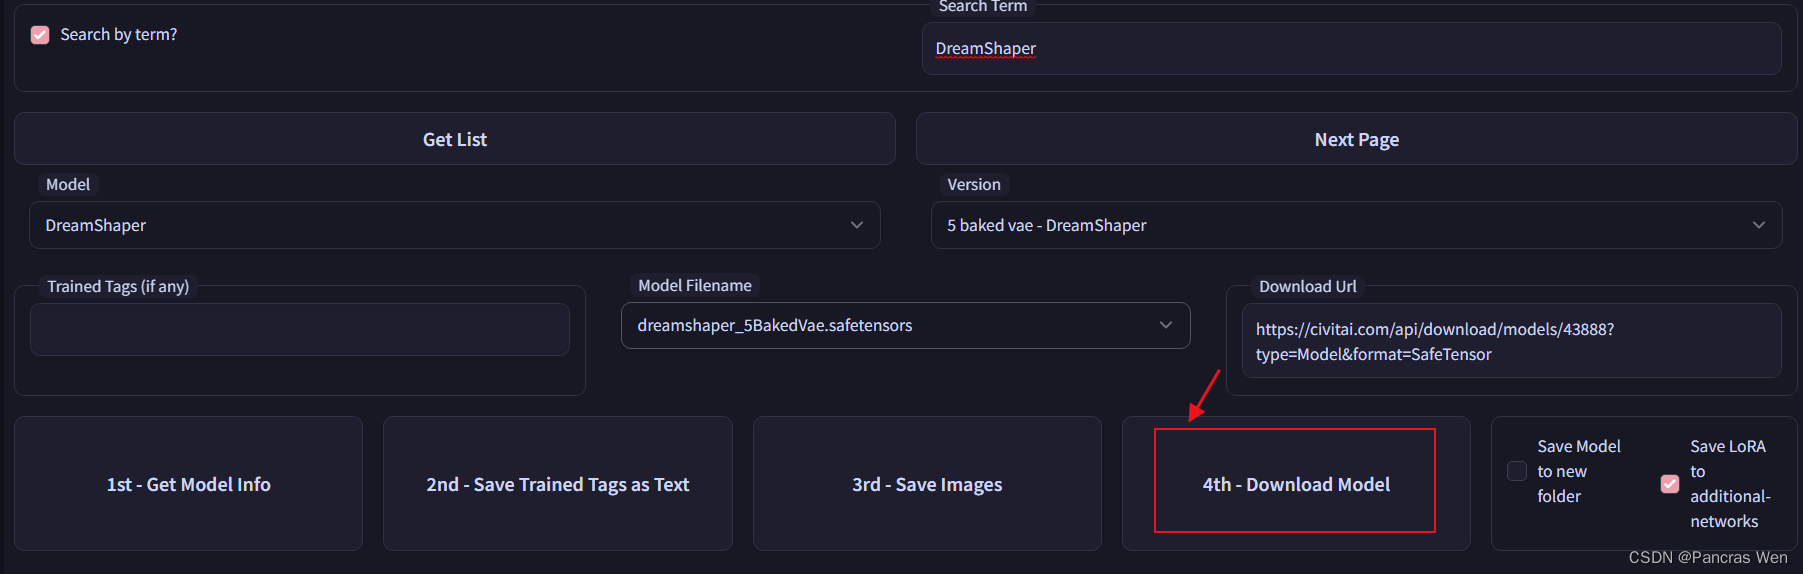
之后就可以点击【4th-Download Model】按钮了

回到谷歌Colab,可以看到正在下载模型
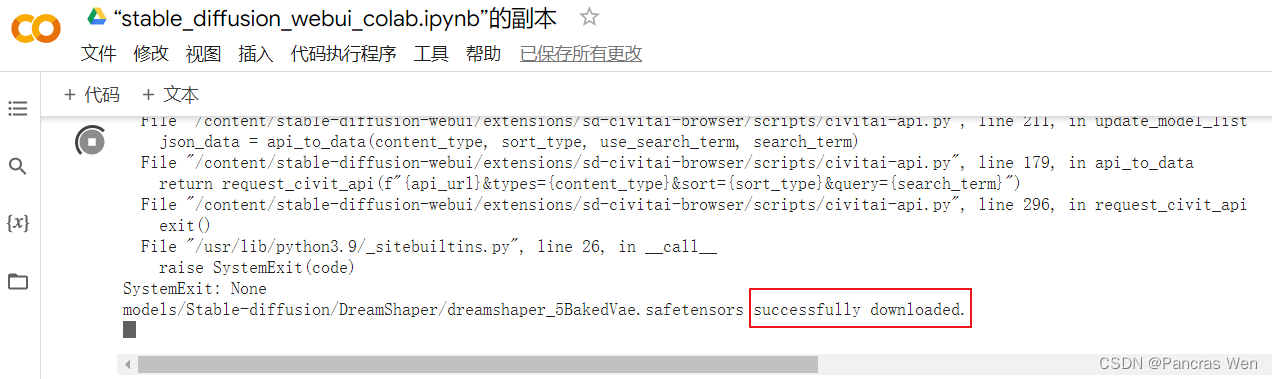
稍作等待,出现了successfully downloaded,说明下载好了此模型
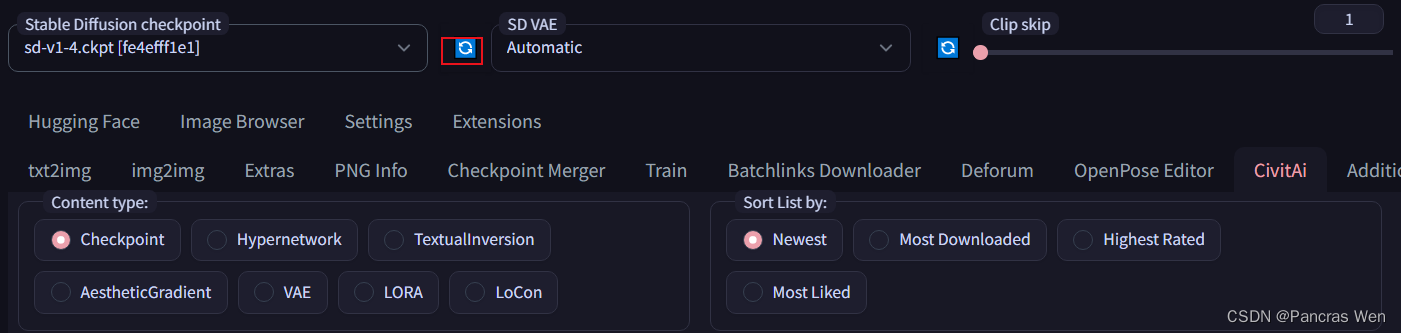
再回到stable_diffusion_webui界面,点击刷新小按钮刷新一下模型
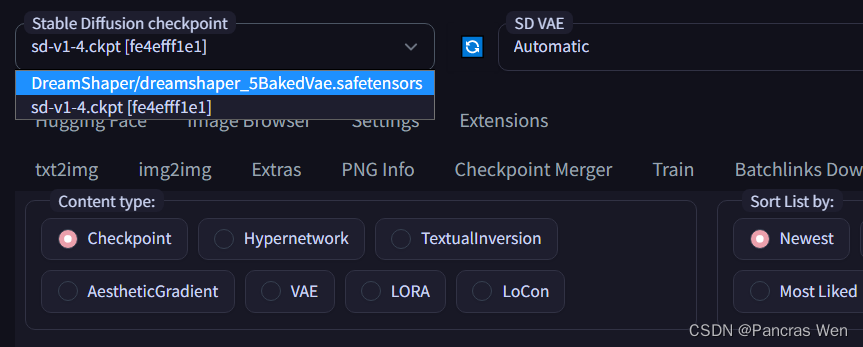
就可以切换成此模型了
4.开始绘图
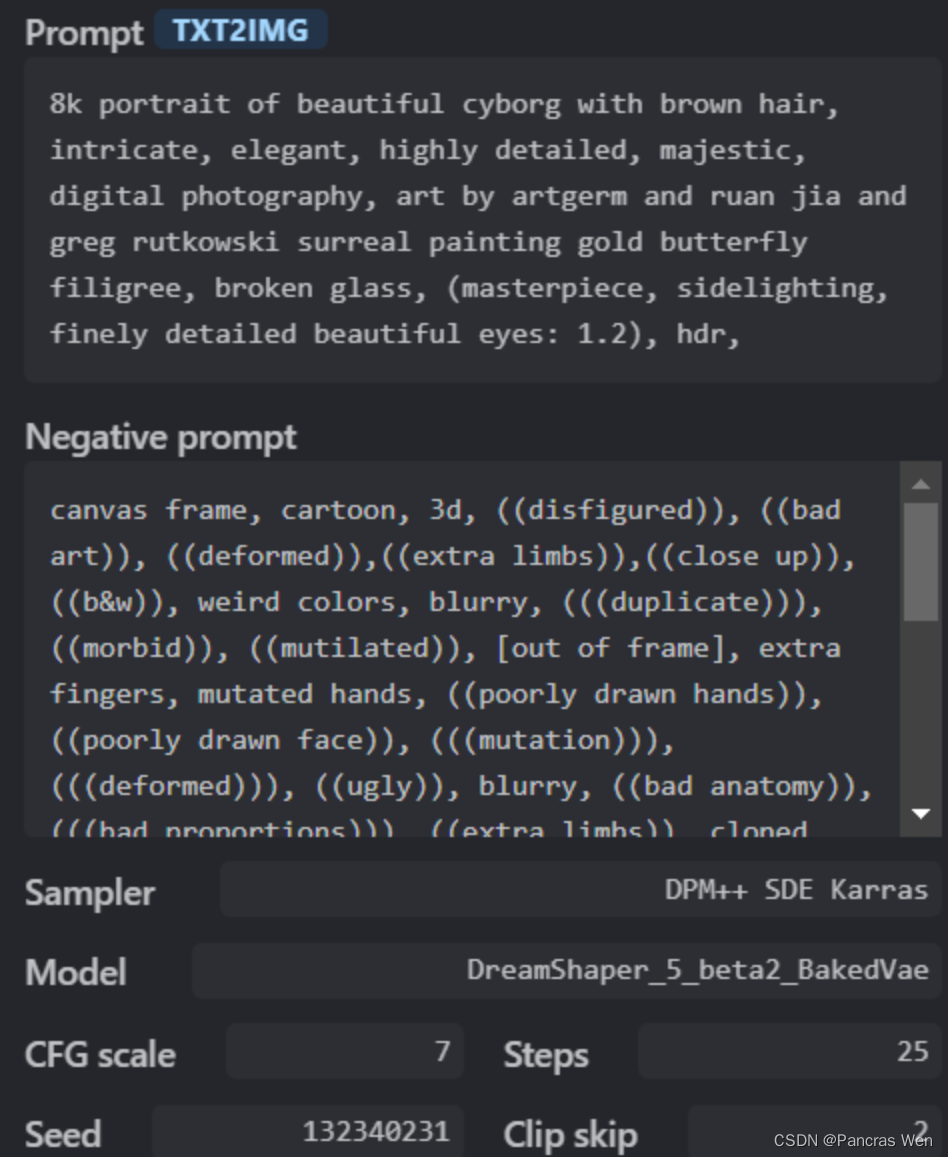
输入这些关键参数后点击生成
Prompt:
8k portrait of beautiful cyborg with brown hair, intricate, elegant, highly detailed, majestic, digital photography, art by artgerm and ruan jia and greg rutkowski surreal painting gold butterfly filigree, broken glass, (masterpiece, sidelighting, finely detailed beautiful eyes: 1.2), hdr,
Negative prompt:
canvas frame, cartoon, 3d, ((disfigured)), ((bad art)), ((deformed)),((extra limbs)),((close up)),((b&w)), weird colors, blurry, (((duplicate))), ((morbid)), ((mutilated)), [out of frame], extra fingers, mutated hands, ((poorly drawn hands)), ((poorly drawn face)), (((mutation))), (((deformed))), ((ugly)), blurry, ((bad anatomy)), (((bad proportions))), ((extra limbs)), cloned face, (((disfigured))), out of frame, ugly, extra limbs, (bad anatomy), gross proportions, (malformed limbs), ((missing arms)), ((missing legs)), (((extra arms))), (((extra legs))), mutated hands, (fused fingers), (too many fingers), (((long neck))), signature, video game, ugly, tiling, poorly drawn hands, poorly drawn feet, poorly drawn face, out of frame, mutation, mutated, extra limbs, extra legs, extra arms, disfigured, deformed, cross-eye, body out of frame, blurry, bad art, bad anatomy, 3d render
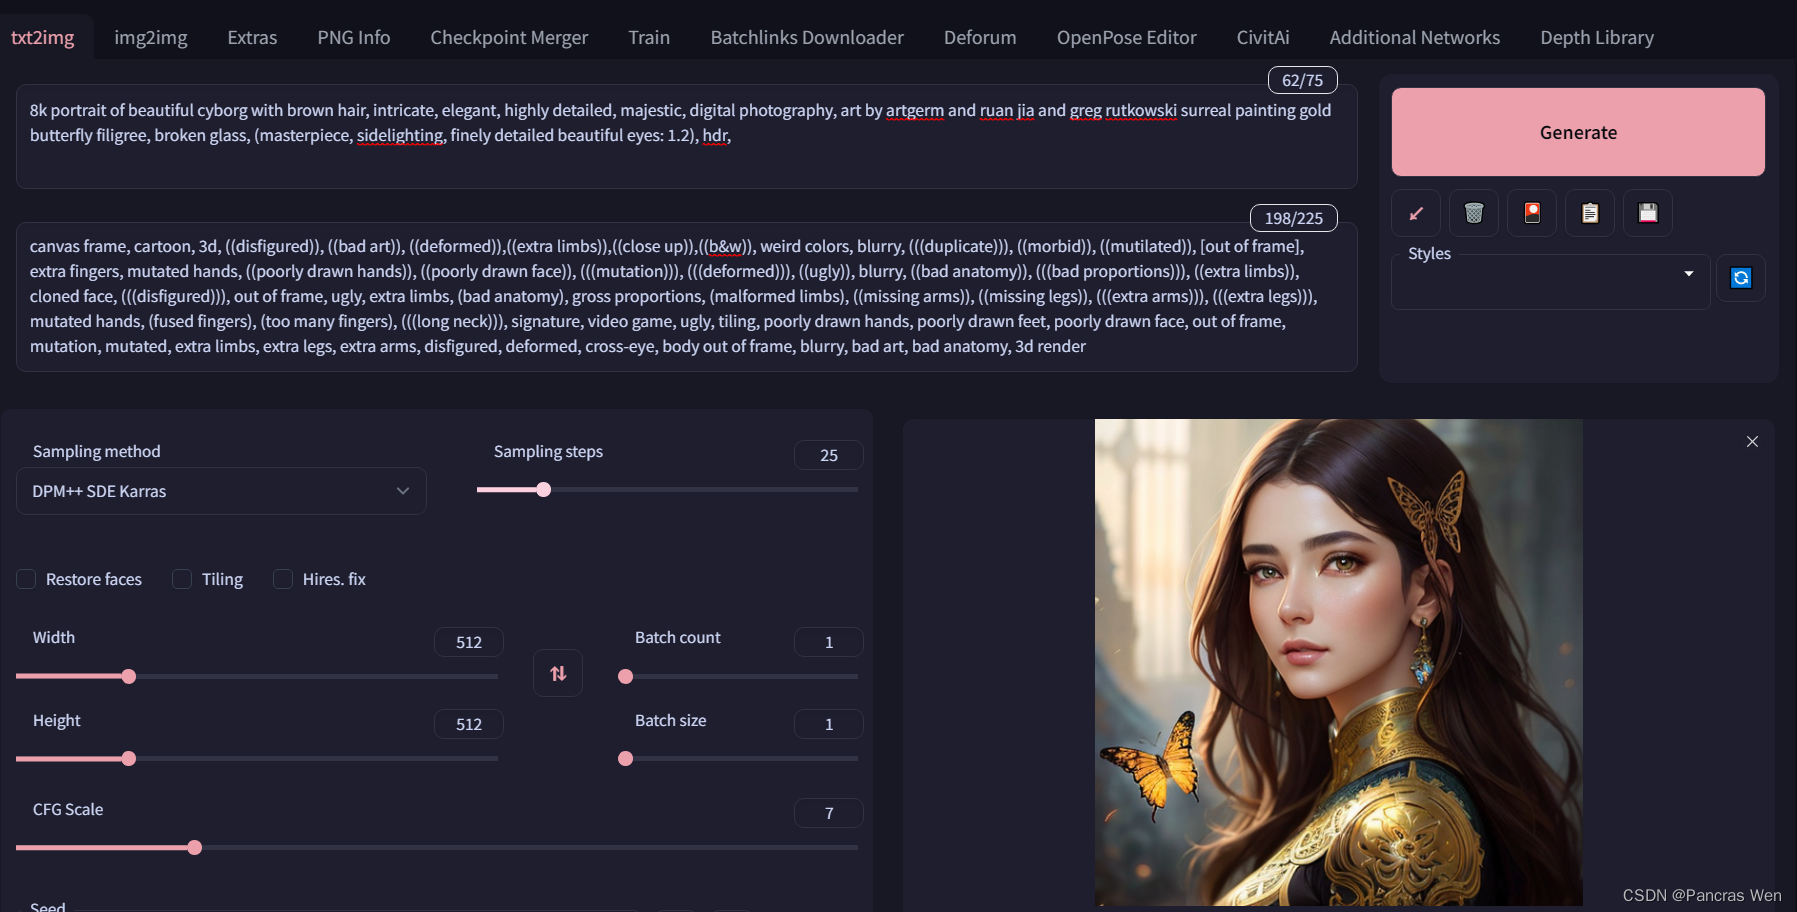
效果还是不错的
完结散花,感谢观看!