reactxp搭建,start:windows运行不起来

1、官网
reactxp
2、VSCode和Visual Studio2019
安装VSCode
Visual Studio 下载地址
先不用勾选工作负荷,直接安装
3、安装nvm
访问下载地址下载安装nvm:
百度云分享
官网直装链接
nvm的github发行界面下载nvm-setup.exe
GitCode镜像下载nvm-setup.exe(登录获取下载链接,下载链接还是Github的,唯一的作用就是挑选版本的时候快点)
4、配置nvm
nvm install lts安装最新版本的Node.js,本文安装的是18.16.0
nvm install lts启用这个版本
运行cmd /c "nvm -v && node -v && npm -v",正常输出版本号说明安装完成
5、安装git
阿里镜像、GitClone、git官网
可能的文件名:Git-2.40.0-64-bit.exe
6、克隆项目(内含示例)
运行git clone https://github.com/microsoft/reactxp
或者git clone https://gitclone.com/github.com/microsoft/reactxp
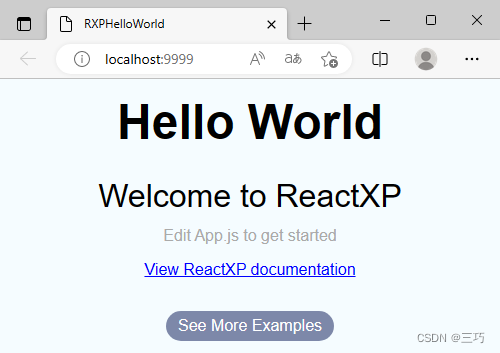
7、复制一份helloworld出来
进入reactxp\\samples路径
将hello-world-js文件夹复制一份到其他位置
8、helloworld项目,安装
进入到helloworld项目目录
运行npm install
9、运行web
cmd /c "set NODE_OPTIONS=--openssl-legacy-provider && npx cross-env platform=web webpack-dev-server --config=web/webpack/dev.js --progress --colors --mode=development"
10、运行windows前准备
使用 Microsoft Visual Studio 2019 打开hello-world-js\\windows\\RXPHelloWorld.sln
点击暂时跳过此项跳过登录
选择一个颜色主题,点击启动 Visual Studio
右侧解决方案资源管理器窗口提示需要安装组件,点击安装(需要安装两次)
(解决方案资源管理器窗口误关闭重新打开方法:菜单栏 - 视图(V) - 解决方案资源管理器(P)(Ctrl+Alt+L))

不需要修改自动勾选的项目,直接点击安装(I)
等待安装完成
完成后自动重启
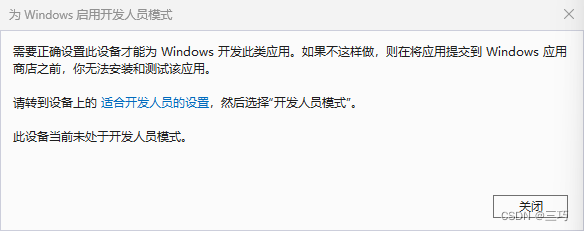
Visual Studio 提示为 Windows 启用开发人员模式,点击适合开发人员的设置转到设置,开启即可,关闭该提示
提示恢复文件,不用恢复
等 Visual Studio 加载完就关闭软件,不用保存更改
11、运行windows,失败
设置环境变量:setx VCTargetsPath "C:\\Program Files (x86)\\Microsoft Visual Studio\\2019\\Enterprise\\MSBuild\\Microsoft\\VC\\v160"
运行:npm run start:windows
error MSB4226: 找不到导入的项目
确认 <Import> 声明中的路径正确,并且该文件位于某个搜索路径中的磁盘上。