linux(CentOS 6.5) 安装 Oracle 11g步骤

第一步:准备
1、服务器环境:
系统:CentOS 6.5 (Final) x86_64(Py3.7.8)
2、Navcat:
版本16.0.14 - Premium(这里数据库管理工具,不限,可以用其他的)
3、FinalShell:
版本3.9.2.2(这里ssh工具,不限,可以用其他的)
第二步:下载oracle安装文件
1、下载链接:
https://edelivery.oracle.com/osdc/faces/SoftwareDelivery
2、账号注册:
点击链接后需要先进行登录,如图:
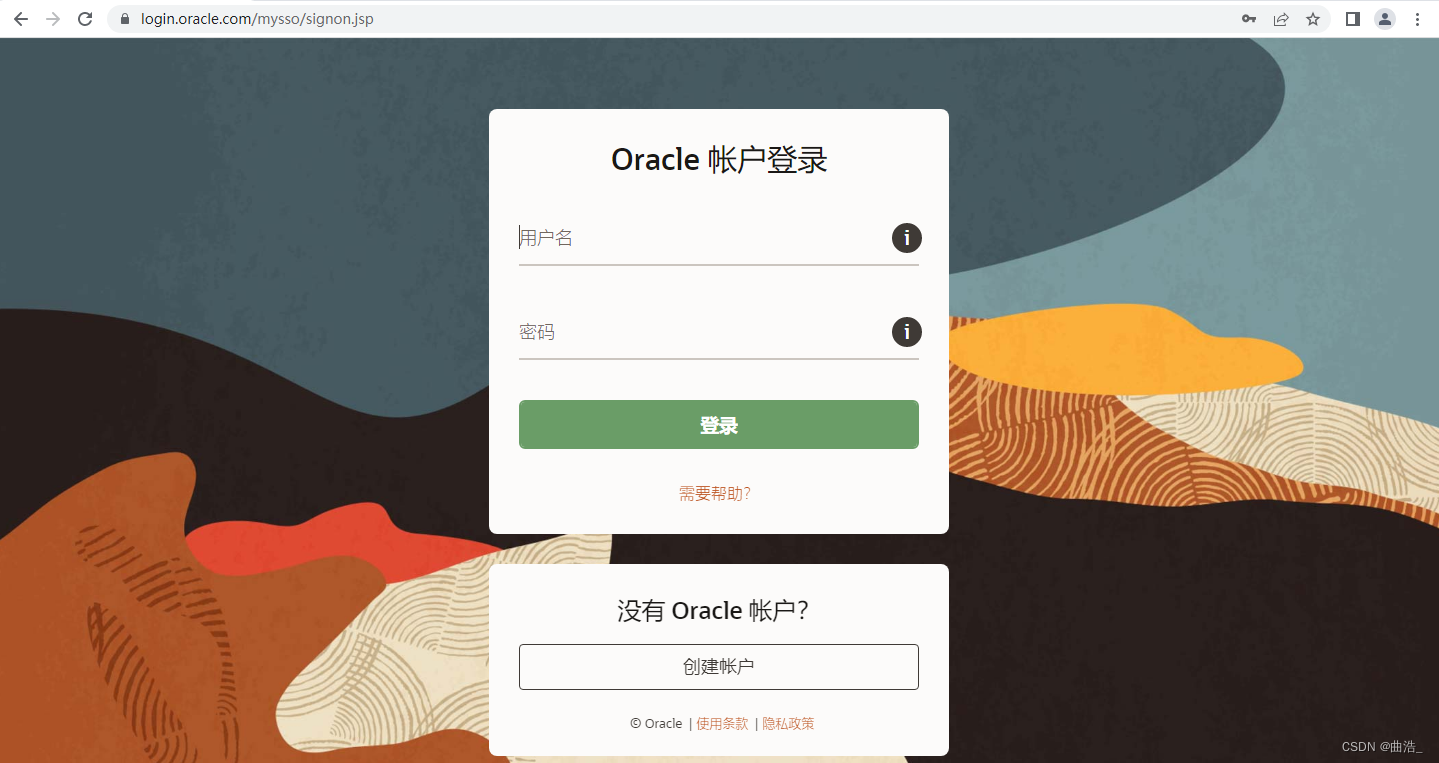
3、如果没有账号,需要用邮箱注册一个,QQ邮箱即可。
4、搜索需要下载的安装包,搜索内容【Oracle Database 11g】,然后找到对应的版本,本次以Oracle 11g为例,如图
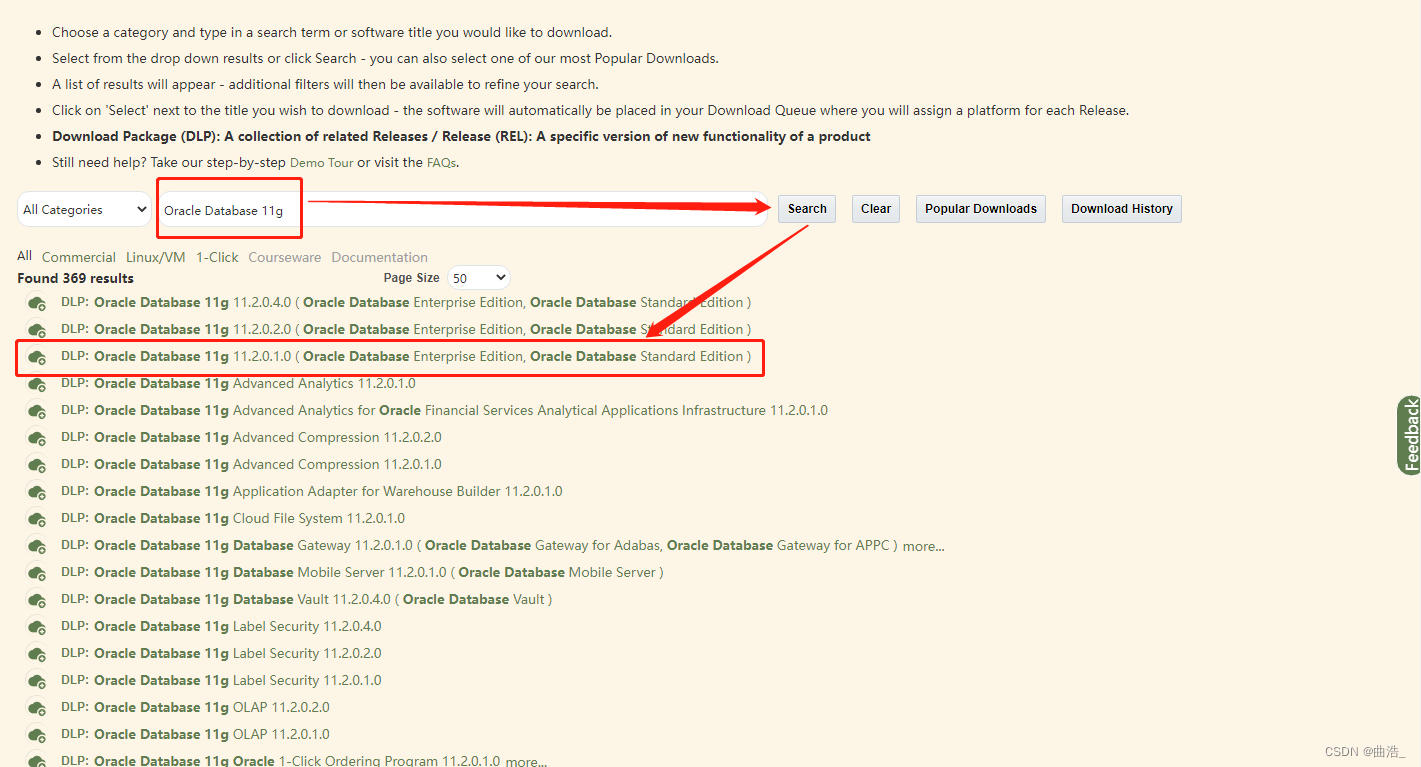
5、点击下载
点击如图下载链接,会把内容加入到下载列表中,如图
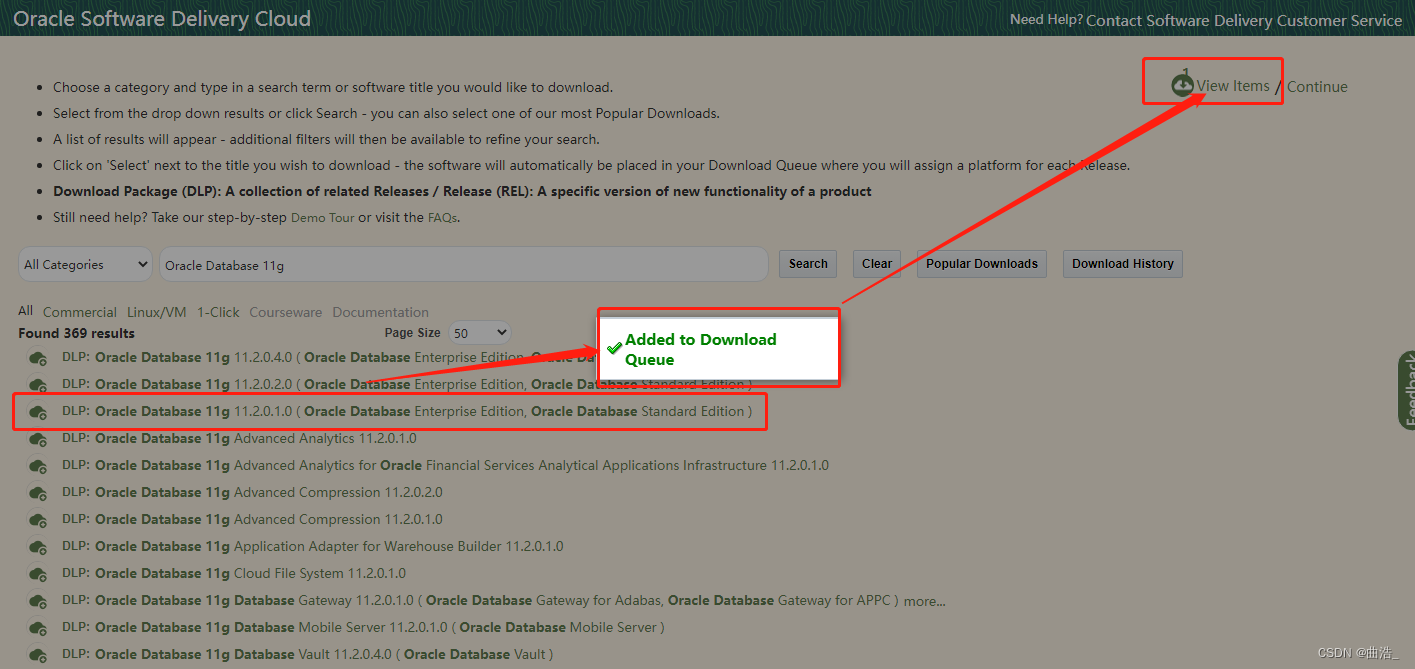
6、加入下载队列
点击Continue,如图
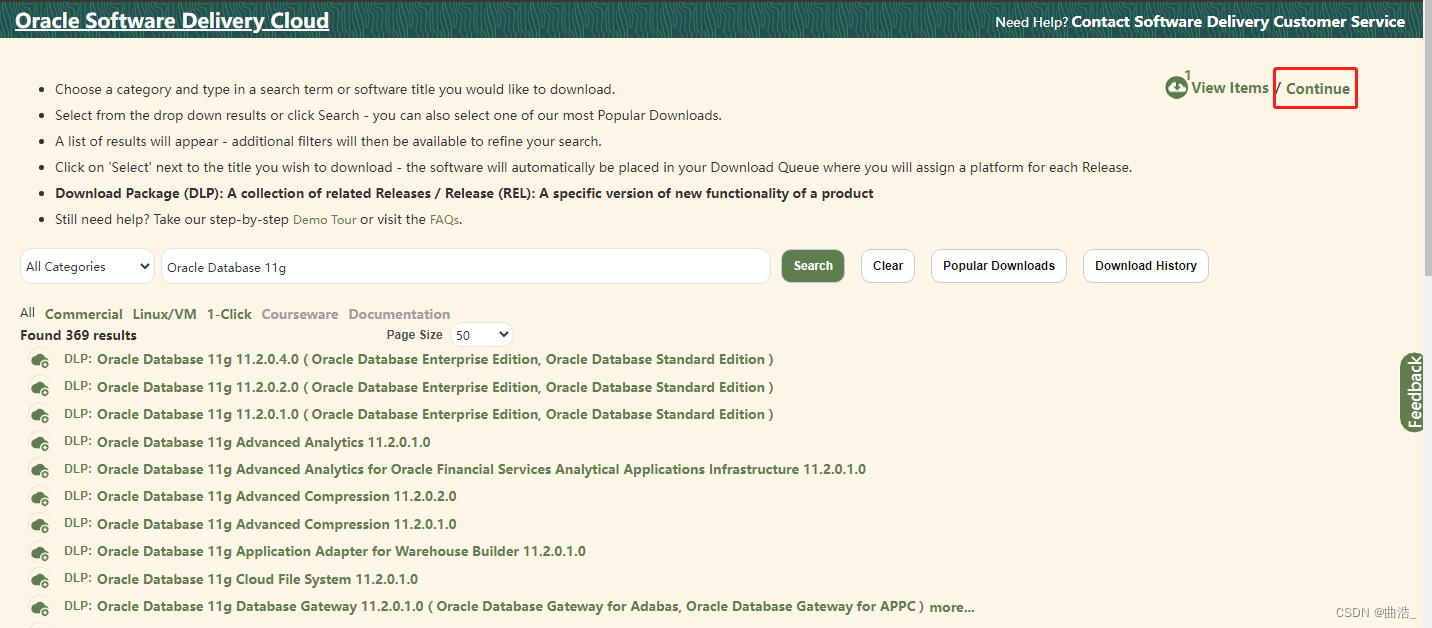
7、配置下载项
选择对应版本,如图

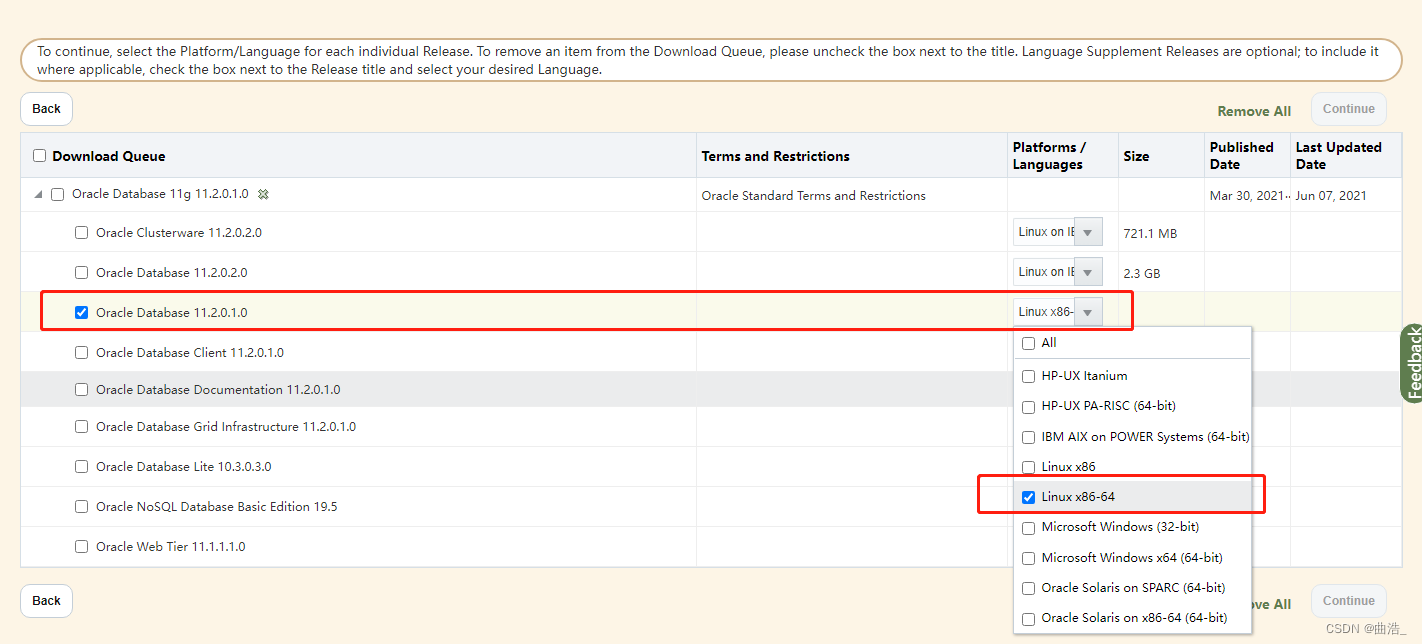
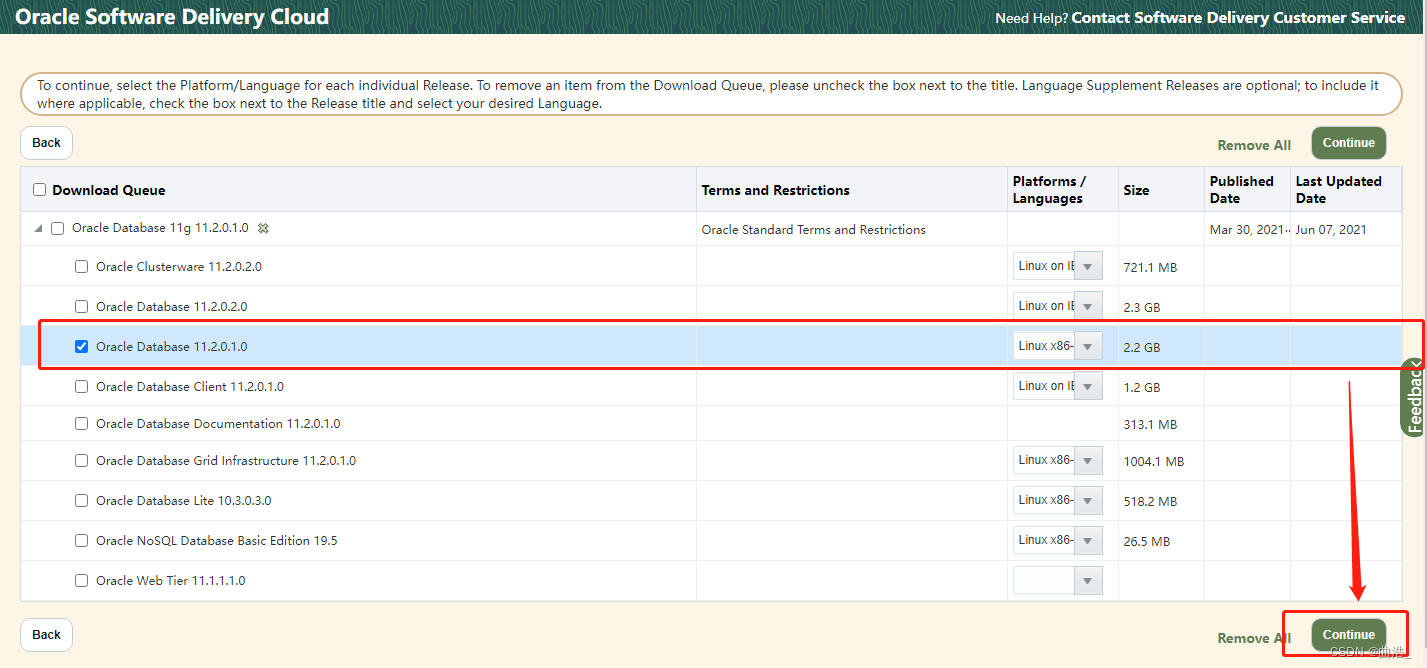
只选择这一个版本的选项,其他的不用选择 ,然后点击Continue按钮下载,如图,
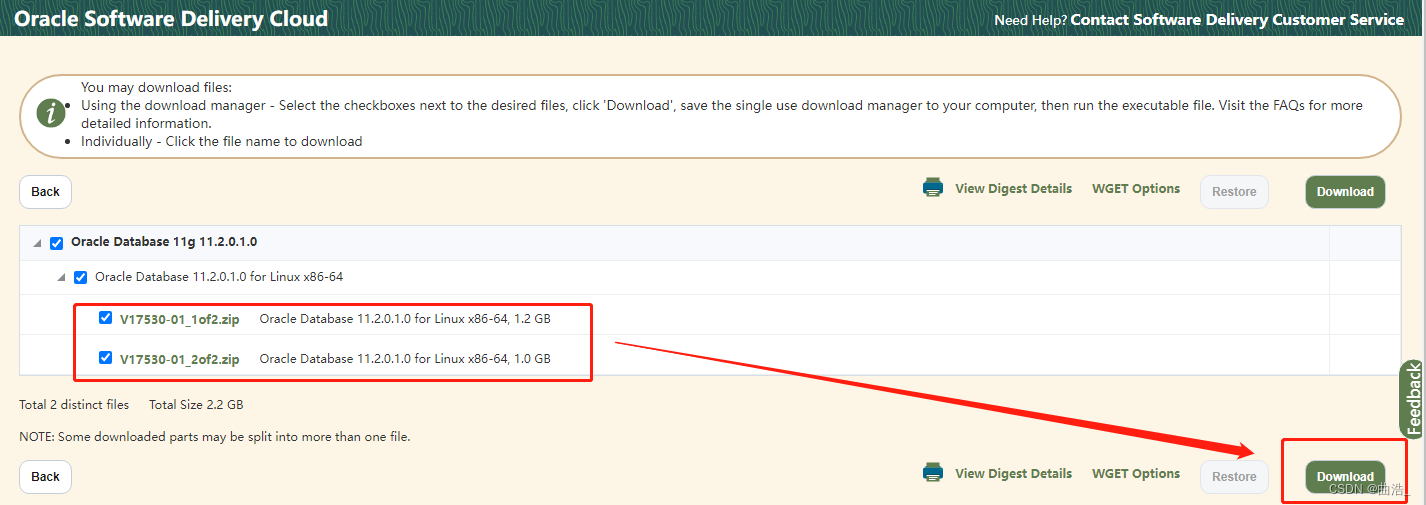
两个文件都需要勾选下载,点击Download按钮下载,如图
8、点击下载之后
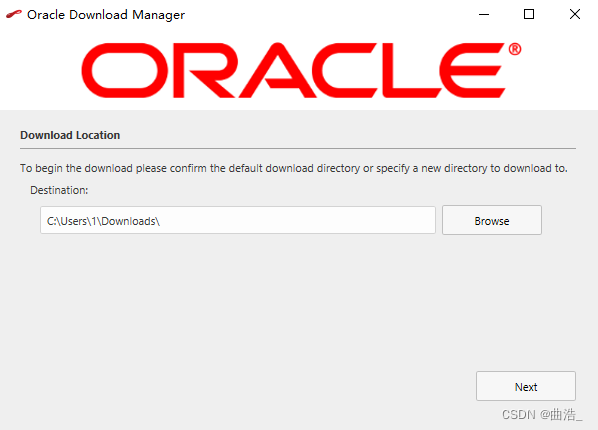
会得到一个文件,双击打开,继续下载,如图

下载位置自定义即可,如图
下载中...
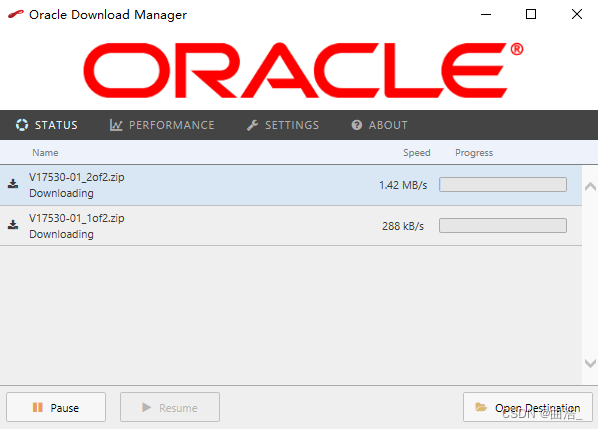
如果中途下载失败,不知道应该怎么办,可以从走一遍之前的流程,保证两个文件都下载下来即可。
9、下载成功
如图
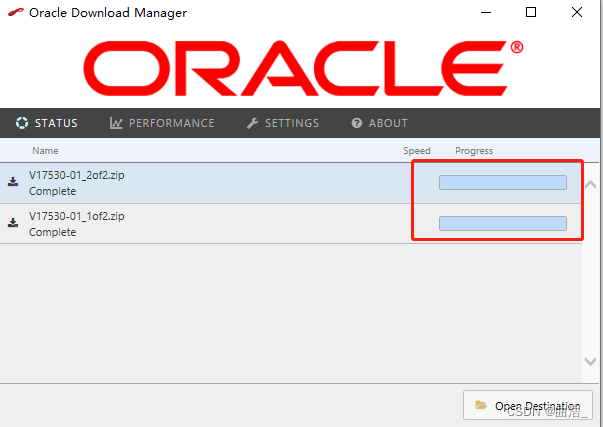
得到两个压缩包,如图

第三步:上传Oracle文件
1、利用ssh工具,创建上传Oracle文件目录
上传下载的两个压缩包,需要先创建目录。
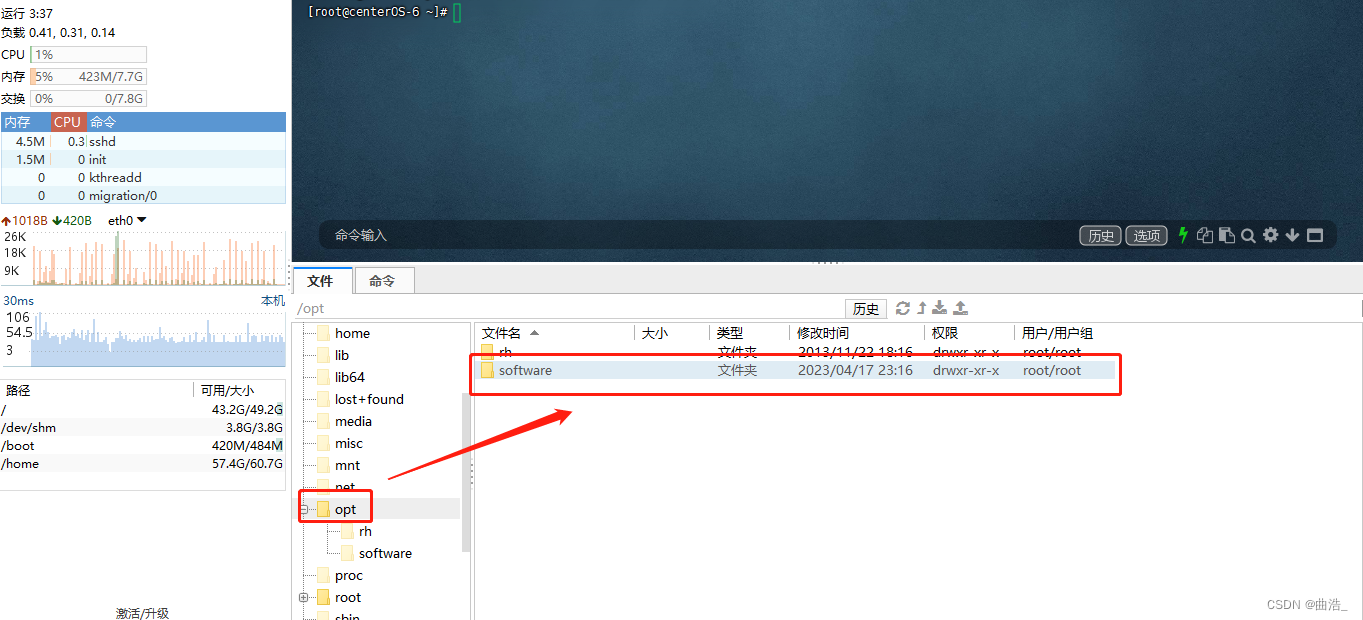
此处上传目录以 /opt/software/ 为例,没有software文件的,手动创建一下。
(建议不要放在/home文件夹下,到后续会有很多因为权限访问或者权限执行问题导致安装失败)
或者使用命令
cd /opt
mkdir software
目录创建成功,如图
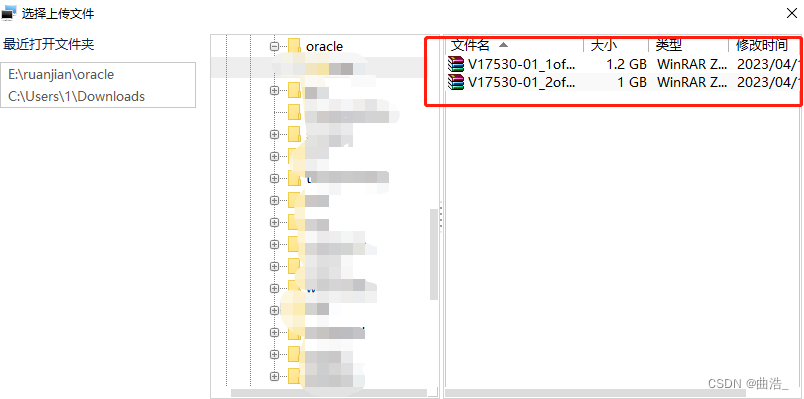
2、利用ssh工具,上传文件
进入创建的目录内,然后右键点击目录内的空白处,选择上传文件上传,两个文件都需要上传
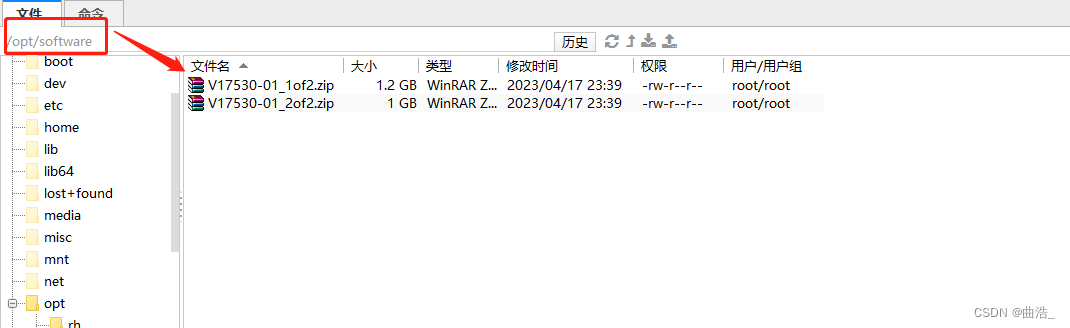
cd /opt/software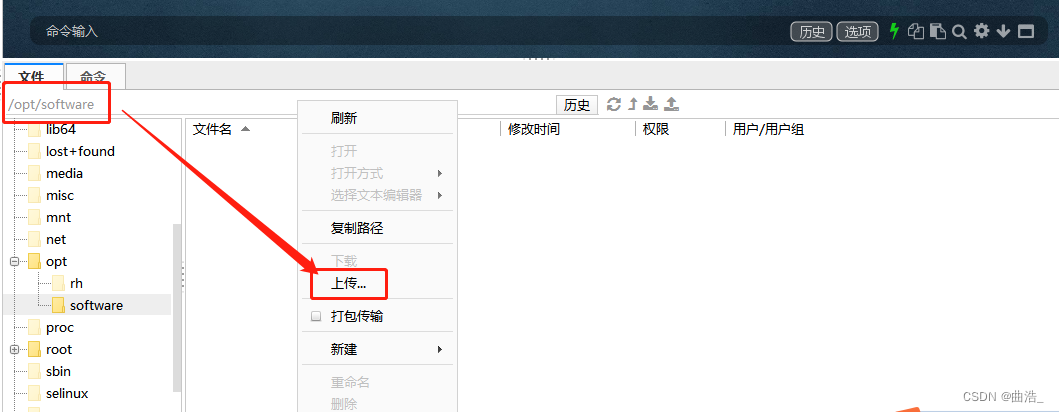
上传成功以后,如图
3、利用ssh工具,解压文件
解压文件需要先安装 unzip 命令,未安装可以使用yum 安装:
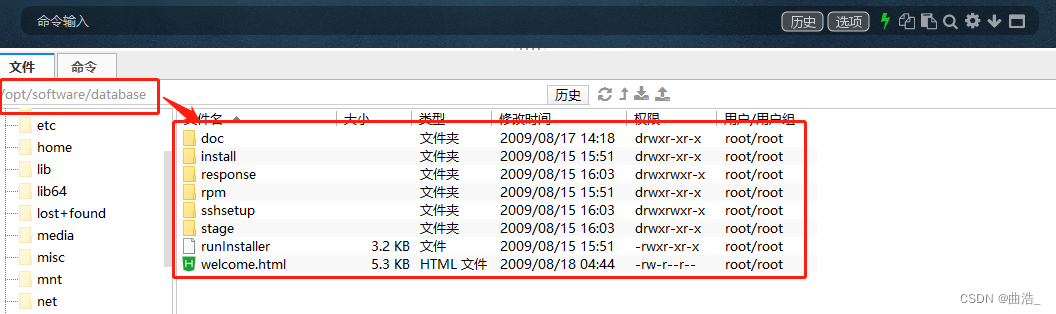
yum install -y unzip zip定位到software目录,解压oracle安装包
cd /opt/software/
unzip V17530-01_1of2.zip
unzip V17530-01_2of2.zip
解压oracle安装包后,两个文件会自动放入 /opt/software/ 下的database目录下,如图。
4、在/etc/hosts文件中增加主机名映射,配置host文件
cd /etc
vim /etc/hosts
192.168.01.110 oracle11g
(注意,这里的IP(192.168.01.110)是凑数的,需要填写的是服务器的IP)
5、关闭selinux
定位文件目录
cd /etc/selinux编辑文件
vim /etc/selinux/config修改属性:【SELINUX=disabled】,如图
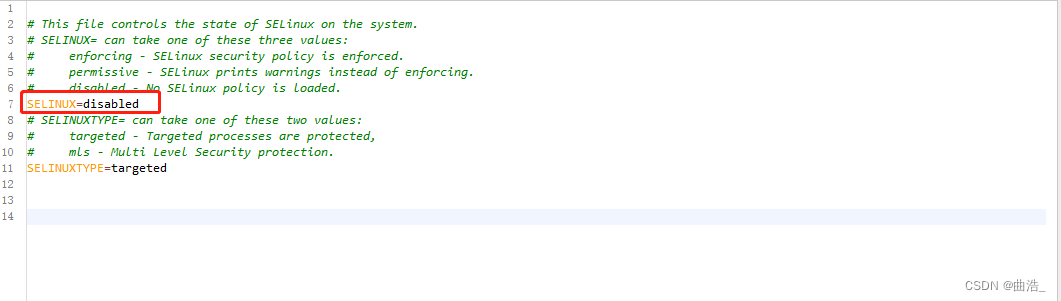
执行命令,关闭SELinux
setenforce 06、关闭防火墙
systemctl stop firewalld
systemctl disable firewalld.service
第三步:安装依赖包
1、CentoS 6 停止维护更新日期2020年11月30日,所以需要更换yum源
使用的是:阿里云源(centos-vault)
#首先备份源文件
mv /etc/yum.repos.d/* /tmp/#下载yum源文件
cd /etc/yum.repos.d/
wget -O /etc/yum.repos.d/CentOS-Base.repo http://mirrors.aliyun.com/repo/Centos-6.repo
#下载成功,如图
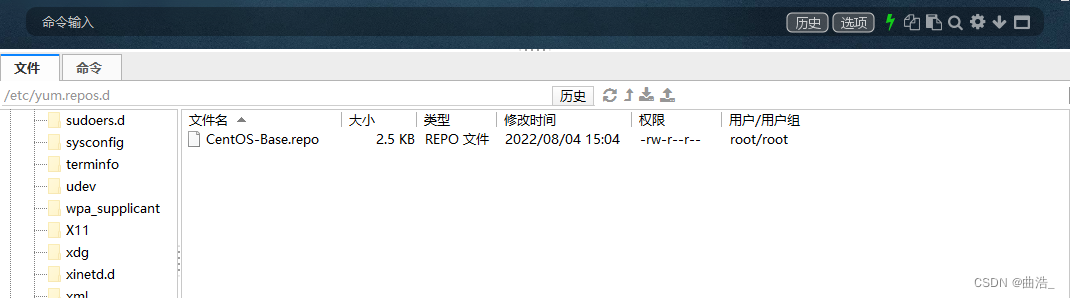
#修改文件中的源地址
cd /etc/yum.repos.d
vim CentOS-Base.repo
#以下的内容,直接进行复制替换。
# CentOS-Base.repo
#
# The mirror system uses the connecting IP address of the client and the
# update status of each mirror to pick mirrors that are updated to and
# geographically close to the client.  You should use this for CentOS updates
# unless you are manually picking other mirrors.
#
# If the mirrorlist= does not work for you, as a fall back you can try the
# remarked out baseurl= line instead.
#
#[base]
name=CentOS-6.4 - Base
baseurl=http://mirrors.aliyun.com/centos-vault/6.4/os/x86_64/
gpgcheck=1
gpgkey=http://mirrors.aliyun.com/centos-vault/RPM-GPG-KEY-CentOS-6[updates]
name=CentOS-6.4 - Updates
baseurl=http://mirrors.aliyun.com/centos-vault/6.4/updates/x86_64/
gpgcheck=1
gpgkey=http://mirrors.aliyun.com/centos-vault/RPM-GPG-KEY-CentOS-6[extras]
name=CentOS-6.4 - Extras
baseurl=http://mirrors.aliyun.com/centos-vault/6.4/extras/x86_64/
gpgcheck=1
gpgkey=http://mirrors.aliyun.com/centos-vault/RPM-GPG-KEY-CentOS-6[centosplus]
name=CentOS-6.4 - Plus
baseurl=http://mirrors.aliyun.com/centos-vault/6.4/centosplus/x86_64/
gpgcheck=1
enabled=0
gpgkey=http://mirrors.aliyun.com/centos-vault/RPM-GPG-KEY-CentOS-6[contrib]
name=CentOS-6.4 - Contrib
baseurl=http://mirrors.aliyun.com/centos-vault/6.4/contrib/x86_64/
gpgcheck=1
enabled=0
gpgkey=http://mirrors.aliyun.com/centos-vault/RPM-GPG-KEY-CentOS-6
# (这一段和下面的片段不用管也行,可以跳过)不同的版本内容不一样 ,例如下面就是CentOS-7的内容
# CentOS-Base.repo
#
# The mirror system uses the connecting IP address of the client and the
# update status of each mirror to pick mirrors that are updated to and
# geographically close to the client.  You should use this for CentOS updates
# unless you are manually picking other mirrors.
#
# If the mirrorlist= does not work for you, as a fall back you can try the
# remarked out baseurl= line instead.
#
#[base]
name=CentOS-$releasever - Base - mirrors.aliyun.com
failovermethod=priority
baseurl=http://mirrors.aliyun.com/centos/$releasever/os/$basearch/http://mirrors.aliyuncs.com/centos/$releasever/os/$basearch/http://mirrors.cloud.aliyuncs.com/centos/$releasever/os/$basearch/
gpgcheck=1
gpgkey=http://mirrors.aliyun.com/centos/RPM-GPG-KEY-CentOS-7#released updates
[updates]
name=CentOS-$releasever - Updates - mirrors.aliyun.com
failovermethod=priority
baseurl=http://mirrors.aliyun.com/centos/$releasever/updates/$basearch/http://mirrors.aliyuncs.com/centos/$releasever/updates/$basearch/http://mirrors.cloud.aliyuncs.com/centos/$releasever/updates/$basearch/
gpgcheck=1
gpgkey=http://mirrors.aliyun.com/centos/RPM-GPG-KEY-CentOS-7#additional packages that may be useful
[extras]
name=CentOS-$releasever - Extras - mirrors.aliyun.com
failovermethod=priority
baseurl=http://mirrors.aliyun.com/centos/$releasever/extras/$basearch/http://mirrors.aliyuncs.com/centos/$releasever/extras/$basearch/http://mirrors.cloud.aliyuncs.com/centos/$releasever/extras/$basearch/
gpgcheck=1
gpgkey=http://mirrors.aliyun.com/centos/RPM-GPG-KEY-CentOS-7#additional packages that extend functionality of existing packages
[centosplus]
name=CentOS-$releasever - Plus - mirrors.aliyun.com
failovermethod=priority
baseurl=http://mirrors.aliyun.com/centos/$releasever/centosplus/$basearch/http://mirrors.aliyuncs.com/centos/$releasever/centosplus/$basearch/http://mirrors.cloud.aliyuncs.com/centos/$releasever/centosplus/$basearch/
gpgcheck=1
enabled=0
gpgkey=http://mirrors.aliyun.com/centos/RPM-GPG-KEY-CentOS-7#contrib - packages by Centos Users
[contrib]
name=CentOS-$releasever - Contrib - mirrors.aliyun.com
failovermethod=priority
baseurl=http://mirrors.aliyun.com/centos/$releasever/contrib/$basearch/http://mirrors.aliyuncs.com/centos/$releasever/contrib/$basearch/http://mirrors.cloud.aliyuncs.com/centos/$releasever/contrib/$basearch/
gpgcheck=1
enabled=0
gpgkey=http://mirrors.aliyun.com/centos/RPM-GPG-KEY-CentOS-7
[epel]
name=Extra Packages for Enterprise Linux 7 - $basearch
baseurl=http://download.fedoraproject.org/pub/epel/7/$basearch
#mirrorlist=https://mirrors.fedoraproject.org/metalink?repo=epel-7&arch=$basearch
failovermethod=priority
enabled=1
gpgcheck=1
gpgkey=file:///etc/pki/rpm-gpg/RPM-GPG-KEY-EPEL-7
# 执行命令,生成yum缓存 & 更新
yum makecache && yum -y update2、安装依赖包
yum -y install binutils compat-libstdc++-33 compat-libstdc++-33.i686elfutils-libelf elfutils-libelf-devel gcc gcc-c++ glibc glibc.i686 glibc-common glibc-devel glibc-devel.i686glibc-headers ksh libaio libaio.i686 libaio-devel libaio-devel.i686 libgcc libgcc.i686 libstdc++ libstdc++.i686libstdc++-devel make sysstat unixODBC unixODBC-devel3、添加oracle用户和用户组
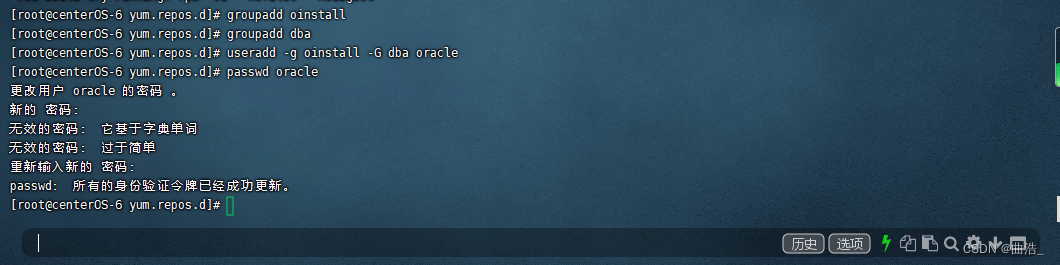
#创建oinstall组
#创建dba组
#把oracle用户加入到用户组
#设置oracle登录密码
命令如下:
groupadd oinstall
groupadd dba
useradd -g oinstall -G dba oracle
passwd oracle
设置密码:oracle,如图
4、 把database文件权限给oracle:oinstall
chown -R oracle:oinstall /opt/software/database/5、创建oracle安装目录和设置目录权限
#创建目录
cd /opt
mkdir module
#安装目录和设置目录权限
mkdir /opt/module/oracle   # oracle是数据库系统安装目录,
mkdir /opt/module/oracle/oradata   # oradata是数据库数据安装目录,
mkdir /opt/module/oracle/oradata_back   # oradata_back是数据备份目录,
mkdir /opt/module/oracle/oraInventory   # oraInventory是清单目录#给权限
chown -R oracle:oinstall /opt/module/oracle /opt/module/oracle/oraInventory /opt/module/oracle/oradata/
chmod -R 775 /opt/module/oracle /opt/module/oracle/oraInventory /opt/module/oracle/oradata/
6、配置oracle用户环境变量
cd /home/oracle
vim /home/oracle/.bash_profile
# 在文件底部追加以下内容
export ORACLE_BASE=/opt/module/oracle
export ORACLE_SID=orcl
如图
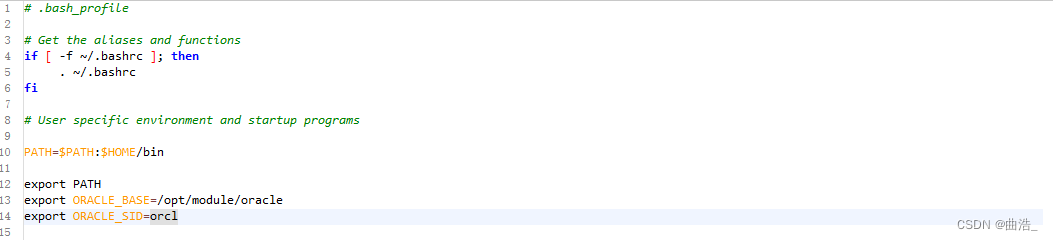
# 保存退出,刷新配置
source /home/oracle/.bash_profile7、切换到root用户并授权相关文件
su - root
cd /home/oracle/
mkdir etc
# 将解压后的配置文件复制过来
cp /opt/software/database/response/* /home/oracle/etc/# 授权
chown -R oracle:oinstall /home/oracle/etc
chmod 777 /home/oracle/etc/*.rsp
第四步:配置数据库安装文件
1、切换到oracle用户,配置数据库安装文件
su - oracle
cd /home/oracle/etc
vim /home/oracle/etc/db_install.rsp
2、以下是文件配置的内容,具体的位置有备注
oracle.install.option=INSTALL_DB_SWONLY #文件第29行
ORACLE_HOSTNAME=oracle11g #文件第37行(主机名)
UNIX_GROUP_NAME=oinstall #文件第42行
INVENTORY_LOCATION=/opt/module/oracle/oraInventory #文件第47行
SELECTED_LANGUAGES=en,zh_CN,zh_TW #文件第78行
ORACLE_HOME=/opt/module/oracle/product/11.2.0/db_1 #文件第83行
ORACLE_BASE=/opt/module/oracle #文件第88行
oracle.install.db.InstallEdition=EE #文件第99行
oracle.install.db.isCustomInstall=false #文件第108行
oracle.install.db.DBA_GROUP=dba #文件第142行
oracle.install.db.OPER_GROUP=oinstall #文件第147行
#这里必须填ture
DECLINE_SECURITY_UPDATES=true #文件第385行
3、根据响应文件安装oracle,安装完什么都不要动,看下一步。
cd /opt/software/database
./runInstaller -silent -force -responseFile /home/oracle/etc/db_install.rsp -ignorePrereq
参数说明:
/opt/software/database 是安装包解压后的路径,此处根据安装包解压所在位置做修改,因人而异。
runInstaller 是主要安装脚本
-silent 静默模式
-force 强制安装
-ignorePrereq忽略warning直接安装。
-responseFile读取安装应答文件。
4、上述程序安装完成后,按“Enter”键继续执行root脚本程序
sh /opt/module/oracle/product/11.2.0/db_1/root.sh5、切换成oracle用户配置环境变量
cd /home/oracle
su - oracle
vim ~/.bash_profile
#加下列配置加入配置文件中
export ORACLE_HOME=$ORACLE_BASE/product/11.2.0/db_1
export TNS_ADMIN=$ORACLE_HOME/network/admin
export PATH=.:${PATH}:$HOME/bin:$ORACLE_HOME/bin
export PATH=${PATH}:/usr/bin:/bin:/usr/bin/X11:/usr/local/bin
export LD_LIBRARY_PATH=${LD_LIBRARY_PATH}:$ORACLE_HOME/lib
export LD_LIBRARY_PATH=${LD_LIBRARY_PATH}:$ORACLE_HOME/oracm/lib
export LD_LIBRARY_PATH=${LD_LIBRARY_PATH}:/lib:/usr/lib:/usr/local/lib
export CLASSPATH=${CLASSPATH}:$ORACLE_HOME/JRE
export CLASSPATH=${CLASSPATH}:$ORACLE_HOME/JRE/lib
export CLASSPATH=${CLASSPATH}:$ORACLE_HOME/jlib
export CLASSPATH=${CLASSPATH}:$ORACLE_HOME/rdbms/jlib
export CLASSPATH=${CLASSPATH}:$ORACLE_HOME/network/jlib
export LIBPATH=${CLASSPATH}:$ORACLE_HOME/lib:$ORACLE_HOME/ctx/lib
export ORACLE_OWNER=oracle
export SPFILE_PATH=$ORACLE_HOME/dbs
export ORA_NLS10=$ORACLE_HOME/nls/data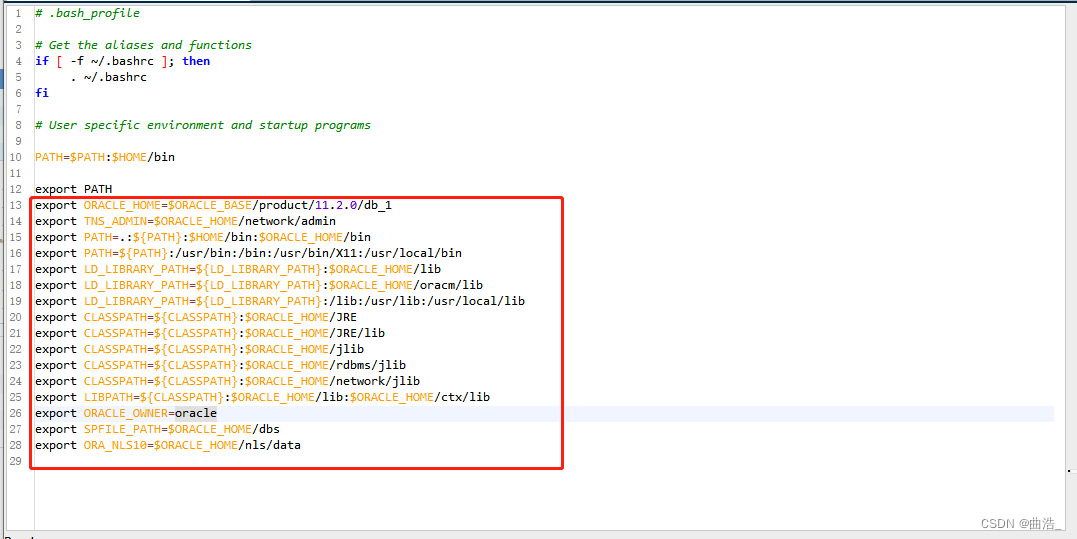
#用命令,使.bash_profile文件生效
source ~/.bash_profile第五步:安装数据库实例
1、配置dbca.rsp文件:
cd /home/oracle/etc
vim /home/oracle/etc/dbca.rsp
GDBNAME="orcl" #78行 全局数据库的名字
SID="orcl" #149行 SID对应的实例名字
SYSPASSWORD="oracle" #190行 SYS管理员密码
SYSTEMPASSWORE="oracle" #200行 SYSTEM管理员密码
DATAFILEDESTINATION=/opt/module/oracle/oradata #357行 数据文件存放目录,默认值:$ORACLE_BASE/oradata,【该目录下的数据库文件是用各个数据库实例名命名的文件夹区分开来的】
RECOVERYAREADESTINATION=/usr/local/oradata_back #367行 恢复数据存放目录,默认值:$ORACLE_BASE/flash_recovery_area
CHARACTERSET="AL32UTF8" #415行 字符集,重要!!!建库后一般不能更改,所以建库前要确定清楚
TOTALMEMORY= "40960" #540行 oracle内存40,960MB,建议为物理内存70%~85%,物理内存50*1024*80%2、静默安装数据库命令
dbca -silent -responseFile /home/oracle/etc/dbca.rsp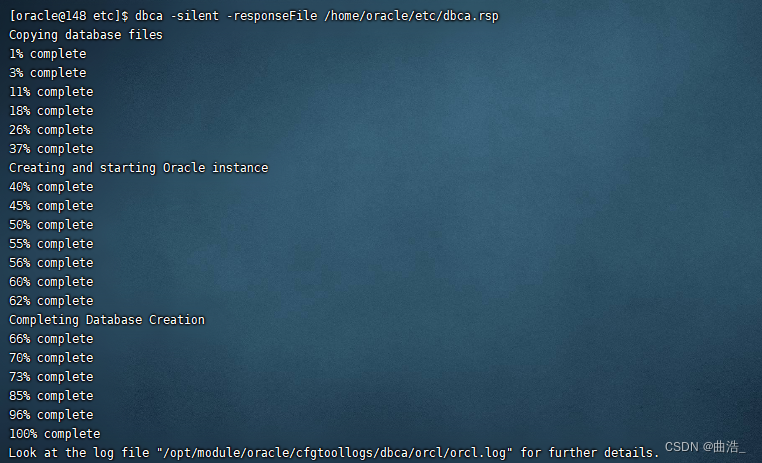
3、实例进程检查,检查是否有实例
ps -ef | grep ora_ | grep -v grep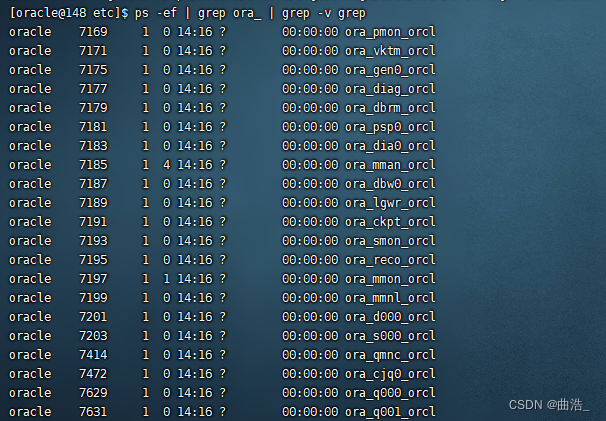
4、监听配置
#跳转对应目录
cd /opt/module/oracle/product/11.2.0/db_1/network/admin# 找到文件listener.ora,没有文件就创建一个
vim /opt/module/oracle/product/11.2.0/db_1/network/admin/listener.ora# listener.ora替换文件内容如下
# listener.ora Network Configuration File: /opt/module/oracle/product/11.2.0/db_1/network/admin/listener.ora
# Generated by Oracle configuration tools.LISTENER =(DESCRIPTION_LIST =(DESCRIPTION =(ADDRESS = (PROTOCOL = IPC)(KEY = EXTPROC1521))(ADDRESS = (PROTOCOL = TCP)(HOST = oracle11g)(PORT = 1521))))ADR_BASE_LISTENER = /opt/module/oracle
# 找到文件tnsnames.ora,没有文件就创建一个
vim /opt/module/oracle/product/11.2.0/db_1/network/admin/listener.ora# 获取 HOST
hostname# tnsnames.ora替换文件内容如下
# tnsnames.ora Network Configuration File: /opt/module/oracle/product/11.2.0/db_1/network/admin/tnsnames.ora
# Generated by Oracle configuration tools.LISTENER_ORCL =(ADDRESS = (PROTOCOL = IPC)(KEY = EXTPROC1521))ORCL =(DESCRIPTION =(ADDRESS = (PROTOCOL = TCP)(HOST = 这里需要根据实际情况填写,上面的教程里面有获取的方法)(PORT = 1521))(CONNECT_DATA =(SERVER = DEDICATED)(SERVICE_NAME = orcl)))
# 开启监听配置
netca /silent /responsefile /home/oracle/etc/netca.rsp# 重启监听
su - oracle
cd $ORACLE_HOME/bin
dbstart
lsnrctl start
# 安装完成,切换回 oracle用户,使用sqlplus连接测试
sqlplus system# 输入密码
oracle# 安装完成

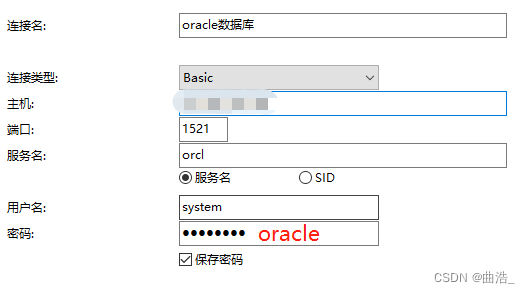
第六步:Navcat连接数据库
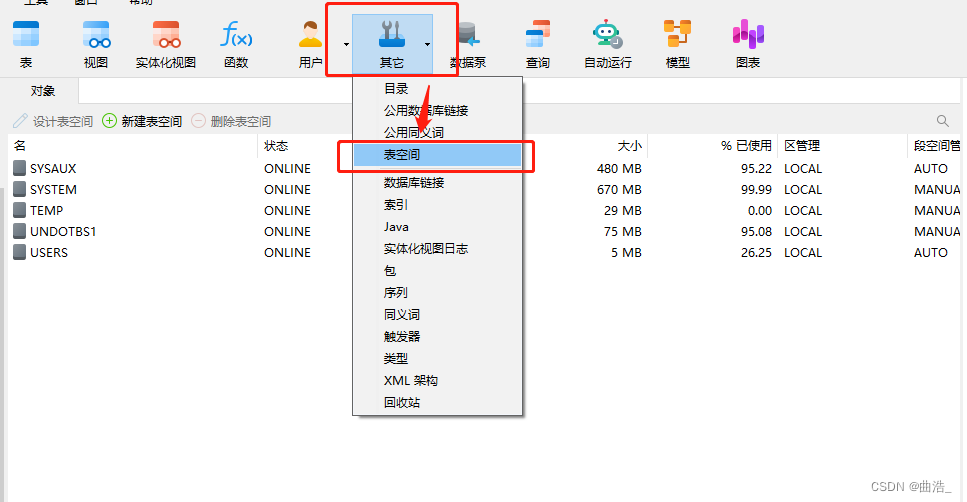
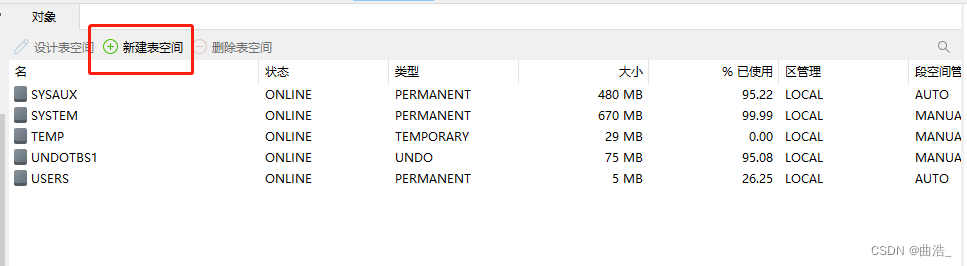
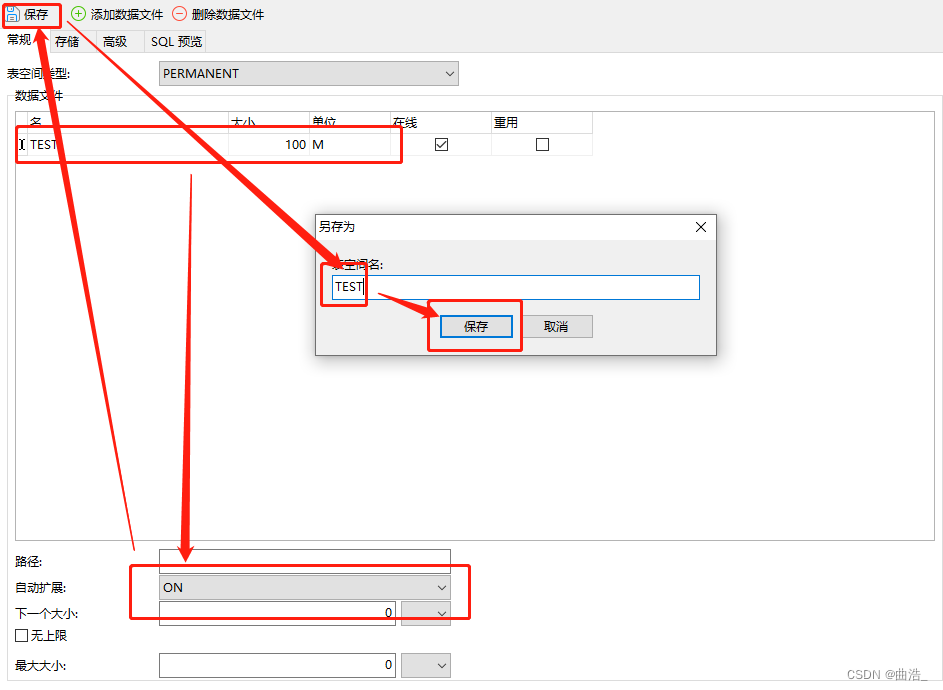
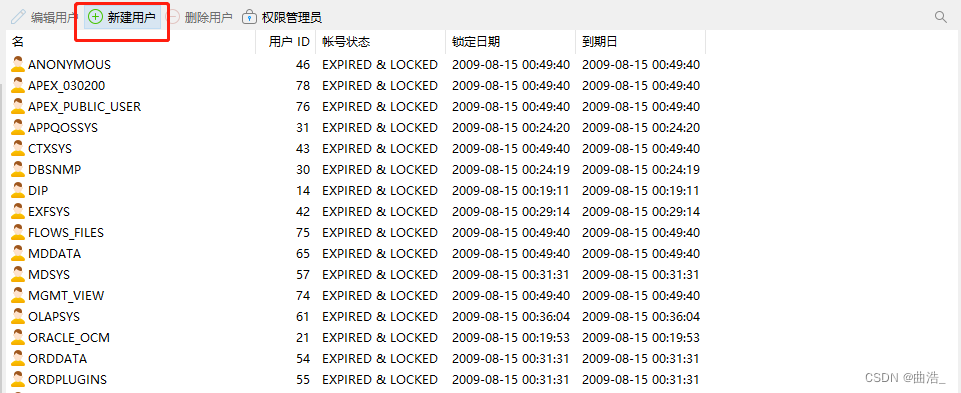
第七步:Navcat创建表空间
1、新建表空间
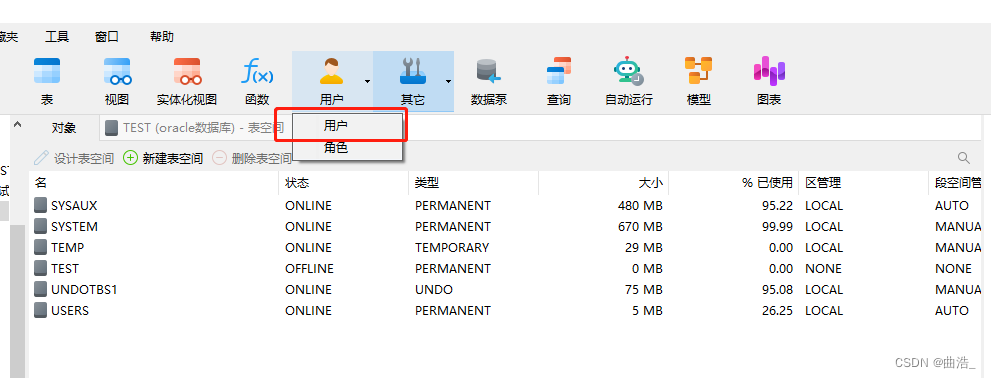
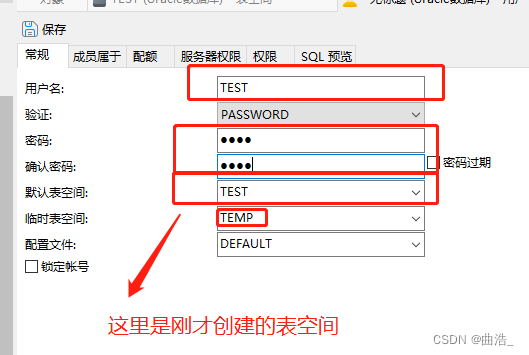
成员属于:
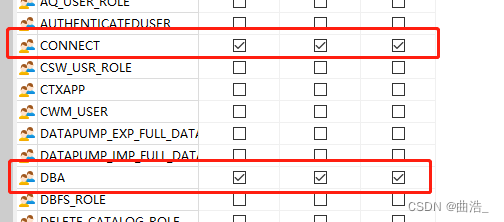
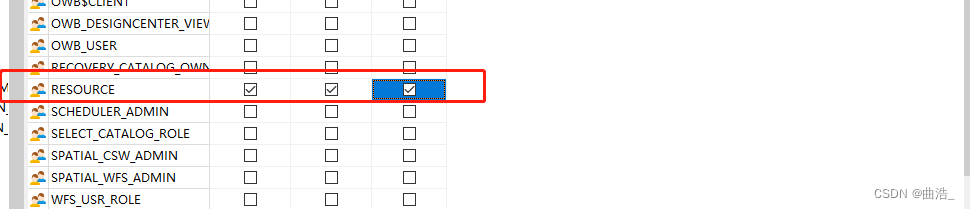
服务器权限:
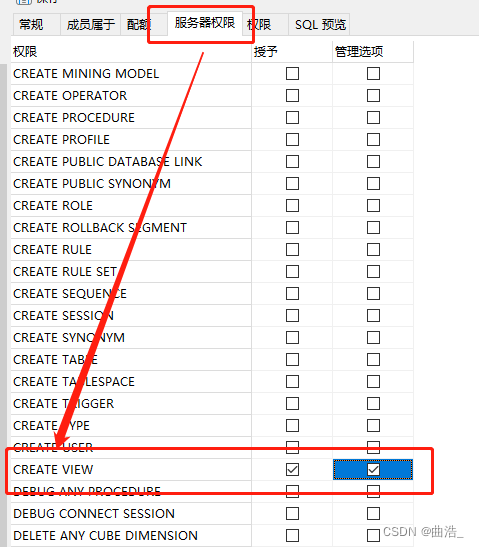
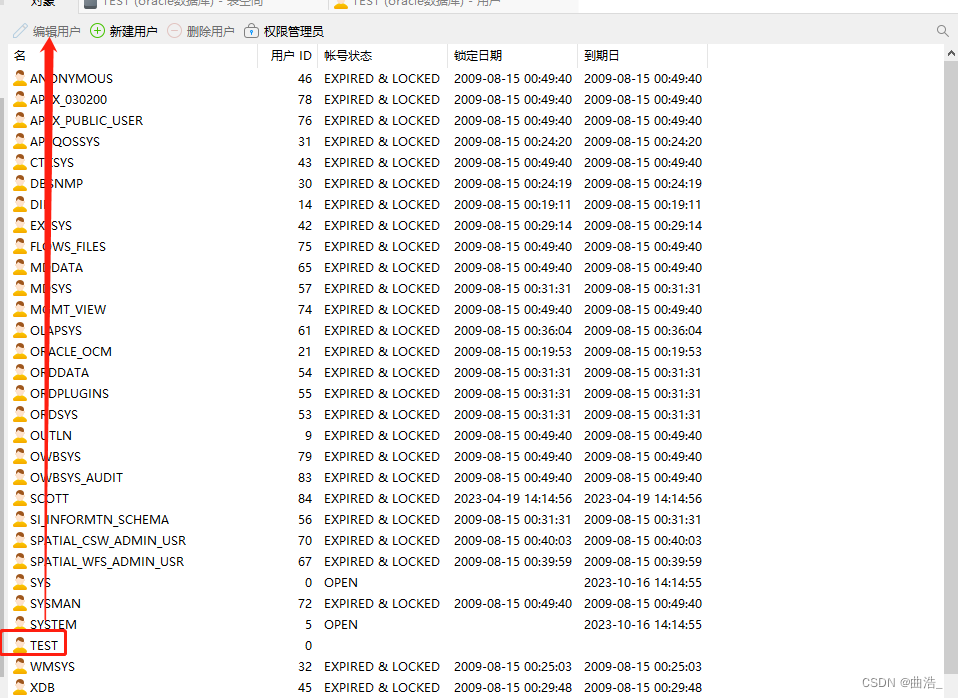
# 退出重新登陆创建的账号