Springboot基础学习之(二十一):Swagger基础学习(swagger信息介绍,配置扫描接口和开关,分组和接口注释)

什么是Swagger?
Swagger2是一个规范和完整的框架,用于生成、描述、调用和可视化RESTful 风格的Web 服务
使用Swagger你只需要按照它的规范去定义接口及接口相关的信息。再通过Swagger衍生出来的一系列项目和工具,就可以做到生成各种格式的接口文档,生成多种语言的客户端和服务端的代码,以及在线接口调试页面等等。这样,如果按照新的开发模式,在开发新版本或者迭代版本的时候,只需要更新Swagger描述文件,就可以自动生成接口文档和客户端服务端代码,做到调用端代码、服务端代码以及接口文档的一致性。
为什么要使用Swagger?
1:Swagger可以实现注释信息的添加,帮助我们更好的了解到接口信息
2:可以实现接口文档的实时更新
3:通过Swagger接口可以实现在线测试与app postman相似
实施Swagger结构
一:创建一个springboot项目环境(web)
二:导入swagger2需要使用的依赖
<dependencies><!-- https://mvnrepository.com/artifact/io.springfox/springfox-swagger2 --><dependency><groupId>io.springfox</groupId><artifactId>springfox-swagger2</artifactId><version>3.0.0</version></dependency><!-- https://mvnrepository.com/artifact/io.springfox/springfox-swagger-ui --><dependency><groupId>io.springfox</groupId><artifactId>springfox-swagger-ui</artifactId><version>3.0.0</version></dependency><!--运行环境--><dependency><groupId>io.springfox</groupId><artifactId>springfox-boot-starter</artifactId><version>3.0.0</version></dependency>
三:在配置文件对路径进行配置
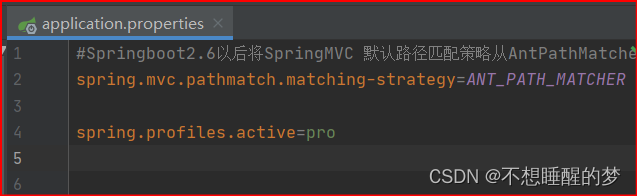
Springboot2.6以后将SpringMVC 默认路径匹配策略从AntPathMatcher 更改为PathPatternParser,导致出错
spring.mvc.pathmatch.matching-strategy=ANT_PATH_MATCHERSwagger页面的路径
package springfox.boot.starter.autoconfigure;import org.springframework.util.StringUtils;
import org.springframework.web.servlet.config.annotation.ResourceHandlerRegistry;
import org.springframework.web.servlet.config.annotation.ViewControllerRegistry;
import org.springframework.web.servlet.config.annotation.WebMvcConfigurer;// tag::swagger-ui-configurer[]
public class SwaggerUiWebMvcConfigurer implements WebMvcConfigurer {private final String baseUrl;public SwaggerUiWebMvcConfigurer(String baseUrl) {this.baseUrl = baseUrl;}@Overridepublic void addResourceHandlers(ResourceHandlerRegistry registry) {String baseUrl = StringUtils.trimTrailingCharacter(this.baseUrl, '/');registry.addResourceHandler(baseUrl + "/swagger-ui/").addResourceLocations("classpath:/META-INF/resources/webjars/springfox-swagger-ui/").resourceChain(false);}@Overridepublic void addViewControllers(ViewControllerRegistry registry) {registry.addViewController(baseUrl + "/swagger-ui/").setViewName("forward:" + baseUrl + "/swagger-ui/index.html");}
}
// end::swagger-ui-configurer[]
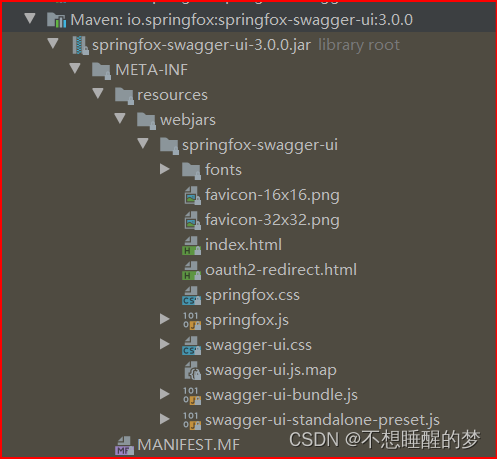
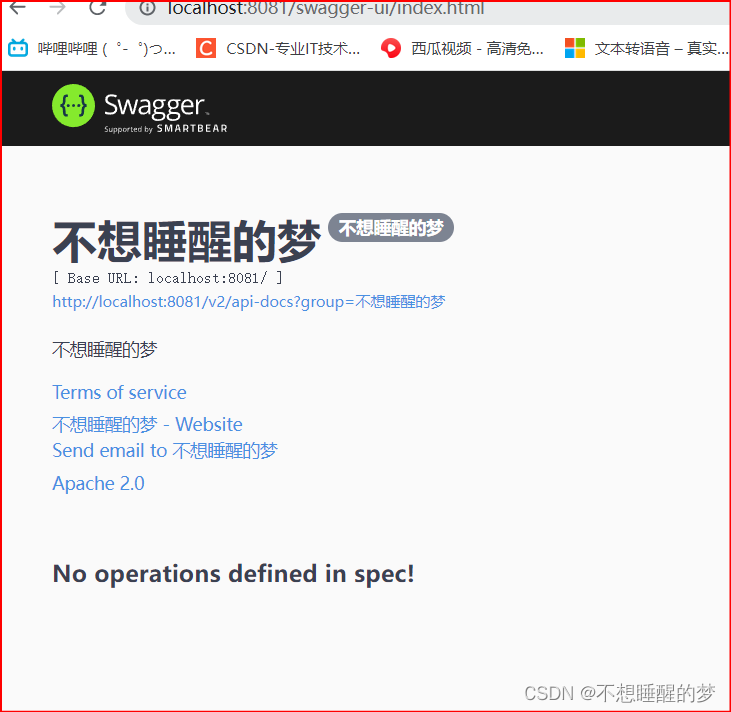
由SwaggerUiWebMvcConfigurer类可知我们要访问上图中index页面
路径为:http://localhost:8080/swagger-ui/index.html
注意:一定要查看依赖中的路径配置,因为不同版本的swagger导致index页面不一样和访问路径也可能不同
四:启动swagger:定义个类swagger_config实现swagger功能的开启
@Configuration
@EnableSwagger2
public class swagger_config {}
执行项目:访问swagger后台界面
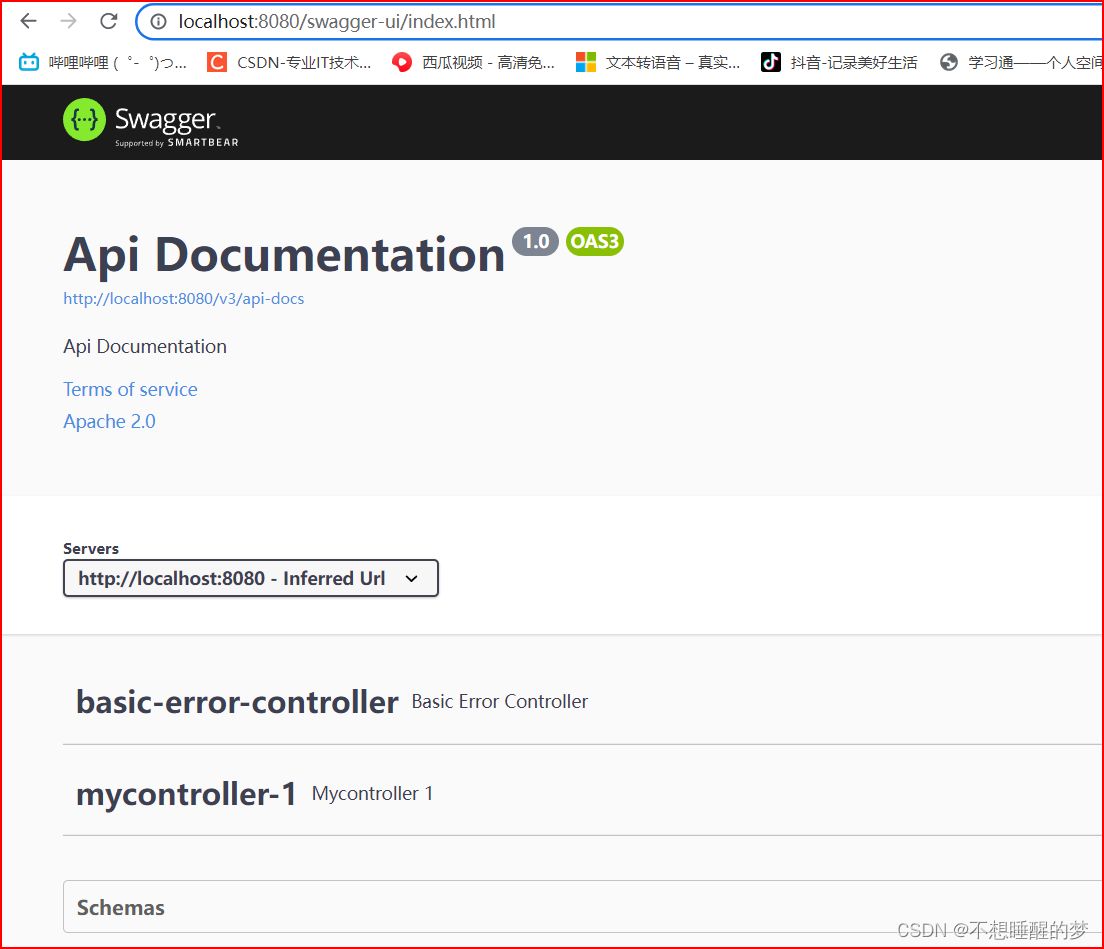
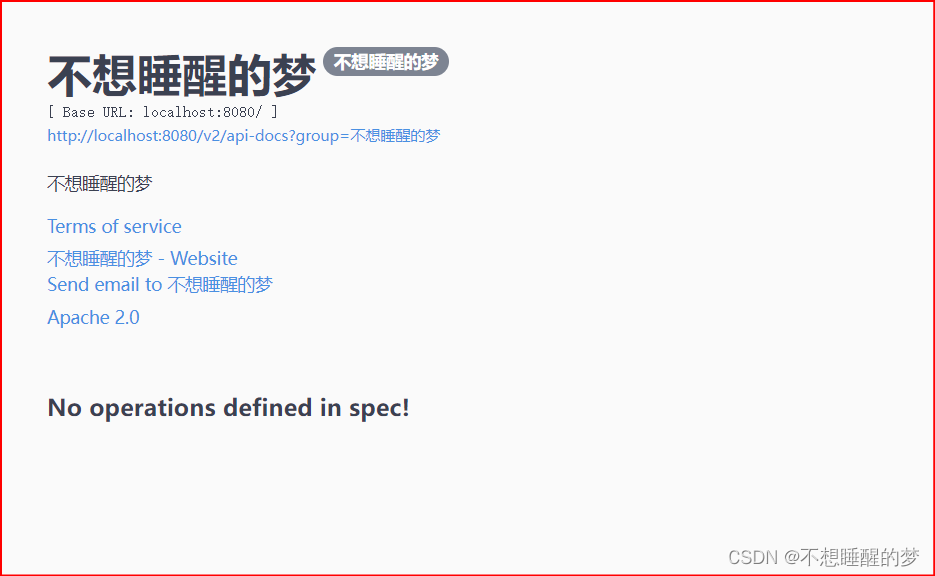
这个界面就是swagger2的后台界面,可以从这里看到关于后端配置的一些信息。以及通过此页面可以进行在线测试,测试网页的实现是否出现Bug
配置swagger:在swagger_config类进行配置
修改这个网页上的输出内容
@Configuration
@EnableSwagger2
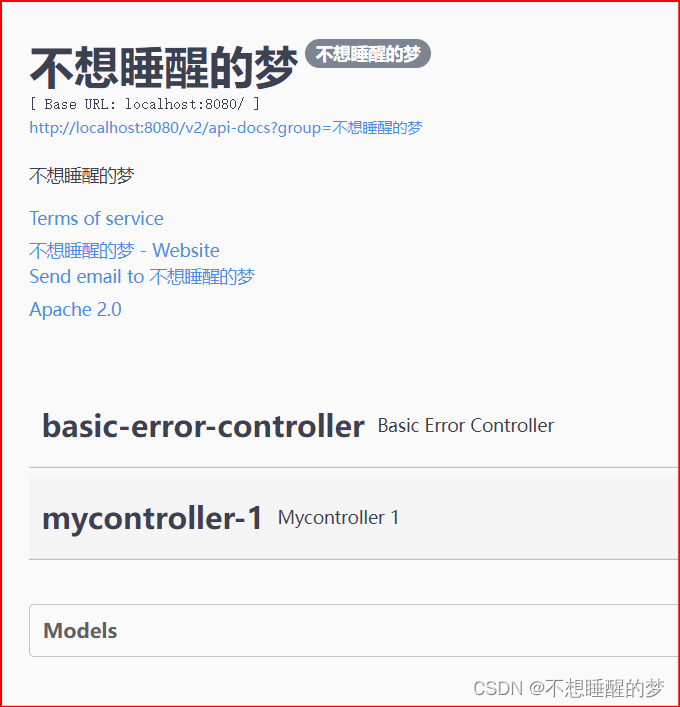
public class swagger_config {@Beanpublic Docket docket(){return new Docket(DocumentationType.SWAGGER_2).groupName("不想").apiInfo(apiInfo());}private ApiInfo apiInfo(){Contact contact = new Contact("不想睡醒的梦", "https://blog.csdn.net/m0_52479012?spm=1000.2115.3001.5343", "2602499389@qq.com");return new ApiInfo("不想睡醒的梦","不想睡醒的梦","不想睡醒的梦","https://blog.csdn.net/m0_52479012?spm=1000.2115.3001.5343",contact, "Apache 2.0","http://www.apache.org/licenses/LICENSE-2.0",new ArrayList());}
}
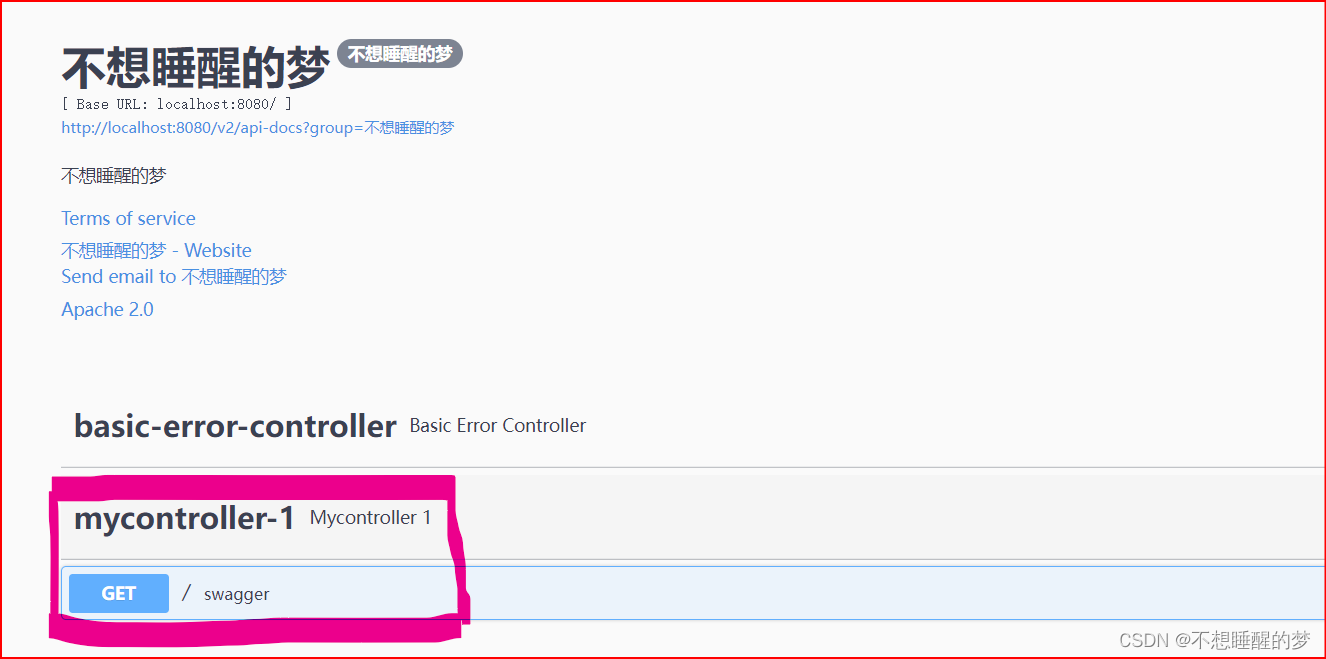
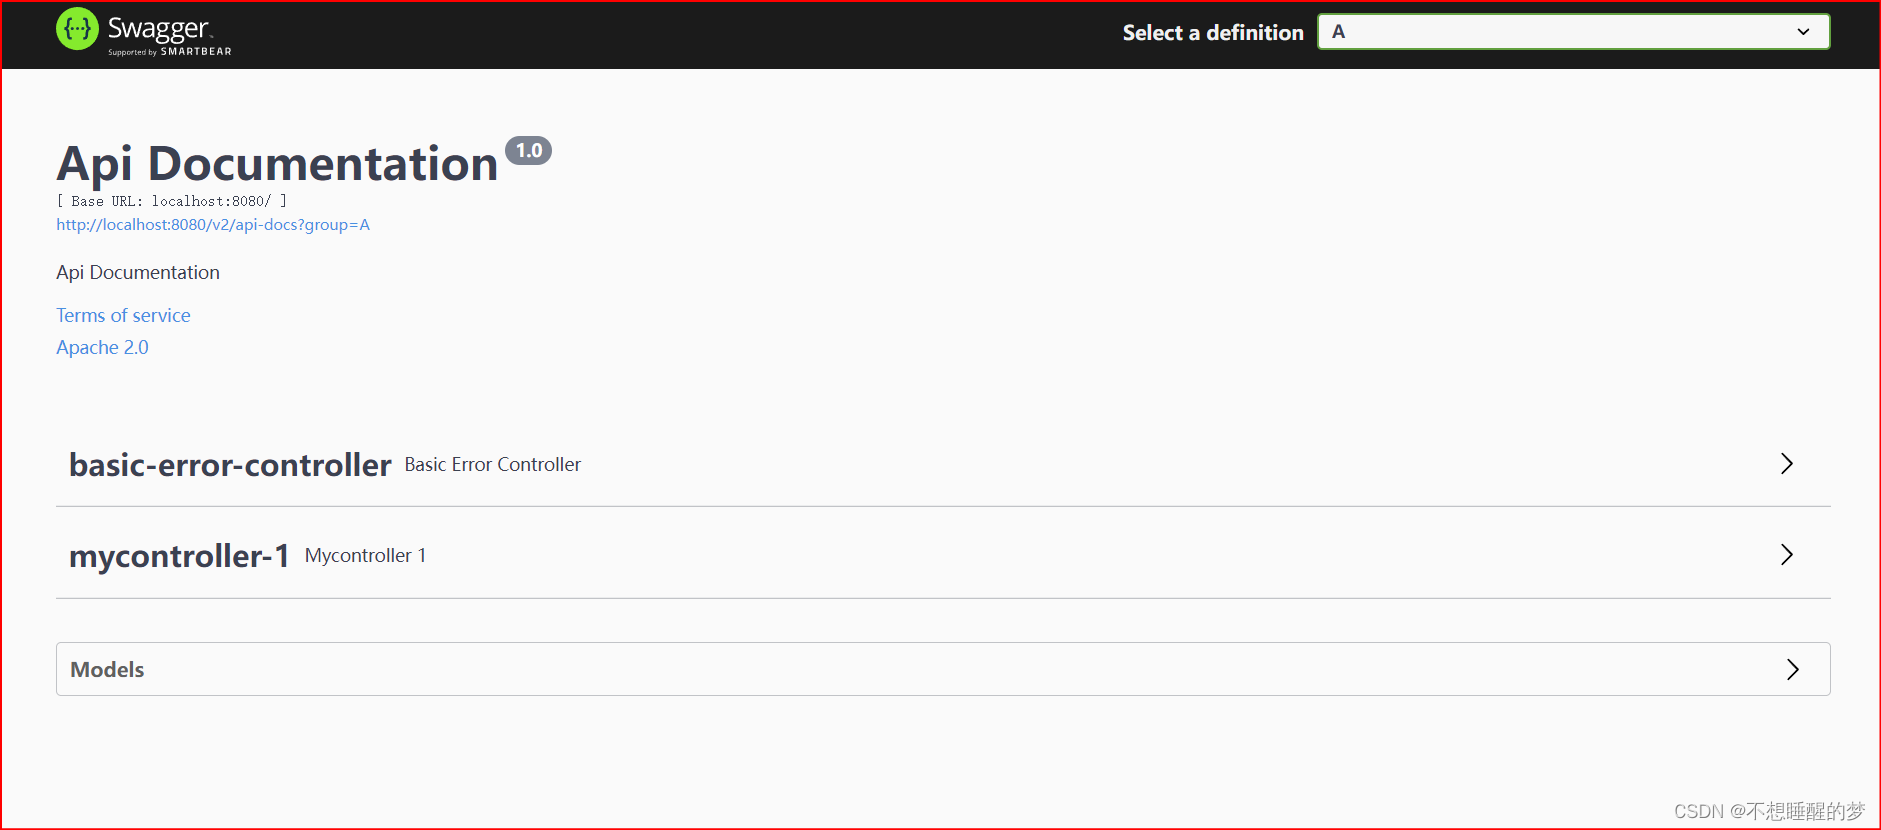
运行项目查看网页显示的内容是否发生改变
这就是配置完成后的内容

如何查看后端的访问
创建一个controller类,定义个方法访问
@RestController
public class Mycontroller1 {@GetMapping("/")public String swagger(){return "swagger";}
}
看看在swagger页面是否显示信息
获取到方法如何在这个网页实现在线测试呢?
点击绿色框

点击蓝色按钮
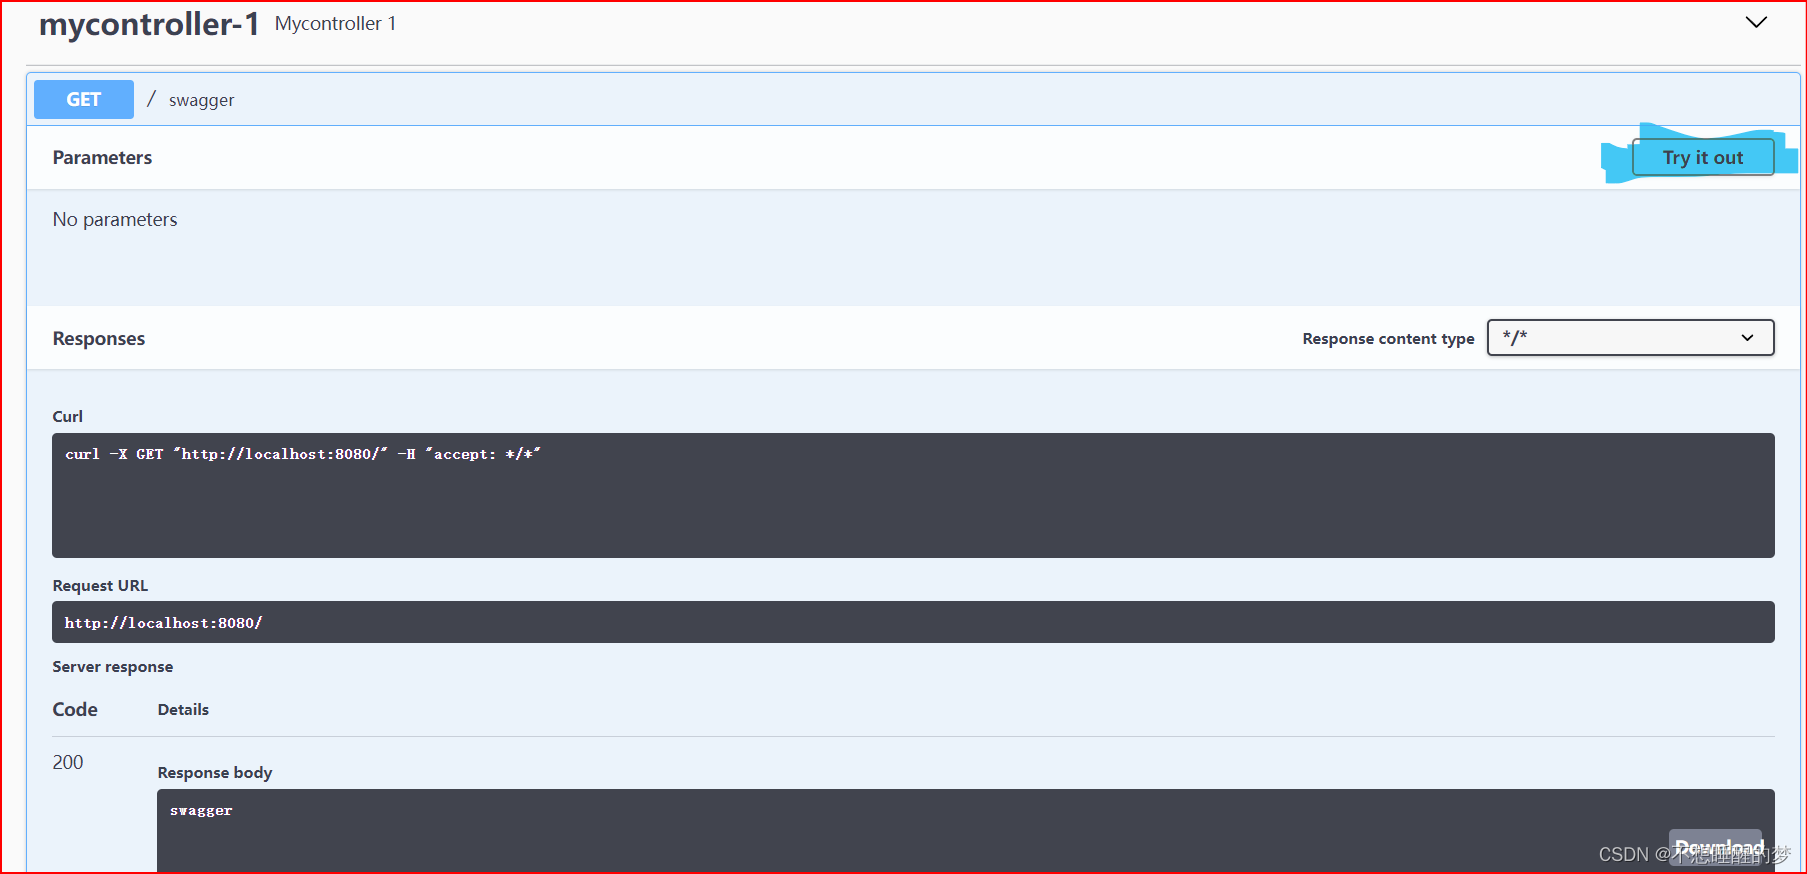
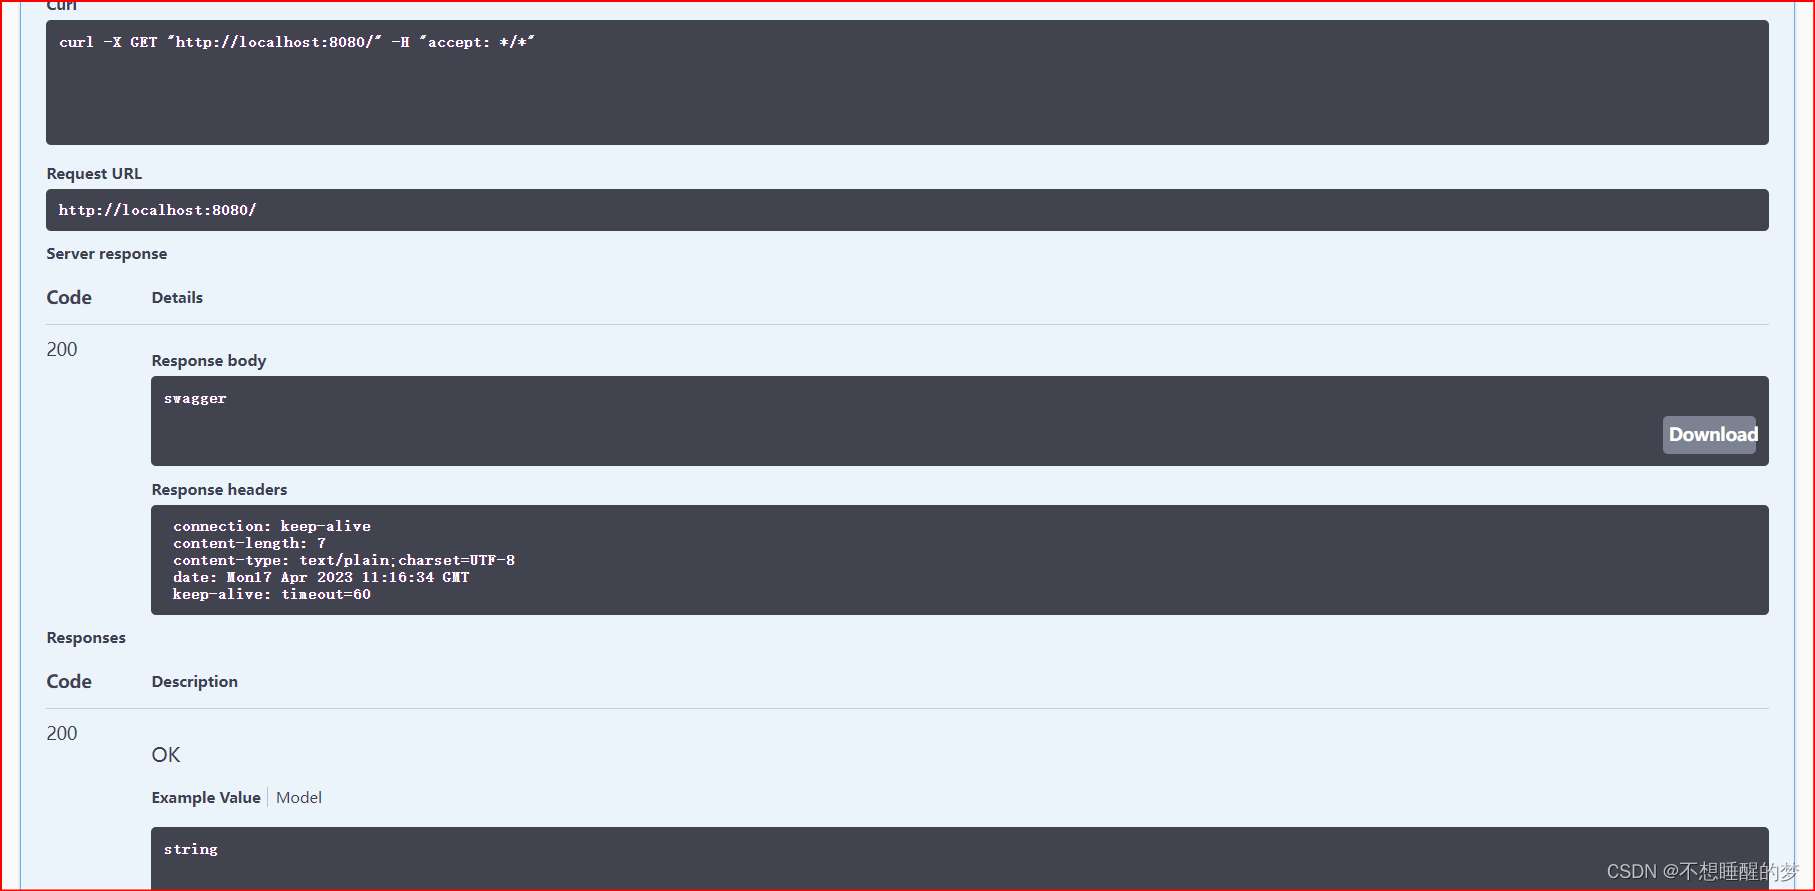
点击Excute按钮
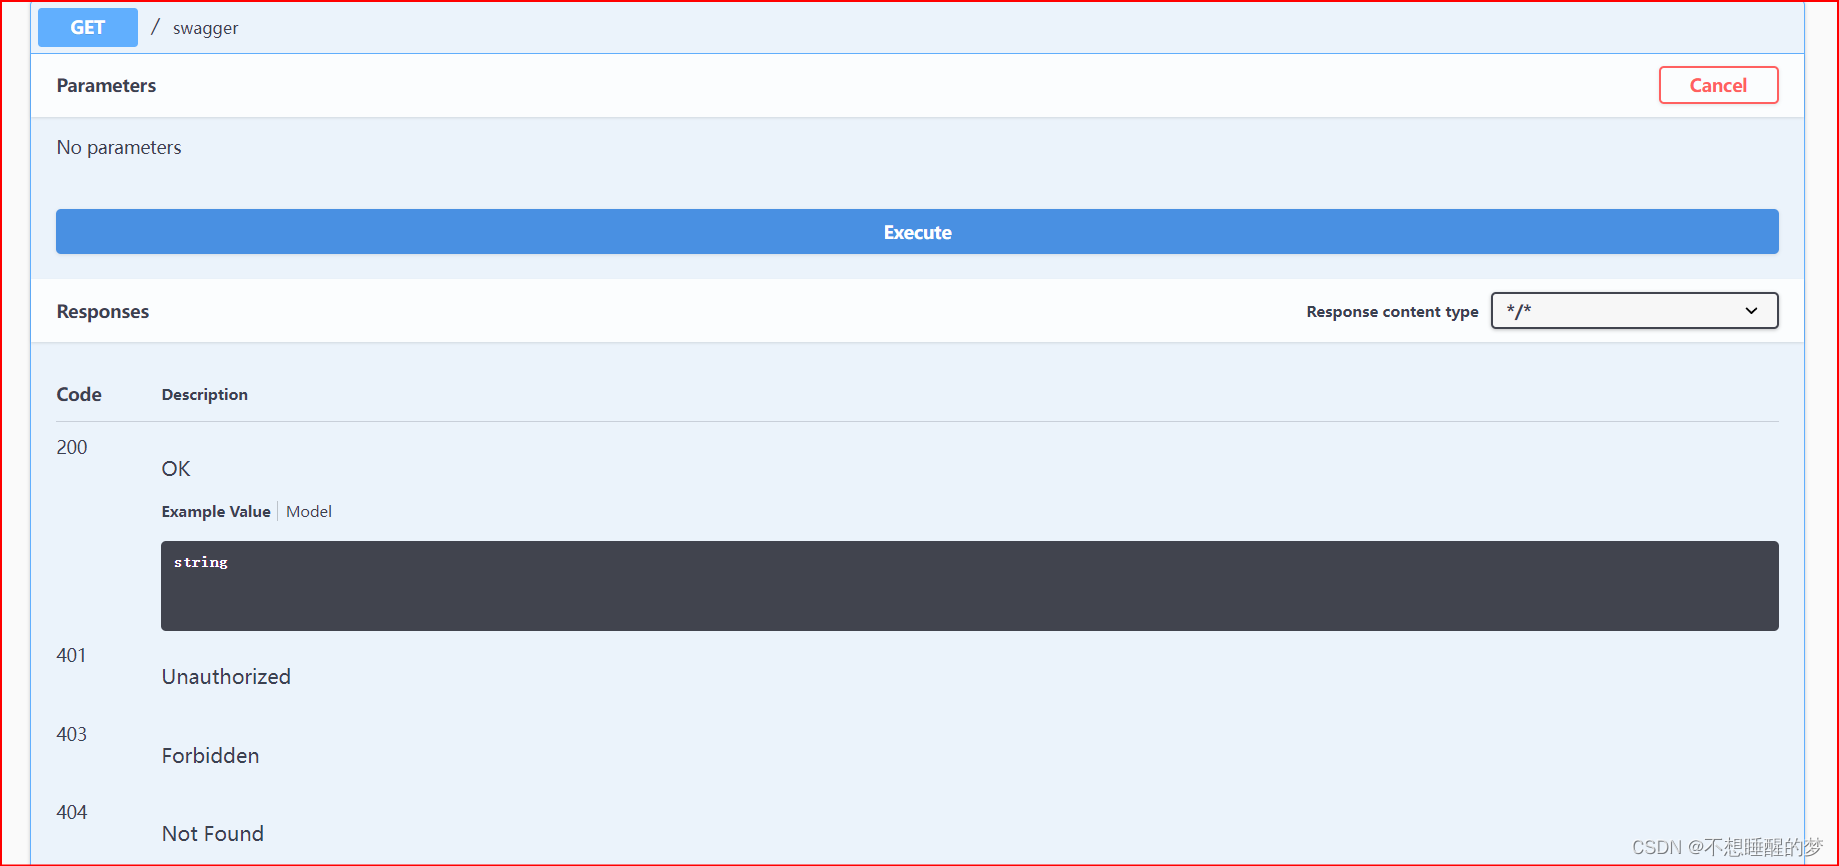
然后出现的内容就是这个域名访问的具体信息
配置swagger扫描的接口以及开关
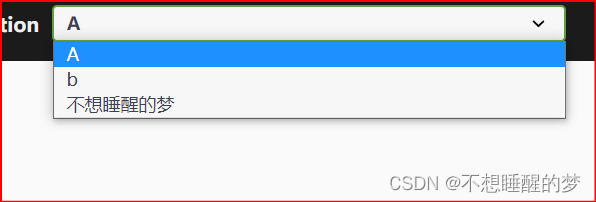
进行组的配置
在实际的开发过程中,一个swagger页面不可能只有一个人进行使用,所以要设置多个组
@Configuration
@EnableSwagger2
public class swagger_config {@Beanpublic Docket docket1(){return new Docket(DocumentationType.SWAGGER_2).groupName("A");}@Beanpublic Docket docket2(){return new Docket(DocumentationType.SWAGGER_2).groupName("b");}@Beanpublic Docket docket3(){return new Docket(DocumentationType.SWAGGER_2).groupName("v");}
}
可以在不同组进行不同的配置信息

配置扫描接口:在docket容器中实现配置
主要的配置信息就一行代码
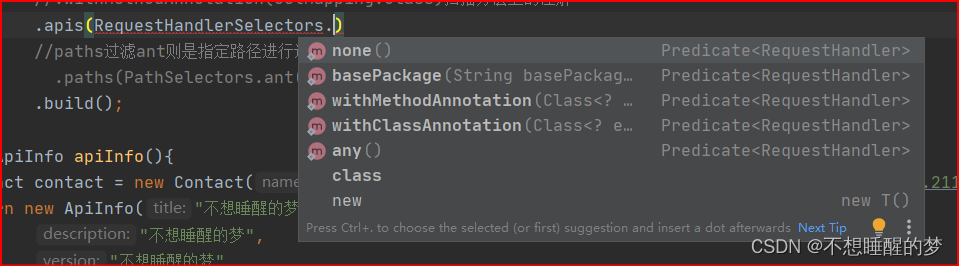
RequestHandlerSelectors配置要扫描接口的方式
basePackage设置扫描包的位置
any都进行扫描
none全都不进行扫描
.withClassAnnotation(Controller.class) 扫描类上的注解
withMethodAnnotation(GetMapping.class)扫描方法上的注解
完整代码
@Configuration
@EnableSwagger2
public class swagger_config {@Beanpublic Docket docket1(){return new Docket(DocumentationType.SWAGGER_2).groupName("A");}@Beanpublic Docket docket2(){return new Docket(DocumentationType.SWAGGER_2).groupName("b");}@Beanpublic Docket docket3(){return new Docket(DocumentationType.SWAGGER_2).groupName("v");}@Beanpublic Docket docket(Environment environment){return new Docket(DocumentationType.SWAGGER_2).groupName("不想睡醒的梦").apiInfo(apiInfo())
//              .enable(true)    //控制swagger是否开启.select().apis(RequestHandlerSelectors.none())//paths过滤ant则是指定路径进行过滤
//                .paths(PathSelectors.ant("/demo/")).build();}private ApiInfo apiInfo(){Contact contact = new Contact("不想睡醒的梦", "https://blog.csdn.net/m0_52479012?spm=1000.2115.3001.5343", "2602499389@qq.com");return new ApiInfo("不想睡醒的梦","不想睡醒的梦","不想睡醒的梦","https://blog.csdn.net/m0_52479012?spm=1000.2115.3001.5343",contact, "Apache 2.0","http://www.apache.org/licenses/LICENSE-2.0",new ArrayList());}
}
接口的配置决定我们能够获取到怎么样的配置内容
当前组( 不想睡醒的梦)接口现在的配置为None
运行项目
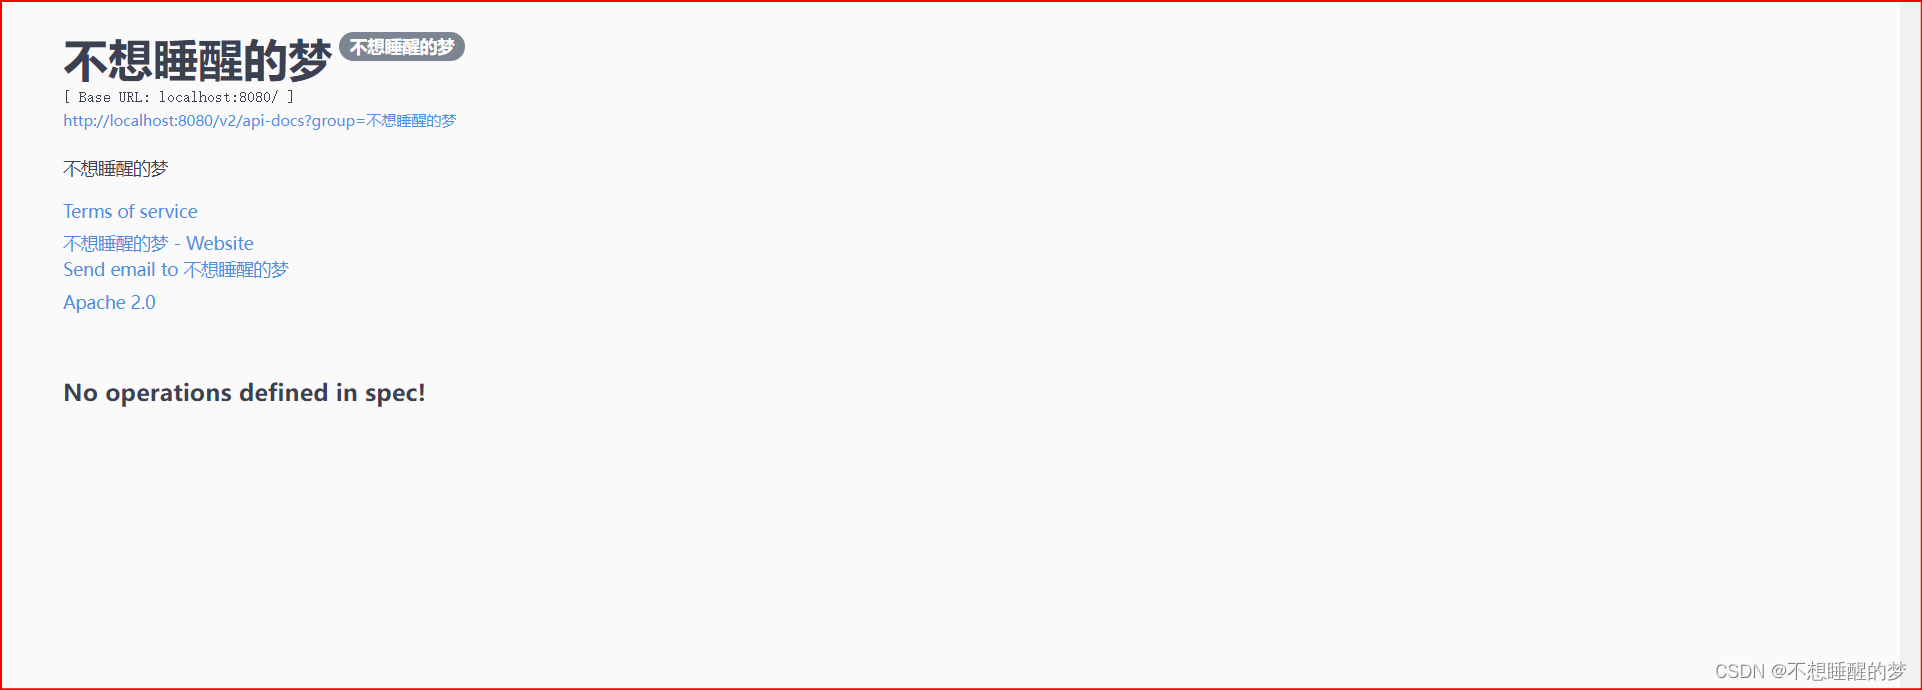
没有任何的信息
但当我们切换组时
发现不同组配置不同,出现的内容不同这就是组所带来的好处
通过.enable控制swagger的开关
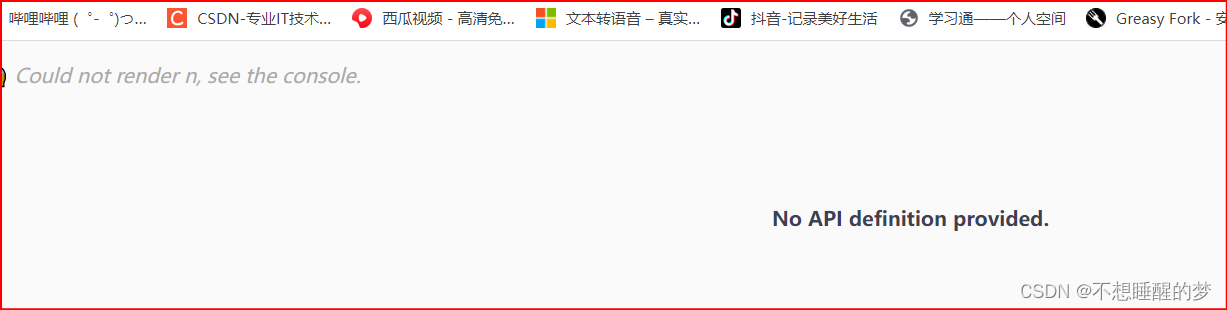
在v这个组关闭swagger功能
@Beanpublic Docket docket3(){return new Docket(DocumentationType.SWAGGER_2).groupName("v").enable(false);}关闭就不进行显示
全都关闭又是怎样的呢?
除了开关和扫描配置还有一个关键配置:过滤
将指定文件给过滤调,不进行扫描
没有进行过滤配置之前
配置代码:
    @Beanpublic Docket docket(Environment environment){return new Docket(DocumentationType.SWAGGER_2).groupName("不想睡醒的梦").apiInfo(apiInfo()).select().apis(RequestHandlerSelectors.any())
//                paths过滤ant则是指定路径进行过滤.paths(PathSelectors.ant("/demo/")).build();}
没有扫描到能够使用的API:将内容成功过滤
如何动态配置当项目处于test、dev环境时显示swagger,处于prod时不显示?
还是在Docket容器中进行配置(dev和test环境可以进行访问)
@Beanpublic Docket docket(Environment environment){Profiles of = Profiles.of("dev", "test");//设置要显示的环境boolean b = environment.acceptsProfiles(of);return new Docket(DocumentationType.SWAGGER_2).groupName("不想睡醒的梦").apiInfo(apiInfo()).enable(b) //控制swagger是否开启.select().apis(RequestHandlerSelectors.any()).build();}环境搭建

当前环境为dev访问swagger
访问成功
修改环境
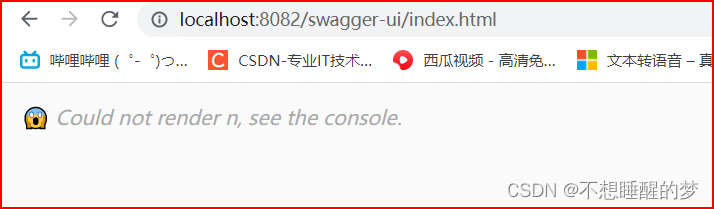
禁止访问,配置成功
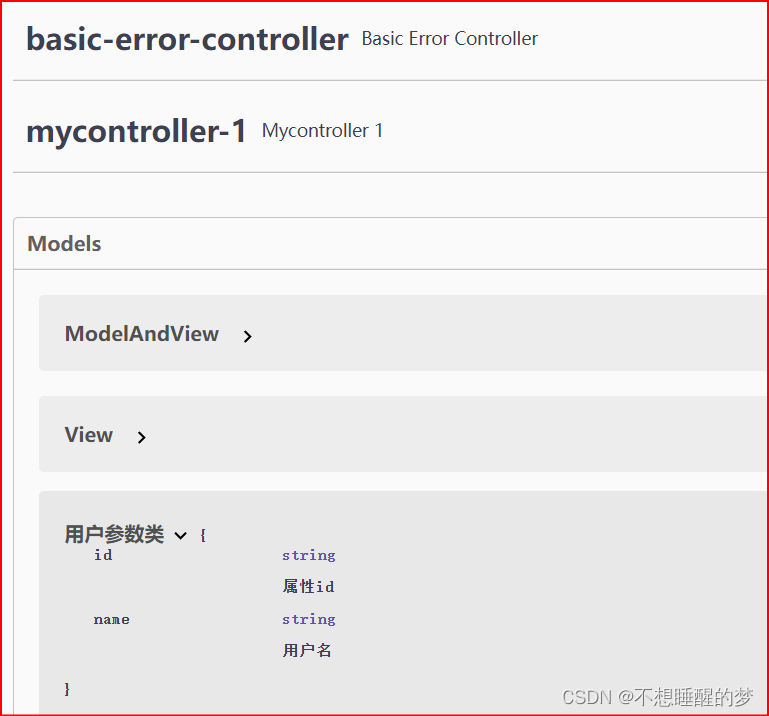
配置实体类:如何被扫描到显示在swagger中
创建一个实现类
package com.swagger.demo.pojo;import io.swagger.annotations.ApiModel;
import io.swagger.annotations.ApiModelProperty;@ApiModel("用户参数类")          //注解:类型解释
public class user {@ApiModelProperty("用户名")   //未定义的属性,添加一个注解public String name;@ApiModelProperty("属性id")public String id;
}
创建一个接口并映射在这个实体类上
@GetMapping("/user")public user swagger1(){return new user();}注意:
注:并不是因为@ApiModel这个注解让实体显示在这里了,而是只要出现在接口方法的返回值上的实体都会显示在这里,而@ApiModel和@ApiModelProperty这两个注解只是为实体添加注释的。
@ApiModel为类添加注释
@ApiModelProperty为类属性添加注释
实体类添加成功:
关于swagger常用注解
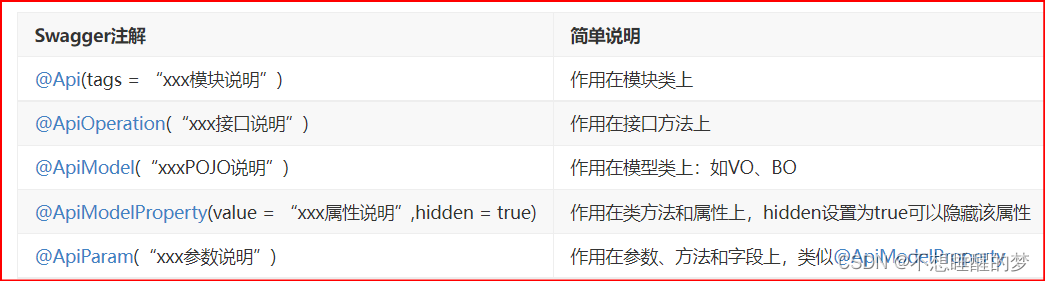
除此只要还可以在接口中进行注解解释
@ApiOperation("你好") //默认注释是方法名,如果添加这个注解,进行替换@GetMapping("/hello")public String hello(@ApiParam("用户名") String name){return "hello"+name;}