谷粒商城-分布式基础篇3

1.商品服务-品牌管理
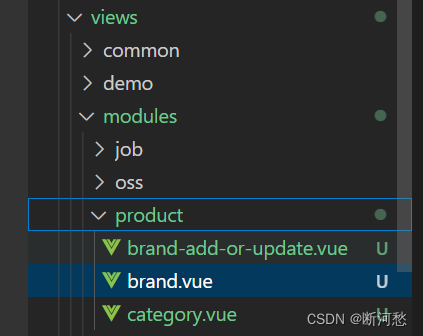
把逆向生成的前端代码复制到前端src\\views\\modules\\product

这样我们基本的增删改查就有了

全局搜索isAuth,修改返回值为true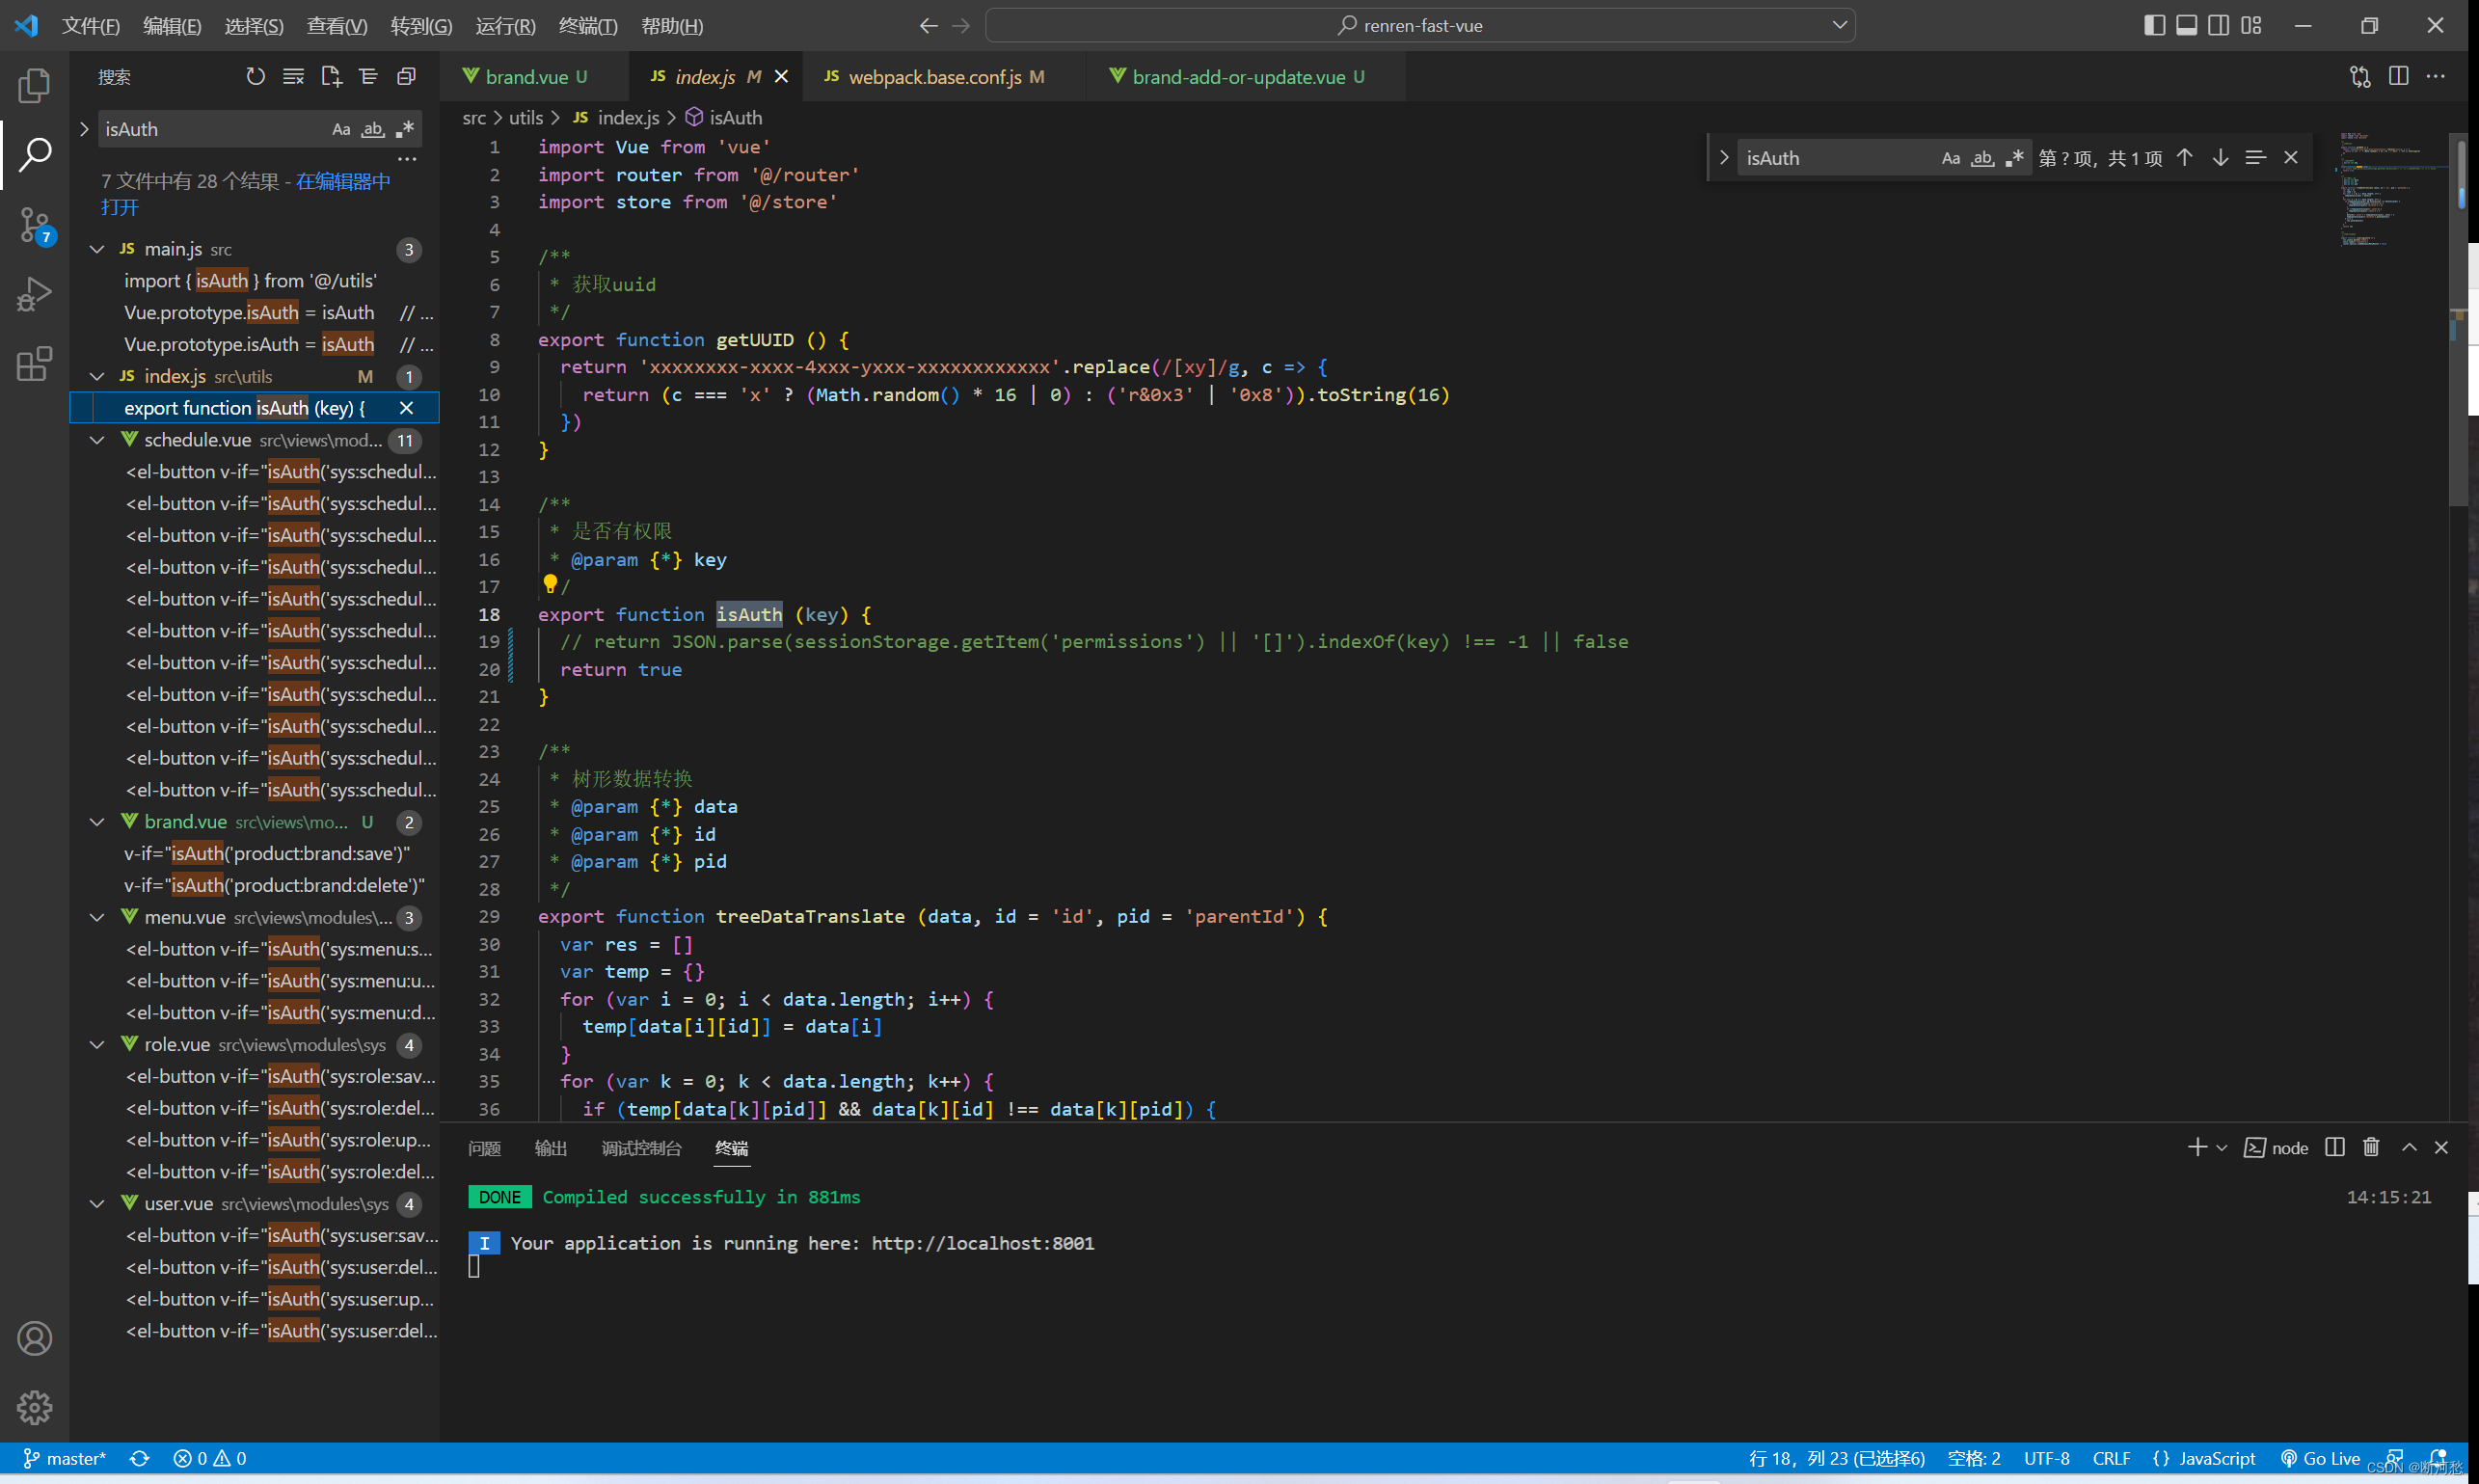 关闭eslint build\\webpack.base.conf.js
const createLintingRule = () => ({// test: /\\.(js|vue)$/,// loader: 'eslint-loader',// enforce: 'pre',// include: [resolve('src'), resolve('test')],// options: {//   formatter: require('eslint-friendly-formatter'),//   emitWarning: !config.dev.showEslintErrorsInOverlay// }
})
1.1 快速显示开关
去elementui复制tabale表格-自定义列模板和开关
brand.vue
<template><div class="mod-config"><el-form:inline="true":model="dataForm"@keyup.enter.native="getDataList()"><el-form-item><el-inputv-model="dataForm.key"placeholder="参数名"clearable></el-input></el-form-item><el-form-item><el-button @click="getDataList()">查询</el-button><el-buttonv-if="isAuth('product:brand:save')"type="primary"@click="addOrUpdateHandle()">新增</el-button><el-buttonv-if="isAuth('product:brand:delete')"type="danger"@click="deleteHandle()":disabled="dataListSelections.length <= 0">批量删除</el-button></el-form-item></el-form><el-table:data="dataList"borderv-loading="dataListLoading"@selection-change="selectionChangeHandle"style="width: 100%"><el-table-columntype="selection"header-align="center"align="center"width="50"></el-table-column><el-table-columnprop="brandId"header-align="center"align="center"label="品牌id"></el-table-column><el-table-columnprop="name"header-align="center"align="center"label="品牌名"></el-table-column><el-table-columnprop="logo"header-align="center"align="center"label="品牌logo地址"></el-table-column><el-table-columnprop="descript"header-align="center"align="center"label="介绍"></el-table-column><el-table-columnprop="showStatus"header-align="center"align="center"label="显示状态"><template slot-scope="scope"><el-switchv-model="scope.row.showStatus"active-color="#13ce66"inactive-color="#ff4949"@change="updateBrandStatus(scope.row)":active-value="1":inactive-value="0"></el-switch></template></el-table-column><el-table-columnprop="firstLetter"header-align="center"align="center"label="检索首字母"></el-table-column><el-table-columnprop="sort"header-align="center"align="center"label="排序"></el-table-column><el-table-columnfixed="right"header-align="center"align="center"width="150"label="操作"><template slot-scope="scope"><el-buttontype="text"size="small"@click="addOrUpdateHandle(scope.row.brandId)">修改</el-button><el-buttontype="text"size="small"@click="deleteHandle(scope.row.brandId)">删除</el-button></template></el-table-column></el-table><el-pagination@size-change="sizeChangeHandle"@current-change="currentChangeHandle":current-page="pageIndex":page-sizes="[10, 20, 50, 100]":page-size="pageSize":total="totalPage"layout="total, sizes, prev, pager, next, jumper"></el-pagination><!-- 弹窗, 新增 / 修改 --><add-or-updatev-if="addOrUpdateVisible"ref="addOrUpdate"@refreshDataList="getDataList"></add-or-update></div>
</template><script>
import AddOrUpdate from "./brand-add-or-update";
export default {data() {return {dataForm: {key: "",},dataList: [],pageIndex: 1,pageSize: 10,totalPage: 0,dataListLoading: false,dataListSelections: [],addOrUpdateVisible: false,};},components: {AddOrUpdate,},activated() {this.getDataList();},methods: {// 获取数据列表getDataList() {this.dataListLoading = true;this.$http({url: this.$http.adornUrl("/product/brand/list"),method: "get",params: this.$http.adornParams({page: this.pageIndex,limit: this.pageSize,key: this.dataForm.key,}),}).then(({ data }) => {if (data && data.code === 0) {this.dataList = data.page.list;console.log(this.dataList);this.totalPage = data.page.totalCount;} else {this.dataList = [];this.totalPage = 0;}this.dataListLoading = false;});},// 每页数sizeChangeHandle(val) {this.pageSize = val;this.pageIndex = 1;this.getDataList();},// 当前页currentChangeHandle(val) {this.pageIndex = val;this.getDataList();},// 多选selectionChangeHandle(val) {this.dataListSelections = val;},// 新增 / 修改addOrUpdateHandle(id) {this.addOrUpdateVisible = true;this.$nextTick(() => {this.$refs.addOrUpdate.init(id);});},// 删除deleteHandle(id) {var ids = id? [id]: this.dataListSelections.map((item) => {return item.brandId;});this.$confirm(`确定对[id=${ids.join(",")}]进行[${id ? "删除" : "批量删除"}]操作?`,"提示",{confirmButtonText: "确定",cancelButtonText: "取消",type: "warning",}).then(() => {this.$http({url: this.$http.adornUrl("/product/brand/delete"),method: "post",data: this.$http.adornData(ids, false),}).then(({ data }) => {if (data && data.code === 0) {this.$message({message: "操作成功",type: "success",duration: 1500,onClose: () => {this.getDataList();},});} else {this.$message.error(data.msg);}});});},// 修改状态updateBrandStatus(data) {console.log("要修改的数据", data);let { brandId, showStatus } = data;this.$http({url: this.$http.adornUrl("/product/brand/update"),method: "post",data: this.$http.adornData({ brandId, showStatus }, false),}).then(({ data }) => {this.$message({type: "success",message: "更新状态成功!",});});},},
};
</script>
1.2 文件上传
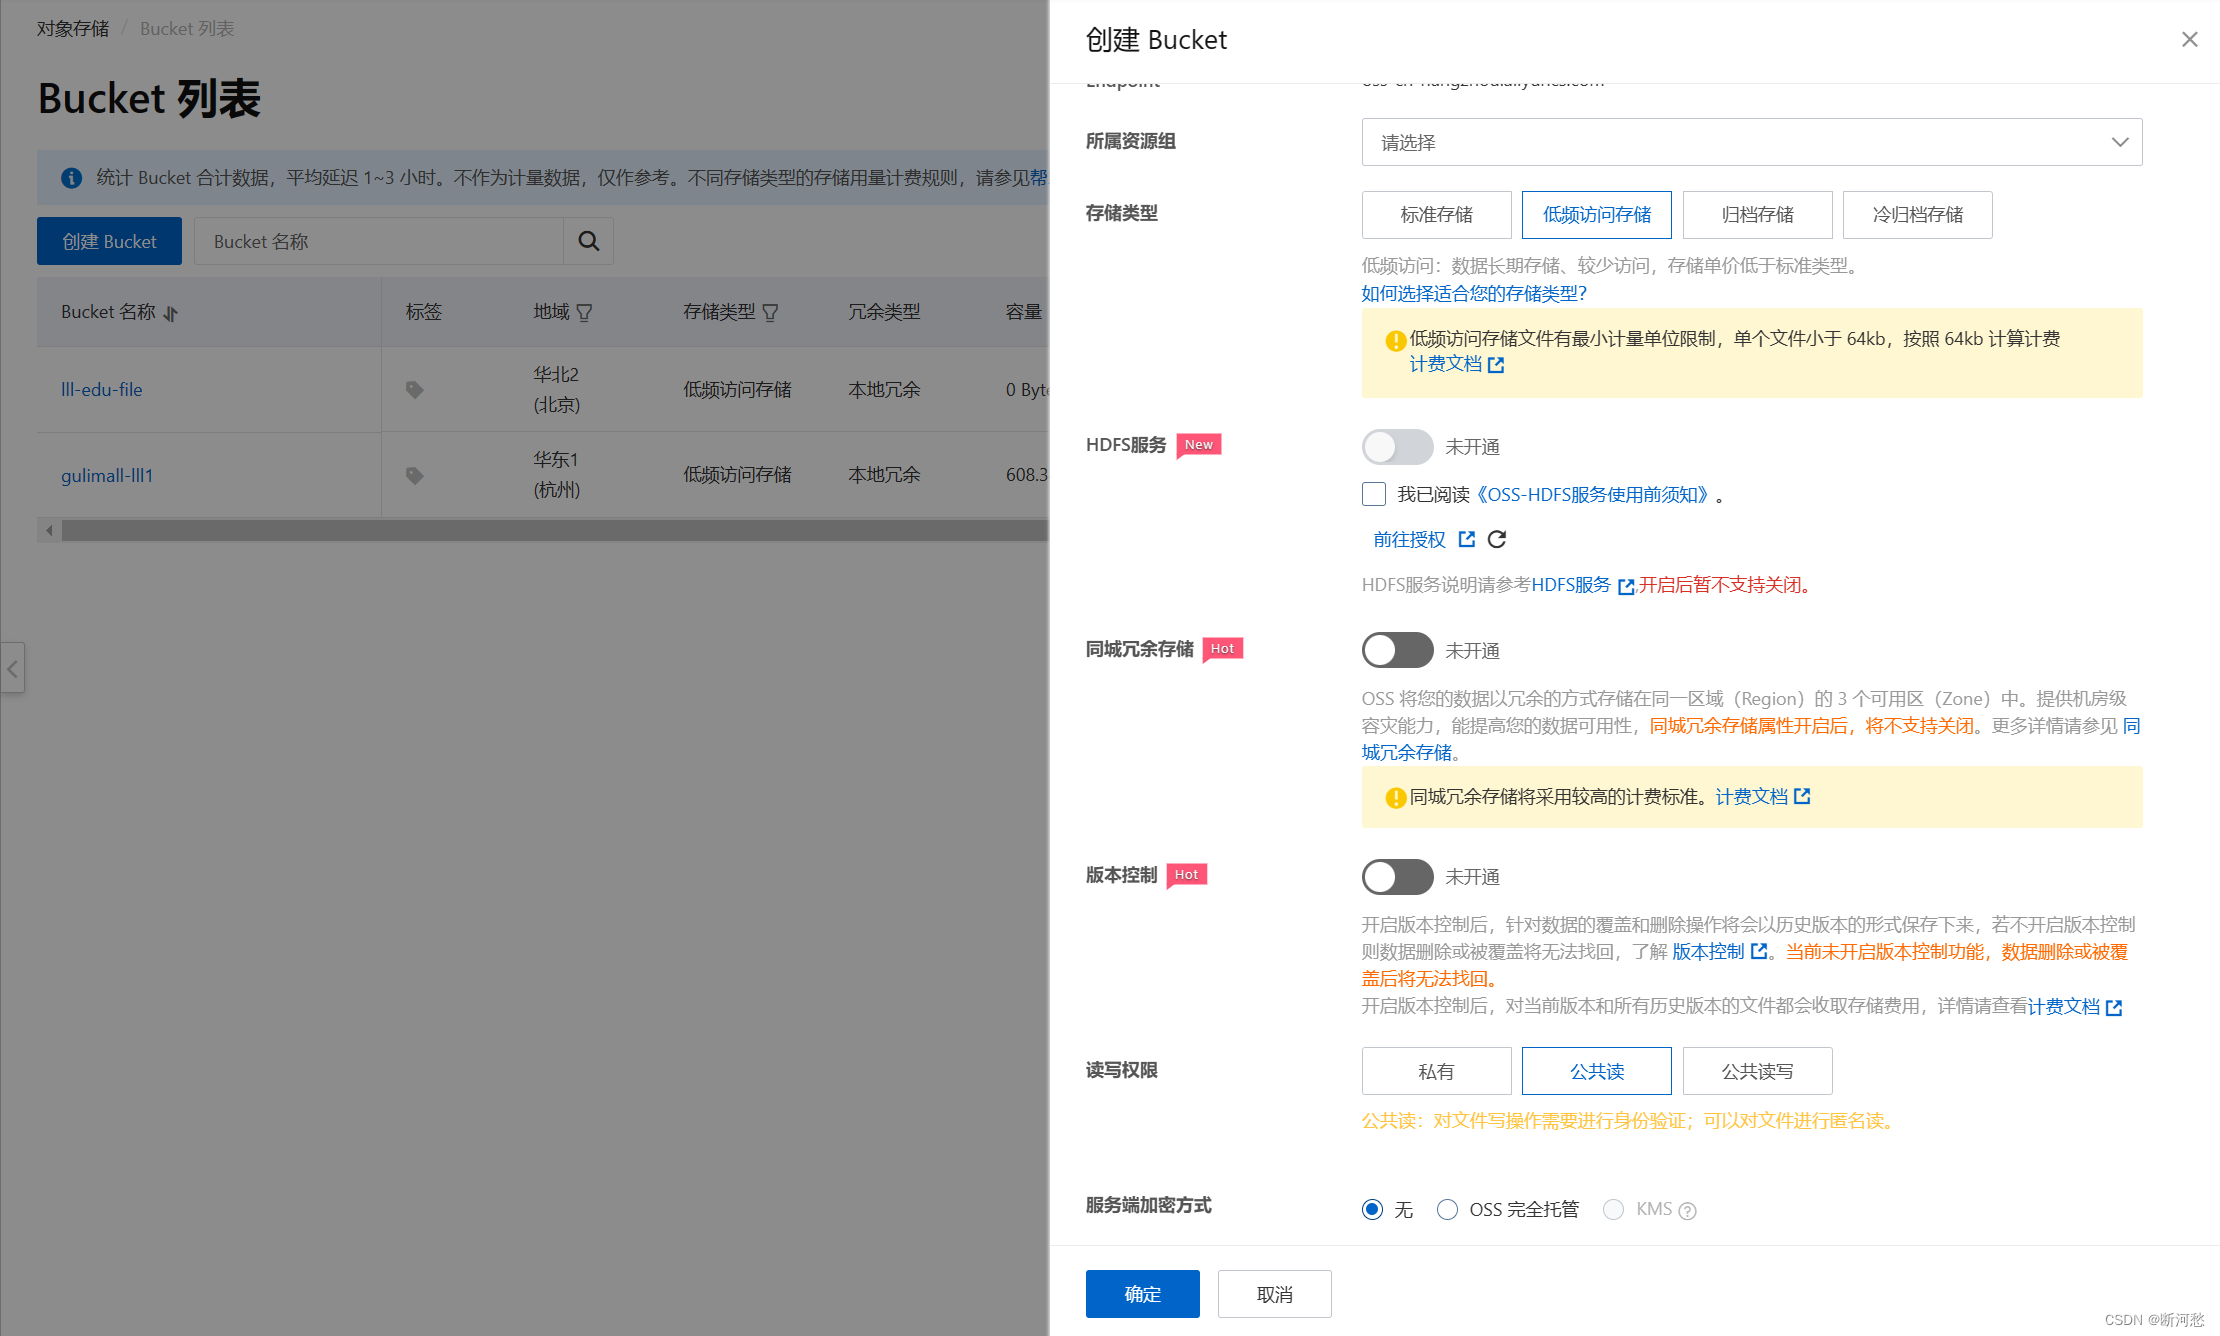
开通阿里云对象存储,创建桶
在文档里搜索OSS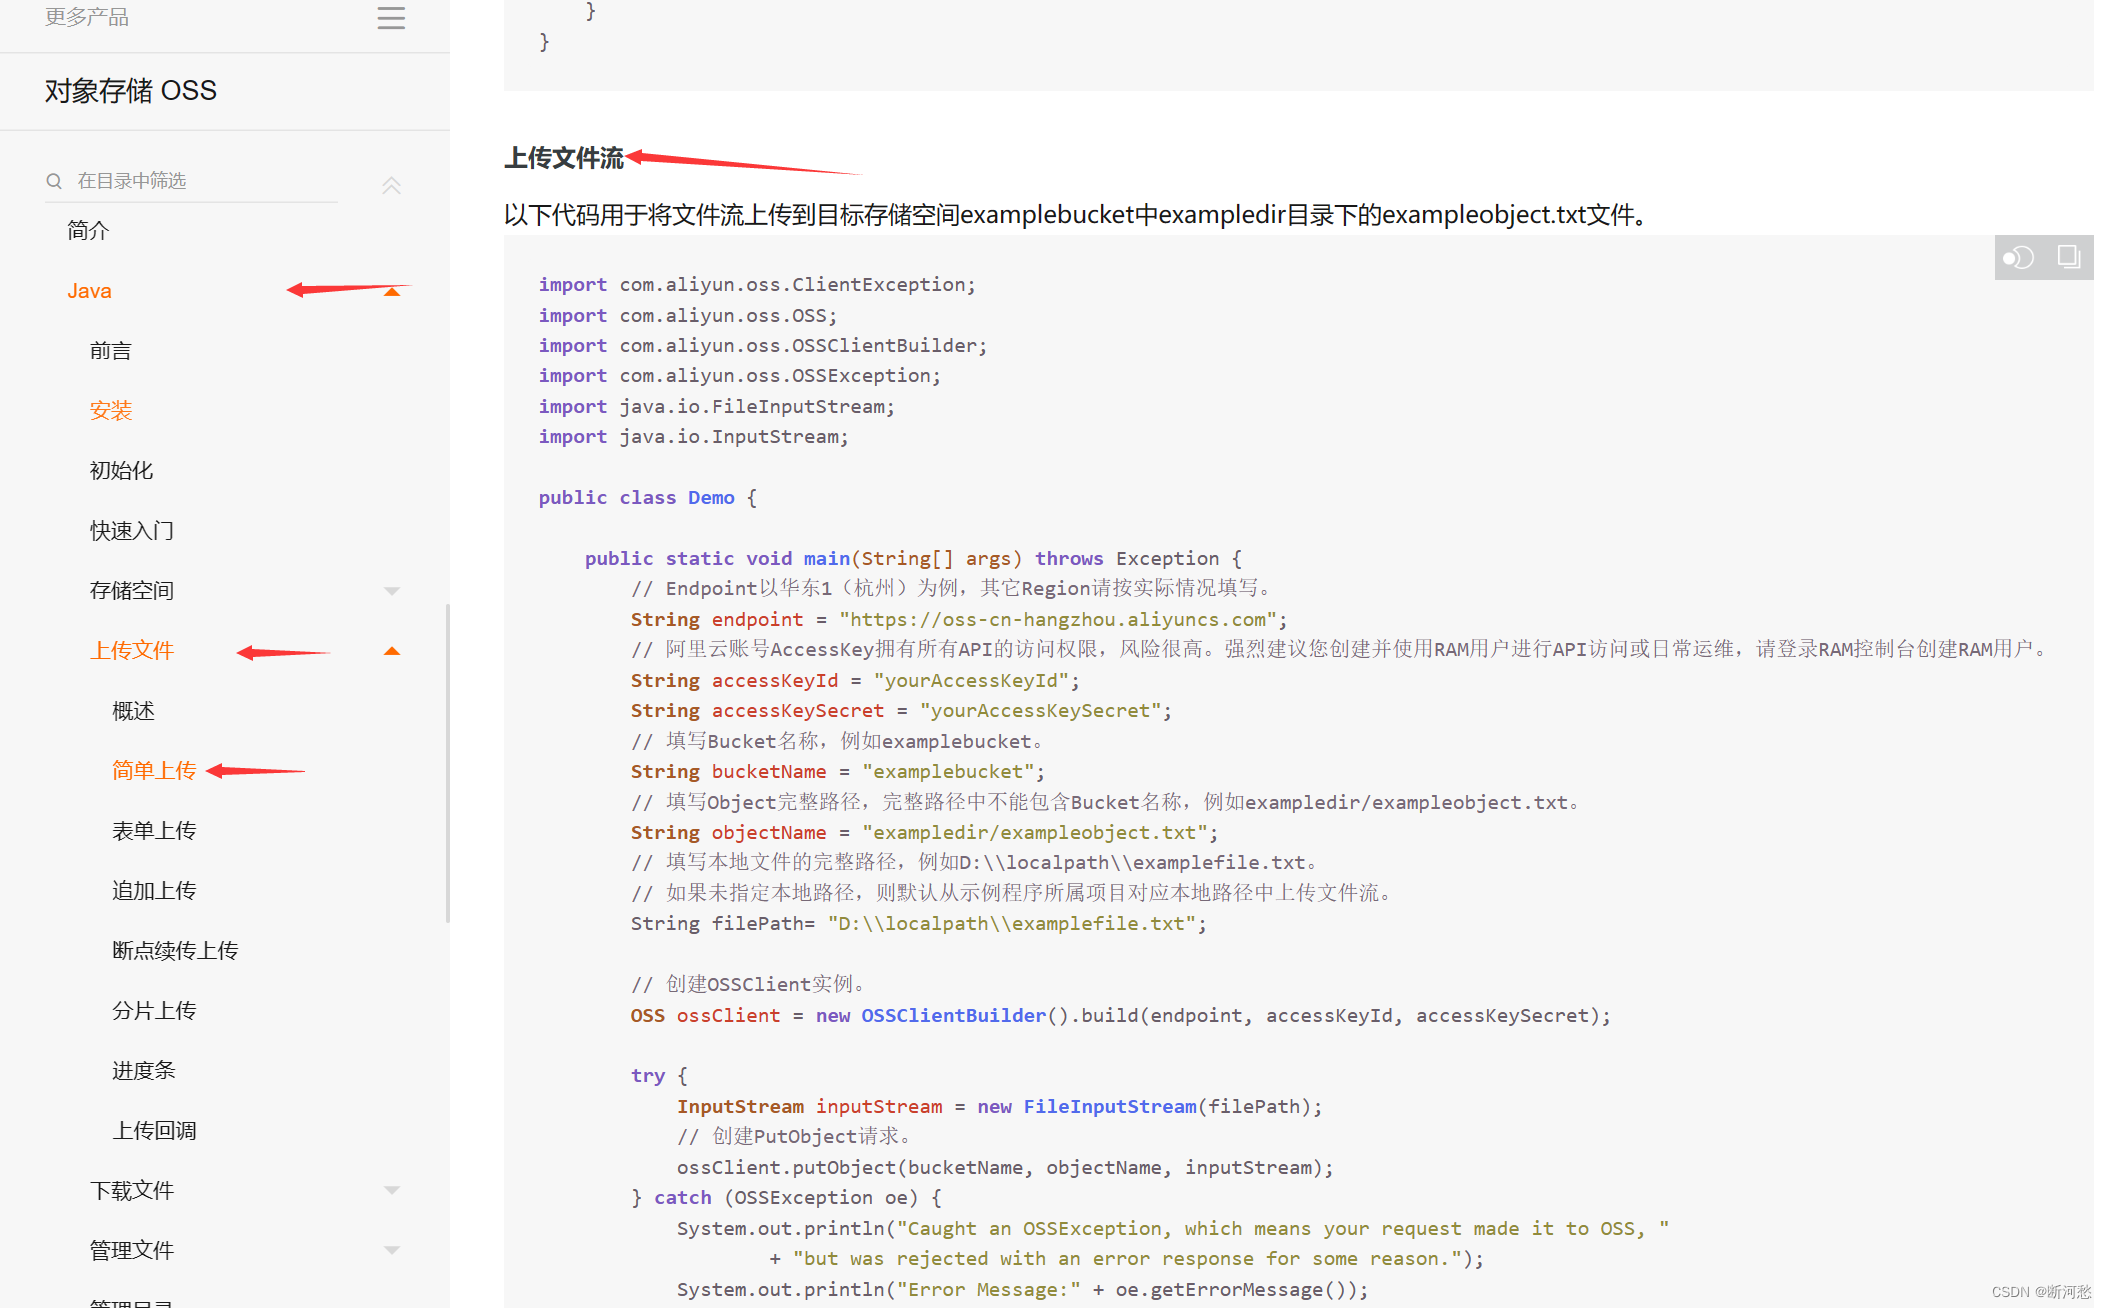
创建子账户添加OSS权限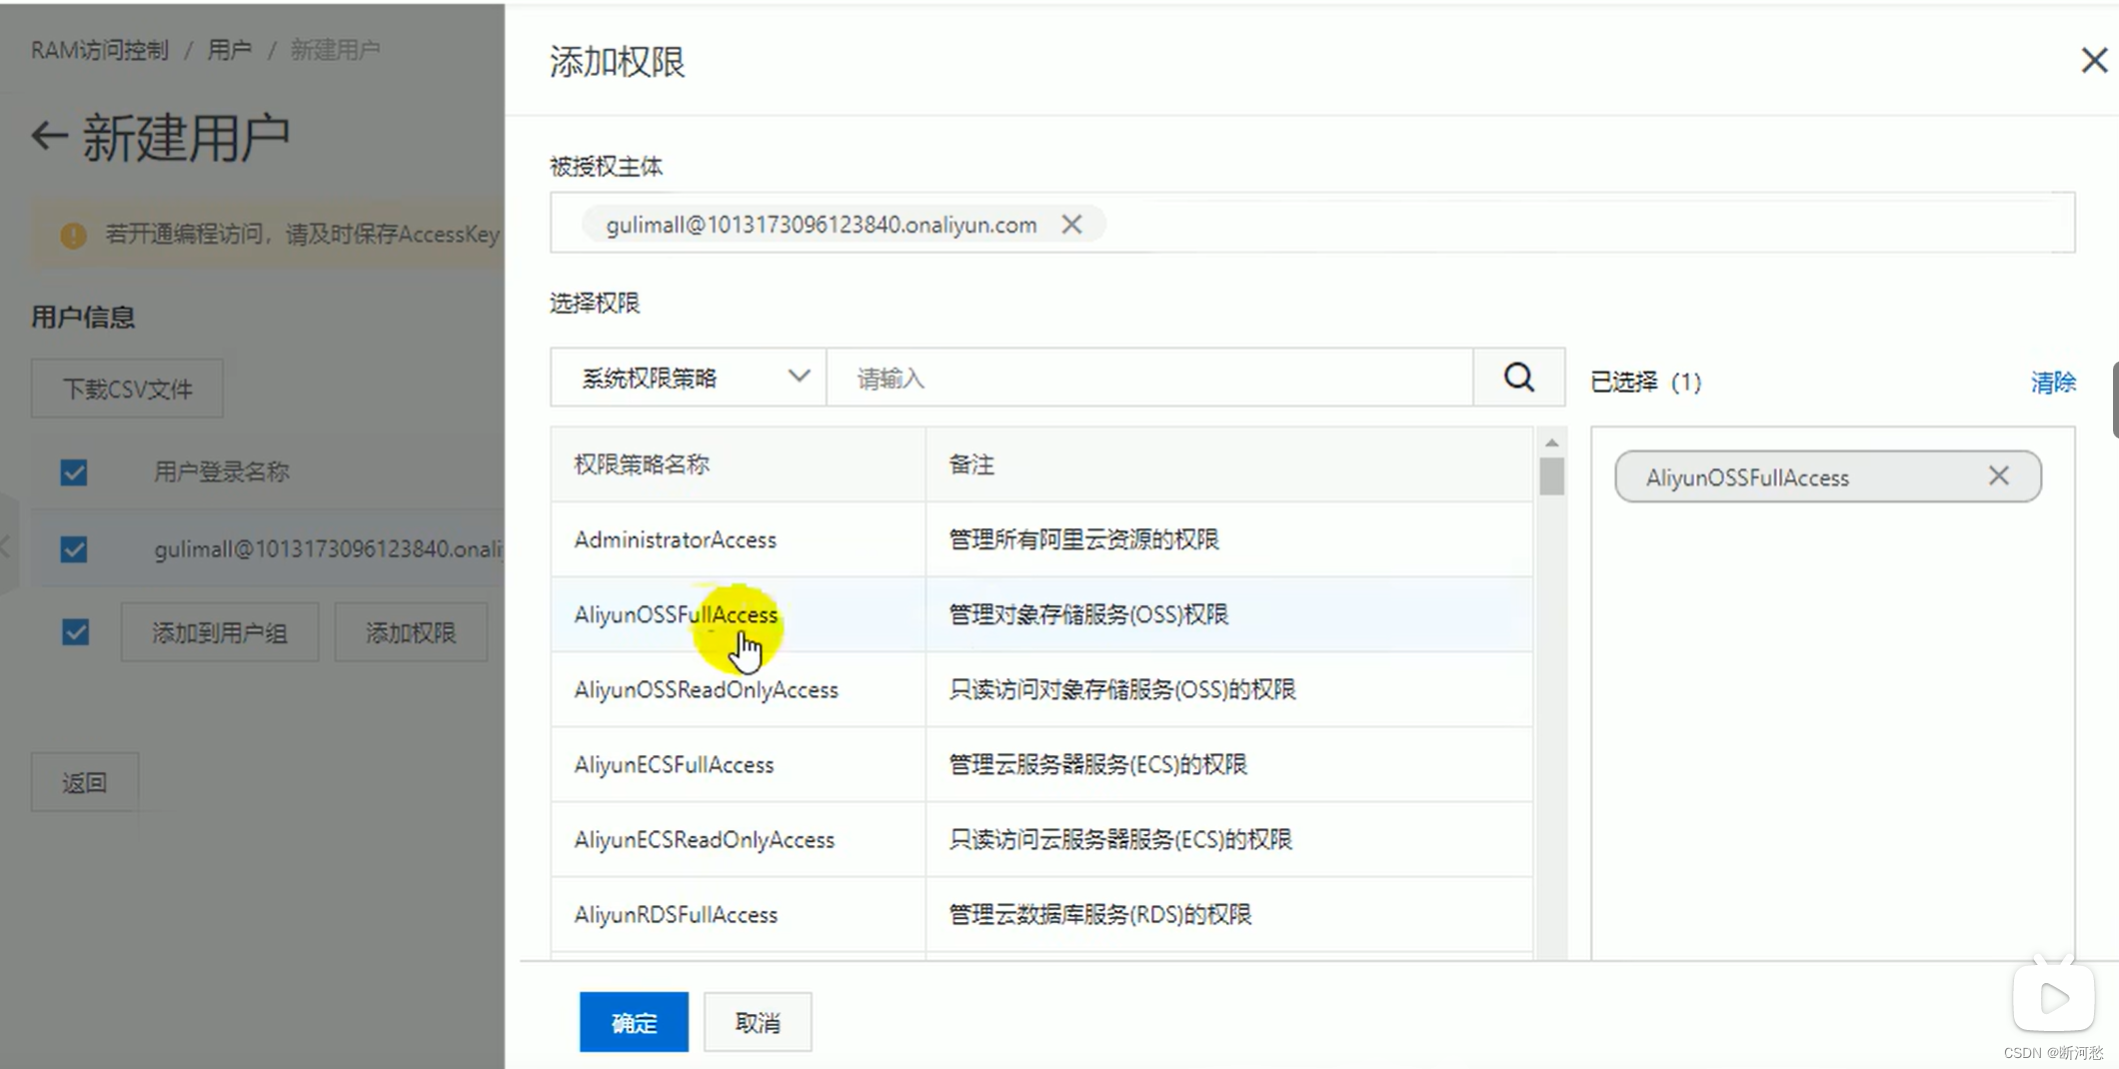
1.2.1 测试上传
    @Testpublic void testUpload() throws FileNotFoundException {
//        // Endpoint以华东1(杭州)为例,其它Region请按实际情况填写。
//        String endpoint = "oss-cn-hangzhou.aliyuncs.com";
//        // 阿里云账号AccessKey拥有所有API的访问权限,风险很高。强烈建议您创建并使用RAM用户进行API访问或日常运维,请登录RAM控制台创建RAM用户。
//        String accessKeyId = "你的accessKeyId ";
//        String accessKeySecret = "你的accessKeySecret";// 填写Bucket名称,例如examplebucket。String bucketName = "gulimall-lll1";// 填写Object完整路径,完整路径中不能包含Bucket名称,例如exampledir/exampleobject.txt。String objectName = "exampledir/123.jpeg";// 填写本地文件的完整路径,例如D:\\\\localpath\\\\examplefile.txt。// 如果未指定本地路径,则默认从示例程序所属项目对应本地路径中上传文件流。String filePath= "C:\\\\Users\\\\liulo\\\\Desktop\\\\111.jpeg";//        // 创建OSSClient实例。
//        OSS ossClient = new OSSClientBuilder().build(endpoint, accessKeyId, accessKeySecret);try {InputStream inputStream = new FileInputStream(filePath);// 创建PutObject请求。ossClient.putObject(bucketName, objectName, inputStream);} catch (OSSException oe) {System.out.println("Caught an OSSException, which means your request made it to OSS, "+ "but was rejected with an error response for some reason.");System.out.println("Error Message:" + oe.getErrorMessage());System.out.println("Error Code:" + oe.getErrorCode());System.out.println("Request ID:" + oe.getRequestId());System.out.println("Host ID:" + oe.getHostId());} catch (ClientException ce) {System.out.println("Caught an ClientException, which means the client encountered "+ "a serious internal problem while trying to communicate with OSS, "+ "such as not being able to access the network.");System.out.println("Error Message:" + ce.getMessage());} finally {if (ossClient != null) {ossClient.shutdown();}}System.out.println("上传完成!");}
1.2.2 使用springboot整合操作
1.引入oss-starter
2.配置文件配置key endpoint相关信息即可
3.注入OssClient 进行相关操作
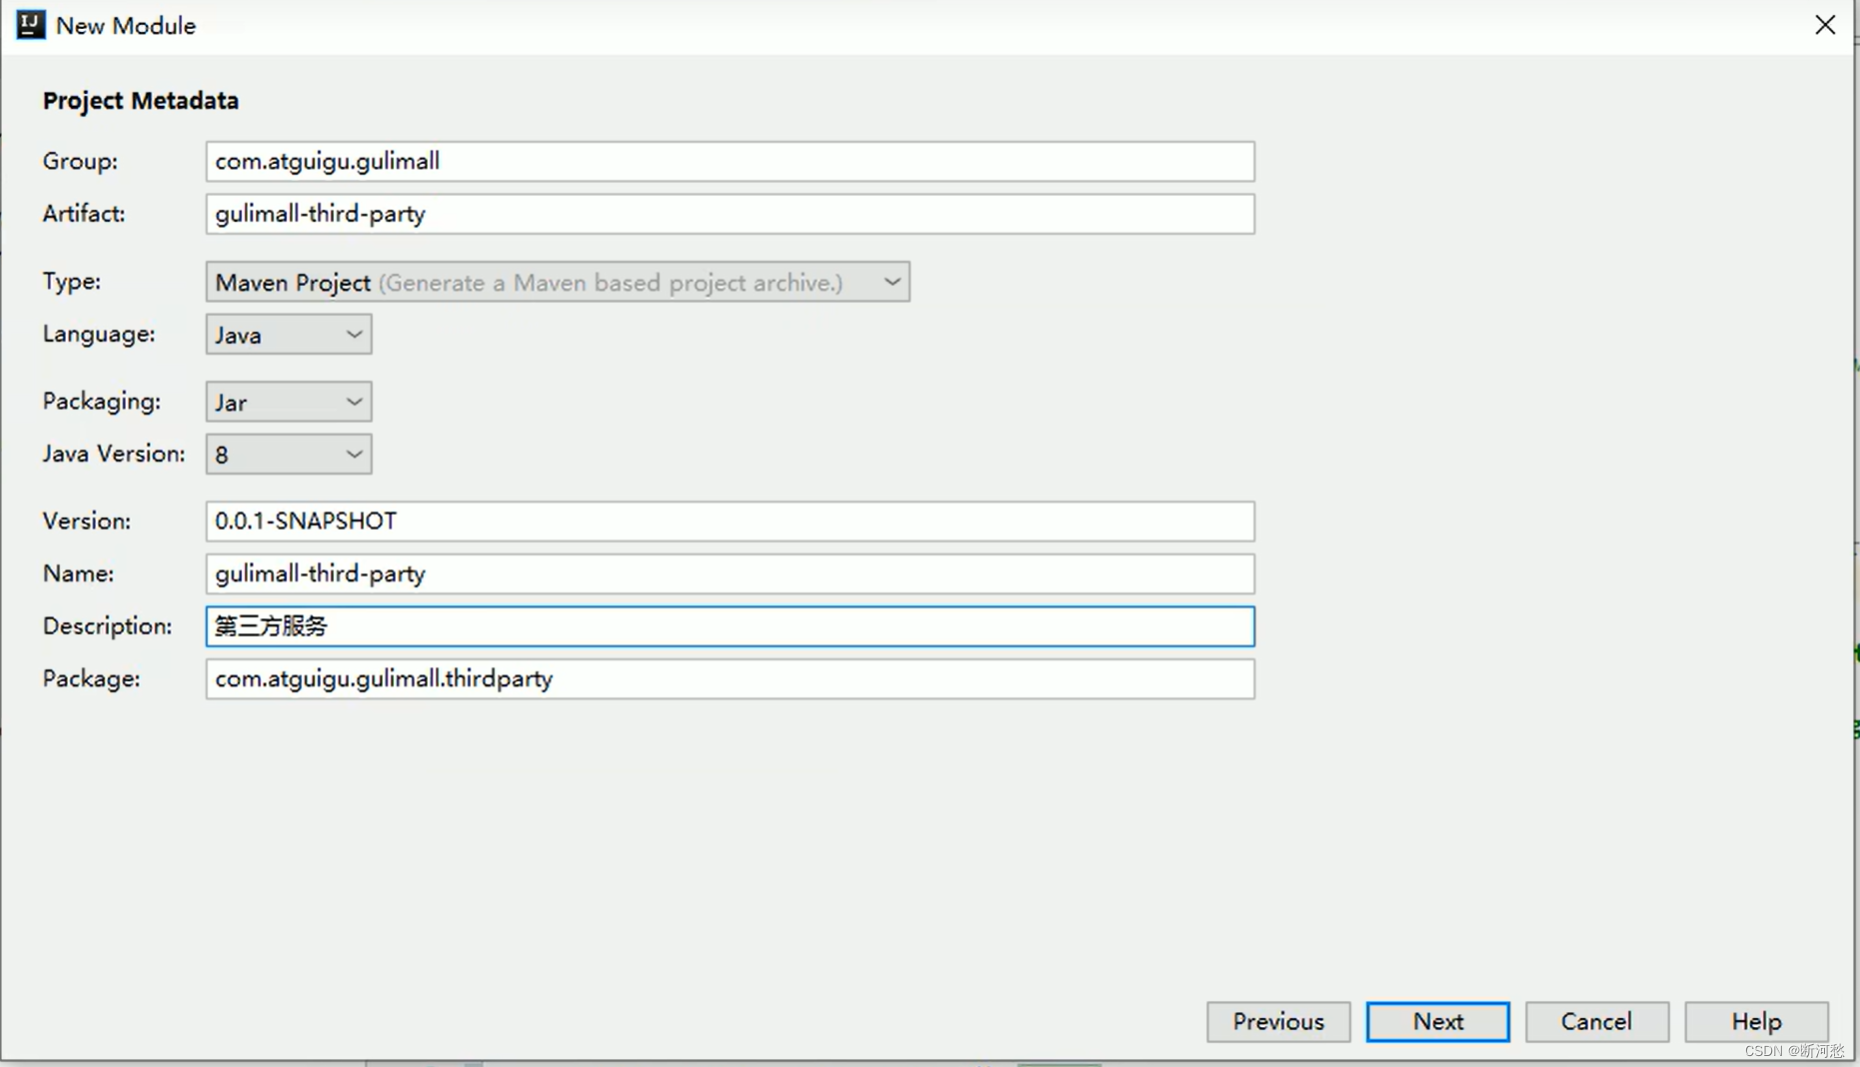
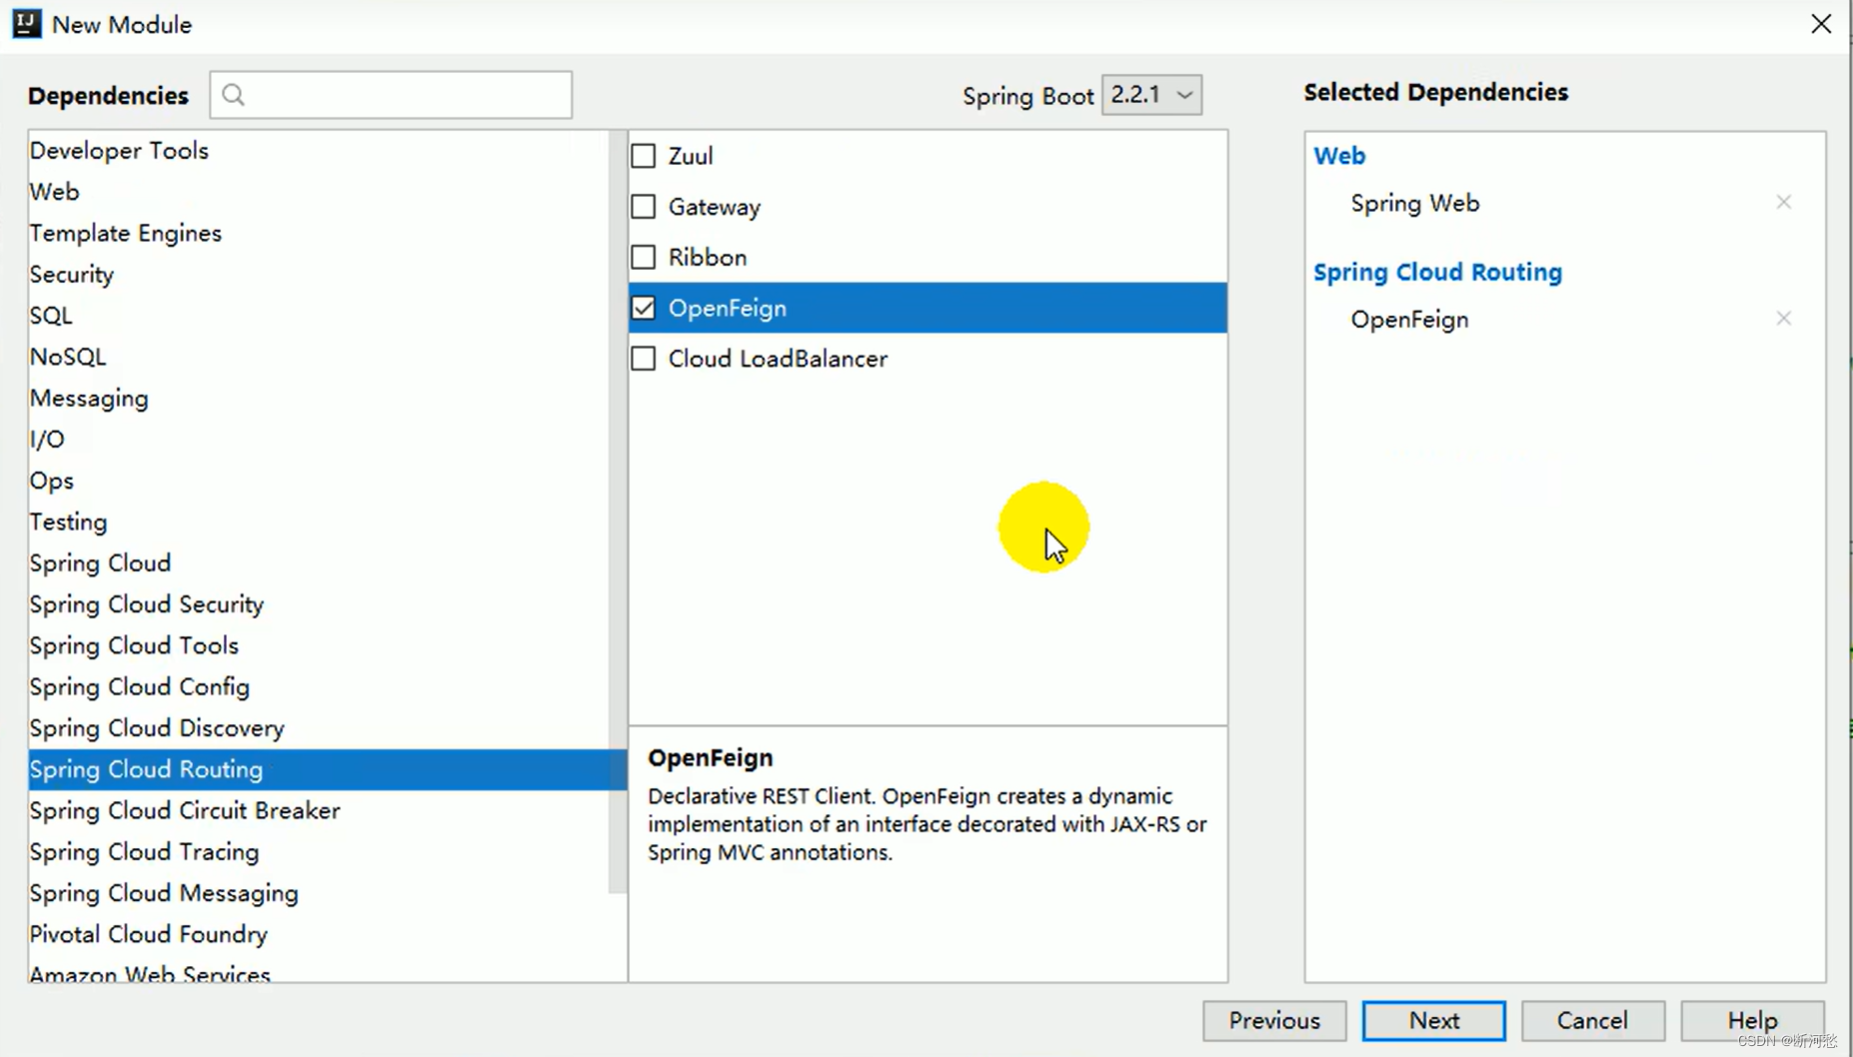
1.3 创建子模块gulimall-third-party用来存放第三方服务
1.3.1 修改pom文件
1.引入gulimall-common 排除mybatis-plus
<dependency><groupId>com.atguigu.gulimall</groupId><artifactId>gulimall-common</artifactId><version>0.0.1-SNAPSHOT</version><exclusions><exclusion><groupId>com.baomidou</groupId><artifactId>mybatis-plus-boot-starter</artifactId></exclusion></exclusions>
</dependency>
2.把gulimall-common里的oss-starter放入third-party
<dependency><groupId>com.alibaba.cloud</groupId><artifactId>spring-cloud-starter-alicloud-oss</artifactId>
</dependency>
3.把阿里巴巴依赖管理方法third-party
<dependency><groupId>com.alibaba.cloud</groupId><artifactId>spring-cloud-alibaba-dependencies</artifactId><version>2.1.0.RELEASE</version><type>pom</type><scope>import</scope>
</dependency>
1.3.2 创建bootstrap.properties
bootstrap.properties
spring.cloud.nacos.config.server-addr=127.0.0.1:8848
spring.cloud.nacos.config.namespace=0bcd0e23-64a8-432a-b75f-a357bc25a528spring.cloud.nacos.config.ext-config[0].data-id=oss.yml
spring.cloud.nacos.config.ext-config[0].group=DEFAULT_GROUP
spring.cloud.nacos.config.ext-config[0].refresh=true
application.yml
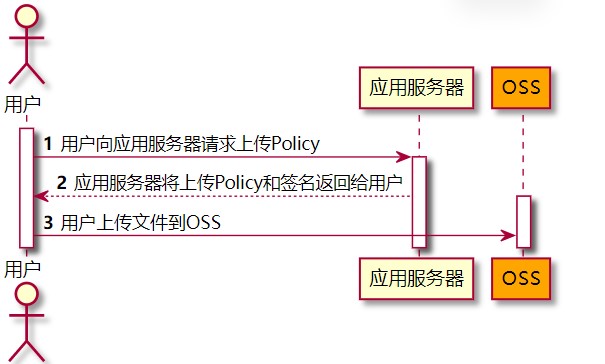
spring:application:name: gulimall-third-partycloud:nacos:discovery:server-addr: 127.0.0.1:8848server:port: 300001.4 服务端签名后直传
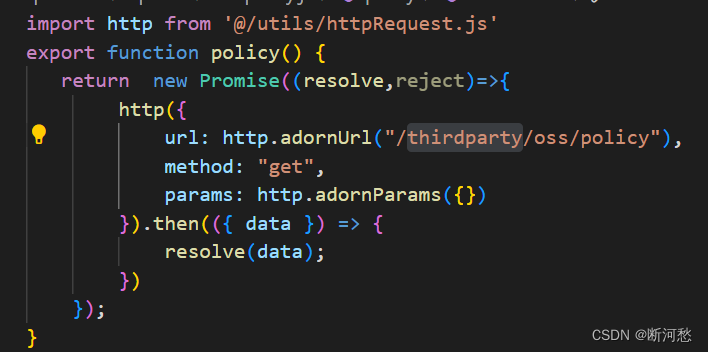
1.4.1 编写服务端代码
com.atguigu.gulimall.thirdparty.controller.OssController
package com.atguigu.gulimall.thirdparty.controller;import com.aliyun.oss.OSS;
import com.aliyun.oss.common.utils.BinaryUtil;
import com.aliyun.oss.model.MatchMode;
import com.aliyun.oss.model.PolicyConditions;
import com.atguigu.gulimall.common.utils.R;
import org.springframework.beans.factory.annotation.Autowired;
import org.springframework.beans.factory.annotation.Value;
import org.springframework.web.bind.annotation.RequestMapping;
import org.springframework.web.bind.annotation.RestController;import java.text.SimpleDateFormat;
import java.util.Date;
import java.util.LinkedHashMap;
import java.util.Map;@RequestMapping("oss")
@RestController
public class OssController {@AutowiredOSS ossClient;@Value("${spring.cloud.alicloud.oss.endpoint}")private String endpoint;@Value("${spring.cloud.alicloud.oss.bucket}")private String bucket;@Value("${spring.cloud.alicloud.access-key}")private String accessId;@RequestMapping("/policy")public R policy(){// 填写Host地址,格式为https://bucketname.endpoint。String host = "https://" + bucket + "." + endpoint;// 设置上传回调URL,即回调服务器地址,用于处理应用服务器与OSS之间的通信。OSS会在文件上传完成后,把文件上传信息通过此回调URL发送给应用服务器。
//        String callbackUrl = "https://192.168.0.0:8888";// 设置上传到OSS文件的前缀,可置空此项。置空后,文件将上传至Bucket的根目录下。String format = new SimpleDateFormat("yyyy-MM-dd").format(new Date());String dir = format + "/";Map<String, String> respMap = null;try {long expireTime = 30;long expireEndTime = System.currentTimeMillis() + expireTime * 1000;Date expiration = new Date(expireEndTime);PolicyConditions policyConds = new PolicyConditions();policyConds.addConditionItem(PolicyConditions.COND_CONTENT_LENGTH_RANGE, 0, 1048576000);policyConds.addConditionItem(MatchMode.StartWith, PolicyConditions.COND_KEY, dir);String postPolicy = ossClient.generatePostPolicy(expiration, policyConds);byte[] binaryData = postPolicy.getBytes("utf-8");String encodedPolicy = BinaryUtil.toBase64String(binaryData);String postSignature = ossClient.calculatePostSignature(postPolicy);respMap = new LinkedHashMap<String, String>();respMap.put("accessId", accessId);respMap.put("policy", encodedPolicy);respMap.put("signature", postSignature);respMap.put("dir", dir);respMap.put("host", host);respMap.put("expire", String.valueOf(expireEndTime / 1000));// respMap.put("expire", formatISO8601Date(expiration));} catch (Exception e) {// Assert.fail(e.getMessage());System.out.println(e.getMessage());}return R.ok().put("data",respMap);}
}
1.4.2 前端代码
复制上传组件到前端
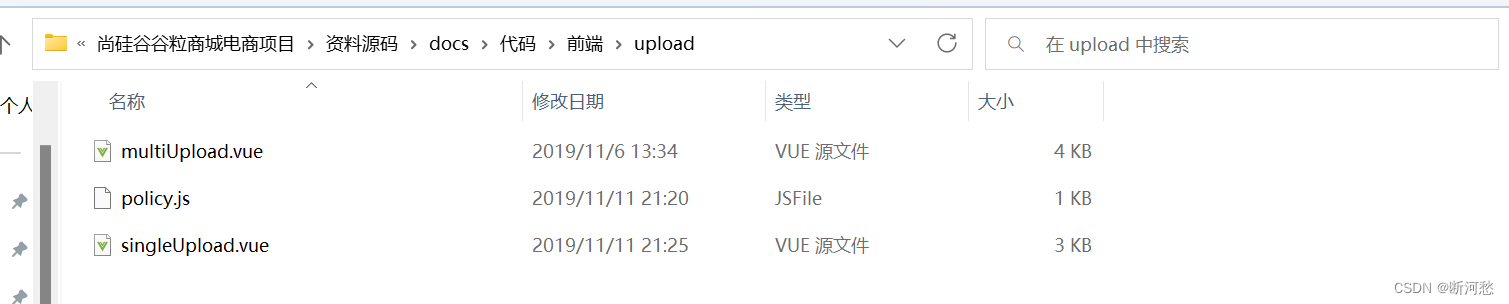
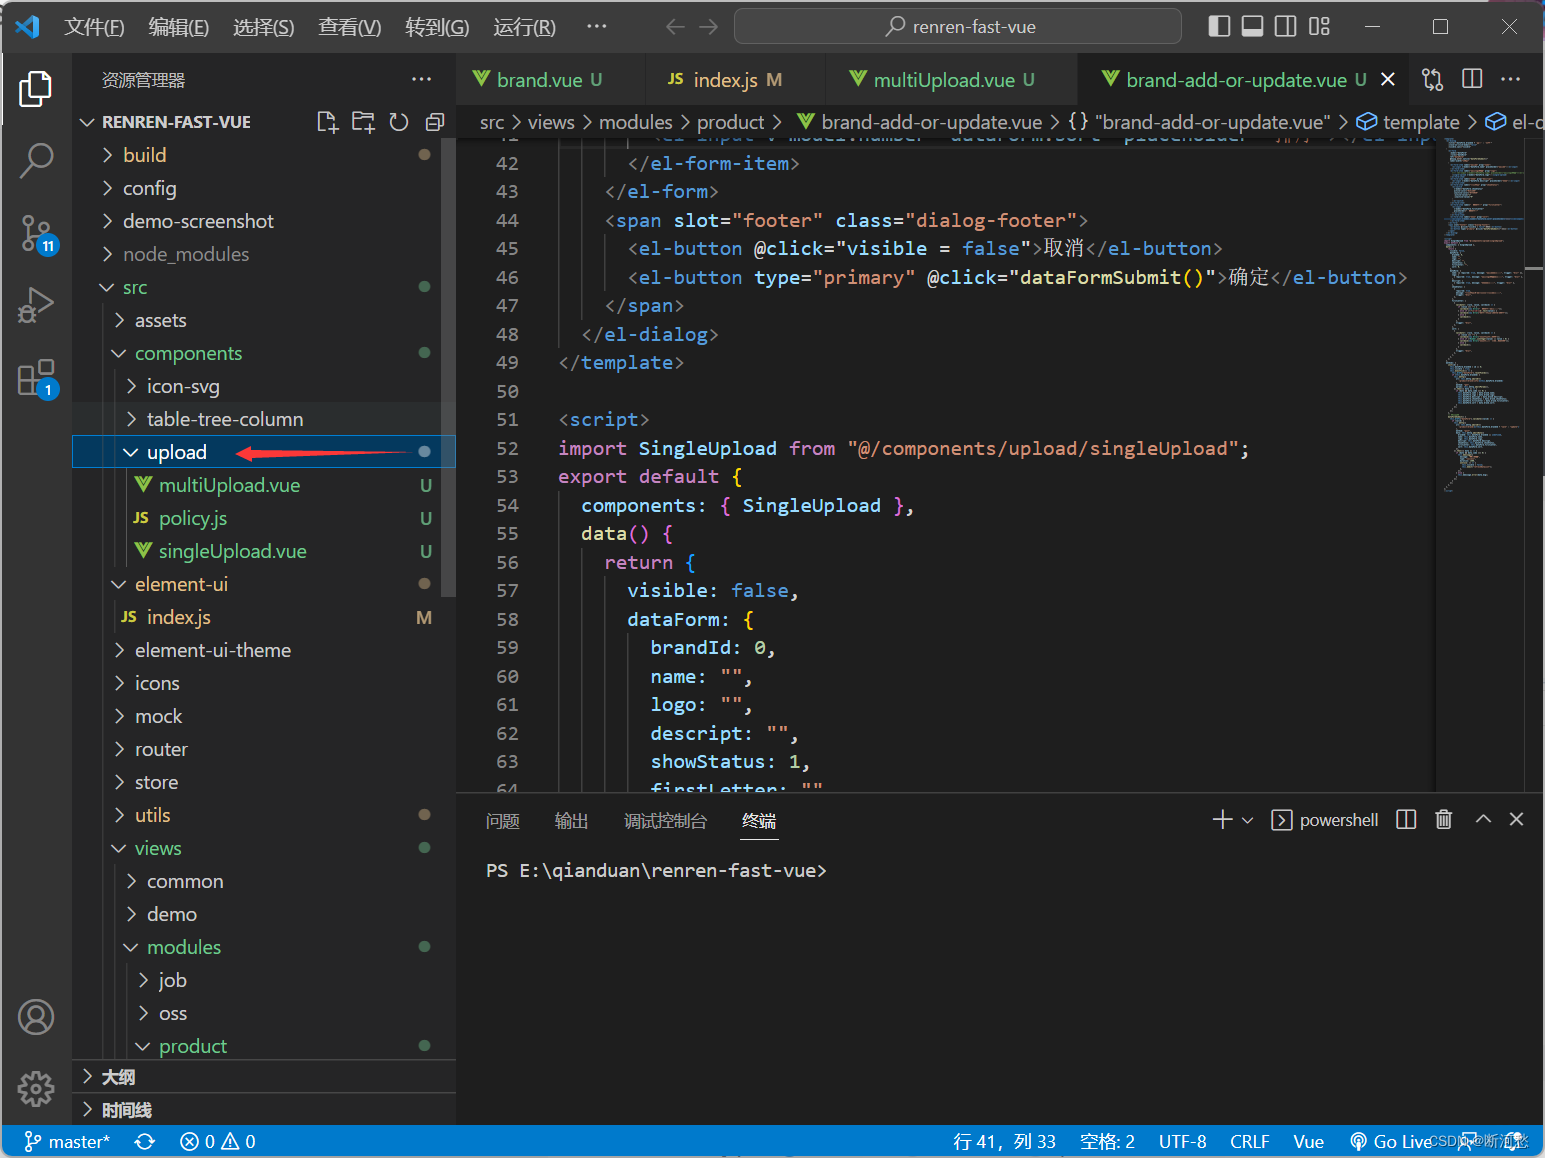
替换bucket地址
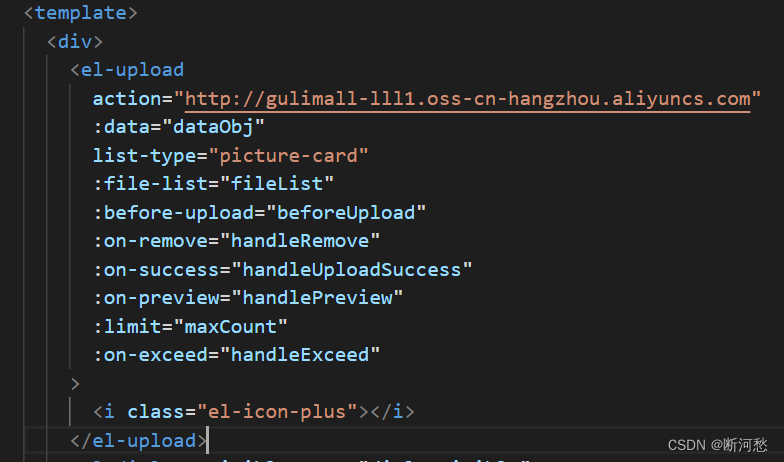
修改接口地址
引入import SingleUpload from "@/components/upload/singleUpload";
使用
<el-form-item label="品牌logo地址" prop="logo"><!-- <el-input v-model="dataForm.logo" placeholder="品牌logo地址"></el-input> --><single-upload v-model="dataForm.logo"></single-upload></el-form-item>