canvas的基础讲解

目录
一、低版本浏览器不显示canvas, 并给出提示
二、canvas是一个行内元素,想要居中就需要把他变成块元素
三、画线
四、画矩形
五、清除画布
六、画圆
七、画圆弧
一、低版本浏览器不显示canvas, 并给出提示
<!DOCTYPE html>
<html lang="en">
<head>
</head>
<body><!-- canvas在低版本中不兼容,需要提示用户 --><canvas width="500px" height="500px">您的浏览器版本过低,请升级浏览器或者使用chrome打开!</canvas>
</body>
</html>
能显示canvas就没有文字提示,不显示canvas就显示提示文字
二、canvas是一个行内元素,想要居中就需要把他变成块元素
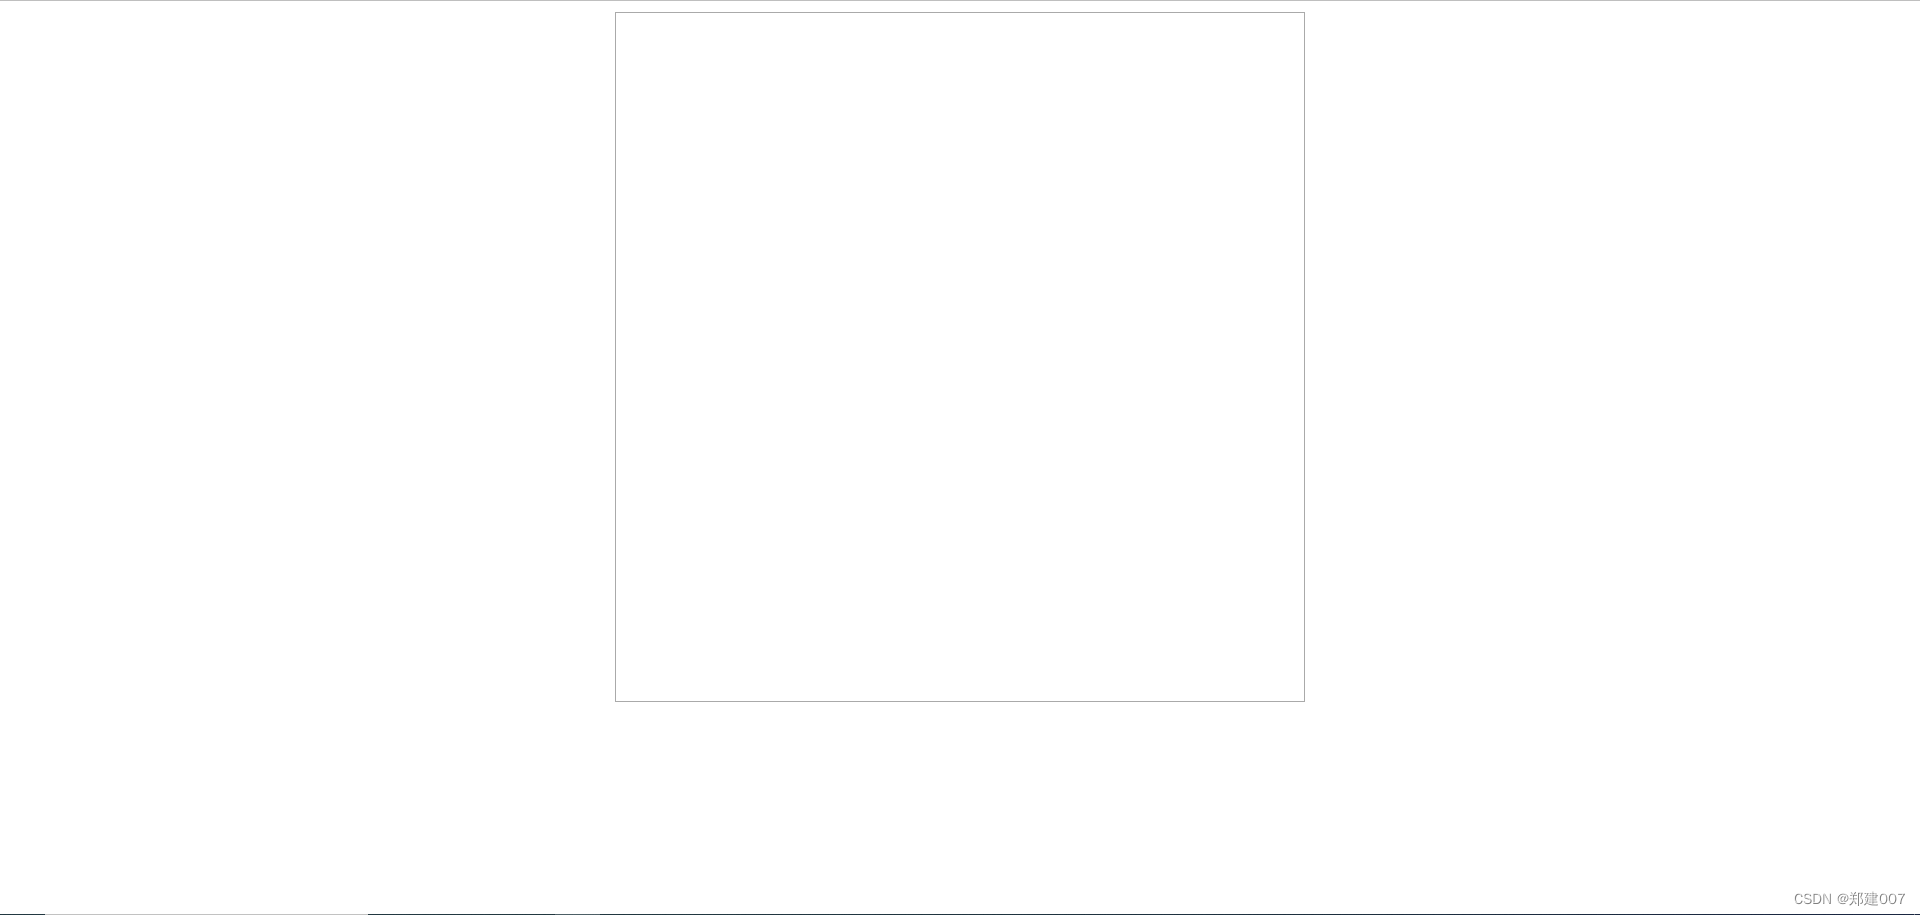
<!DOCTYPE html>
<html lang="en">
<head><style>canvas {display: block;margin: 0 auto;border: 1px solid #aaa;}</style>
</head>
<body><!-- canvas在低版本中不兼容,需要提示用户 --><canvas width="500px" height="500px">您的浏览器版本过低,请升级浏览器或者使用chrome打开!</canvas>
</body>
</html>
效果:
三、画线
<!DOCTYPE html>
<html lang="en">
<head>
</head>
<body><canvas id="cont" width="500px" height="500px"></canvas><script>// 只能使用原生js操作canvas, jq不可以// 画一条线的步骤//(1)获取画布var canvas = document.querySelector("#cont");//(2)获取画布的能力var ctx = canvas.getContext("2d");// (3)开始一条路径ctx.beginPath();// (4)确定起点ctx.moveTo(100, 100);// (5)确定结束点ctx.lineTo(400, 400);// 添加线宽和颜色  (这个必须在着色之前写)// 设置颜色ctx.strokeStyle = 'green'// 设置线宽ctx.lineWidth=5// (6)着色ctx.stroke();// (7)结束路径ctx.closePath();</script>
</body>
</html>
效果:

四、画虚线
语法:
ctx.setLineDash([虚线长度, 虚线间隔])
drawLine(起始点的x坐标, 起始点的y坐标, 终点的x坐标, 终点的y坐标, 虚线的颜色 )
四、画矩形
rect(x, y, width, height)  // 可描边、填充
fillRect(x, y, width, height)  // 不可描边、只能填充
strokeRect(x, y, width, height) // 只能描边、不可填充| x | 矩形左上角的x坐标 |
| y | 矩形左上角的y坐标 |
| width | 矩形的宽度,以像素为单位 |
| height | 矩形的高度,以像素为单位 |
注意: 注意需要填充和描边的 先填充后描边 否则填充会压着描边
案例:
<!DOCTYPE html>
<html lang="en">
<head>
</head>
<body><canvas id="cont" width="500px" height="500px"></canvas><script>//(1)获取画布var canvas = document.querySelector("#cont");//(2)获取画布的能力var ctx = canvas.getContext("2d");/* rect(x, y, width, height) // 有描边也有填充*/ctx.rect(100, 100, 300, 200)// 填充 ctx.fillStyle = "red"ctx.fill();// 描边ctx.strokeStyle = 'blue'ctx.lineWidth=5ctx.stroke();/* fillRect(x, y, width, heihgt)  // 只能填充, 不可描边*/ctx.fillStyle = 'pink'ctx.fillRect(100, 400, 100, 1000)/* strokeRect(x, y, width, heihgt)*/ctx.strokeStyle= 'gold'ctx.strokeRect(300, 400, 100, 100)ctx.closePath();</script>
</body>
</html>
效果:

五、清除画布
语法:
clearRect(x, y, width, height)案例:
<!DOCTYPE html>
<html lang="en">
<head>
</head>
<body><canvas id="cont" width="500px" height="500px"></canvas><script>//(1)获取画布var canvas = document.querySelector("#cont");//(2)获取画布的能力var ctx = canvas.getContext("2d");ctx.rect(100, 100, 300, 200)// 填充 ctx.fillStyle = "red"ctx.fill();// 描边ctx.strokeStyle = 'blue'ctx.lineWidth=5ctx.stroke();// 清除画布ctx.clearRect(120, 120,200, 100)ctx.closePath();</script>
</body>
</html>
效果:

六、画圆
语法:
arc(x, y, radius, startAngle, endAngle, counterclockwise)参数
| x | 圆心 x 坐标 |
| y | 圆心 y 坐标 |
| radius | 半径 |
| startAngle | 开始的角度 |
| endAngle | 结束的角度 |
| counterclockwise | true: 逆时针、false: 顺时针 |
案例:
<!DOCTYPE html>
<html lang="en">
<head>
</head>
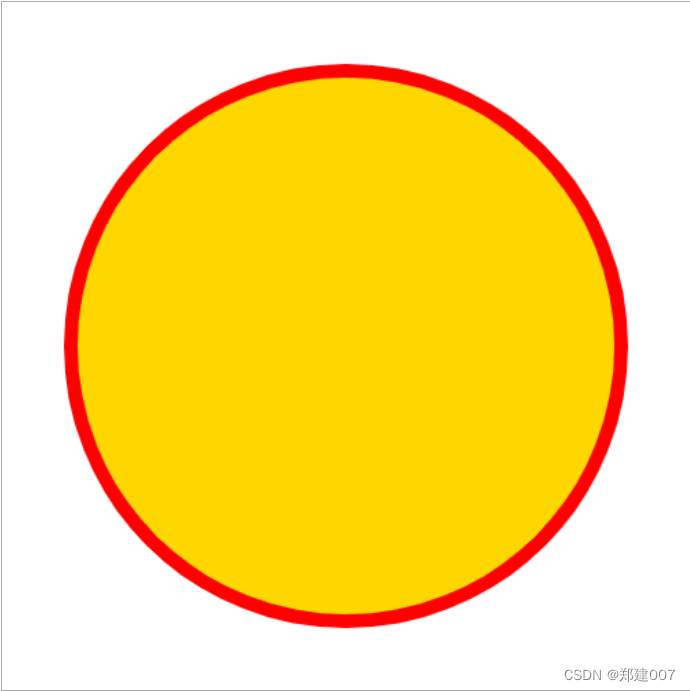
<body><canvas id="cont" width="500px" height="500px"></canvas><script>//(1)获取画布var canvas = document.querySelector("#cont");//(2)获取画布的能力var ctx = canvas.getContext("2d");ctx.arc(250, 250, 200, 0, Math.PI*2, false)ctx.fillStyle = 'gold'ctx.fill()ctx.lineWidth = 10;ctx.strokeStyle = 'red'ctx.stroke()ctx.closePath();</script>
</body>
</html>效果:
七、画圆弧
<!DOCTYPE html>
<html lang="en">
<head>
</head>
<body><canvas id="cont" width="500px" height="500px"></canvas><script>//(1)获取画布var canvas = document.querySelector("#cont");//(2)获取画布的能力var ctx = canvas.getContext("2d");ctx.beginPath()ctx.arc(100, 100, 100, 0, Math.PI*1, true)ctx.stroke()ctx.beginPath()  // 当前使用了新了一个beginPath()   所以上一个不需要closePath   因为他默认给你加上了ctx.arc(300, 100, 100, 0, Math.PI*1, false)ctx.stroke()ctx.closePath();</script>
</body>
</html>
注意: 当前使用了新了一个beginPath() 所以上一个不需要closePath 因为他默认给你加上了
八、绘制图片
方式一
// 在画布上定位图像
ctx.drawImage(img, x, y)
方式二
// 在画布上定位图像  并规定图像的宽、高
ctx.drawImage(img, x, y, width, height)
方式三
// 剪切图像,并在画布上定位被裁剪的部分
ctx.drawImage(img, sx, sy, swidth, sheight, x, y, width, height)
参数:
| img | 要使用的图像、画布、视频 |
| sx | 可选。开始剪切的 x 坐标 |
| sy | 可选。开始剪切的 y 坐标 |
| swidth | 可选。被剪切图像的宽度 |
| sheight | 可选。被剪切图像的高度 |
| x | 在画布上放置图像的 x 坐标 |
| y | 在画布上放置图像的 y 坐标 |
| width | 可选。 要使用的图像的宽度。(伸展或缩小图像) |
| height | 可选。 要使用的图像的高度。(伸展或缩小图像) |
八、案例:小球碰壁检测
<!DOCTYPE html>
<html lang="en">
<head>
</head>
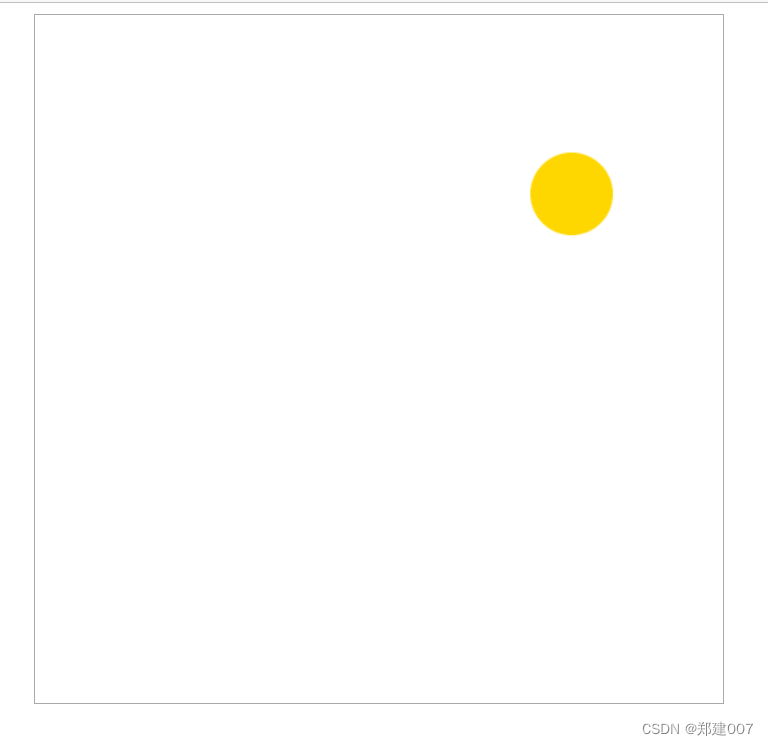
<body><canvas id="cont" width="500px" height="500px"></canvas><script>//(1)获取画布var canvas = document.querySelector("#cont");//(2)获取画布的能力var ctx = canvas.getContext("2d");// 画布宽高var w=h=500;var x = 100;var y = 100;var r = 30;// 水平速度var xSpeed = 10;// 垂直运动var ySpeed = 6;setInterval(function() {// 每次都要清除整个画布ctx.clearRect(0, 0, w, h);// 在小球碰到边缘时,速度取相反即可if(x-r <= 0 || x+r > w ) {xSpeed = -xSpeed;}x = x+xSpeedif(y-r <= 0 || y+r > w ) {ySpeed = -ySpeed;}y = y+ySpeed// 水平运动drawCircle(x, y, r);}, 50)function drawCircle(x, y, r) {// 加这个相当于把上面一次的画笔清除掉 否则就相当于你的笔重来都没有离开过画布ctx.beginPath()ctx.arc(x, y, r, 0, Math.PI*2);ctx.fillStyle = 'gold'ctx.fill()}</script>
</body>
</html>效果:碰到周围就会反弹
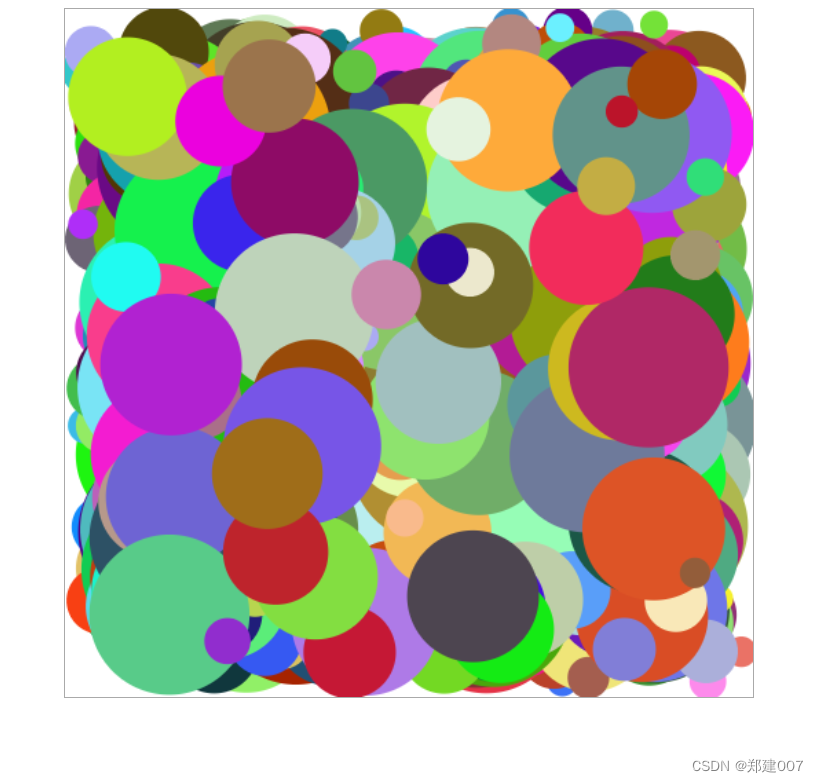
九、案例:小球碰壁检测(面向对象)
<!DOCTYPE html>
<html lang="en">
<head>
</head>
<body><canvas id="cont" width="500px" height="500px"></canvas><script>//(1)获取画布var canvas = document.querySelector("#cont");//(2)获取画布的能力var ctx = canvas.getContext("2d");// 画布宽高var w = 500var h = 500var ballArr = []/* 面向对象* */function r(num) {return Math.random()*num}/* @param x       起始x坐标* @param y       起始y坐标* @param r       小球半径* @param color   小球颜色* @param xSpeed  x轴速度* @param ySpeed  y轴速度* @author: @郑建*/        function Ball() {this.x = r(5) + 60;this.y = r(3) + 60;this.r = r(50) + 10 // [10, 100)this.color = '#' + parseInt(Math.random()*0xffffff).toString(16)this.xSpeed = r(3) + 2;  // [2, 5)this.ySpeed = r(3) + 1;  // [1, 4)}// 在原型链上定义小球的公共方法Ball.prototype.show = function() {this.run()ctx.beginPath();ctx.arc(this.x, this.y, this.r, 0, Math.PI*2);ctx.fillStyle = this.colorctx.fill();}// 在原型链上定义小球的公共方法Ball.prototype.run = function() {if(this.x-this.r <= 0 || this.x+this.r >= w) {this.xSpeed = -this.xSpeed}this.x = this.x + this.xSpeedif(this.y-this.r <= 0 || this.y+this.r >= w) {this.ySpeed = -this.ySpeed}this.y = this.y + this.ySpeed}for(var i = 0; i < 1000; i++) {var ball = new Ball()ballArr.push(ball)ball.show()}setInterval(function() {ctx.clearRect(0, 0, w, h)for(var i = 0; i < ballArr.length; i++) {var ball = ballArr[i]ball.show()}}, 20)</script>
</body>
</html>
效果:
十、画文字
1、基础显示
语法:
fillText(text, x, y, maxWidth);  // 实心文字
strokeText(text, x, y, maxWidth);  // 空心文字
参数:
| text | 画布上输出的文本 |
| x | 开始绘制文本的x坐标位置 |
| y | 开始绘制文本的y坐标位置 |
| maxWidth | 可选。允许的最大文本宽度, |
案例一:
<!DOCTYPE html>
<html lang="en">
<head>
</head>
<body><canvas id="cont" width="500px" height="500px"></canvas><script>var canvas = document.querySelector("#cont");var ctx = canvas.getContext("2d");// 1.设置字体样式// fontctx.font = '30px 微软雅黑';//字体颜色ctx.fillStyle = 'gold'// 2.画文字ctx.fillText('实心文字', 250, 250)//  空心文字ctx.strokeStyle = 'red'ctx.strokeText('空心文字', 0, 250)//  未设置最大宽度ctx.fillStyle = 'red'ctx.fillText('你好!我是未设置最大宽度的字体', 100, 50)//  设置最大宽度ctx.fillStyle = 'green'ctx.fillText('你好!我设置最大宽度的字体', 100, 100, 300)</script>
</body>
</html>
效果:

2、文字渐变
语法:
var gradient = ctx.createLinearGradient(x0, y0, x1, y1)参数:
| x0 | 渐变开始点的 x 坐标 |
| y0 | 渐变开始点的 y 坐标 |
| x1 | 渐变结束点的 x 坐标 |
| y1 | 渐变结束点的 y 坐标 |
案例:
<!DOCTYPE html>
<html lang="en">
<head><meta charset="UTF-8"><meta http-equiv="X-UA-Compatible" content="IE=edge"><meta name="viewport" content="width=device-width, initial-scale=1.0"><title>Document</title><style>canvas {display: block;margin: 0 auto;border: 1px solid #aaa;}</style>
</head>
<body><canvas id="cont" width="500px" height="500px"></canvas><script>var canvas = document.querySelector("#cont");var ctx = canvas.getContext("2d");ctx.font = '50px 微软雅黑';/* 设置线性渐变*/var gradient = ctx.createLinearGradient(0, 0, canvas.width, 0)gradient.addColorStop('0', "yellow")gradient.addColorStop('0.5', 'blue')gradient.addColorStop('1.0', 'red')ctx.fillStyle = gradientctx.fillText('今天天气不错, 风和日丽!', 0, 100, 500)ctx.strokeStyle = gradientctx.strokeText('适合出去玩儿!happy~', 0, 300, 500)</script>
</body>
</html>
效果:

3、文字位置
语法:
textAlign = 'start' | 'end' | 'left' | 'right' | 'center'   // 水平方向
textBaseLine = 'top' | 'bottom' | 'moddle' | 'alphabetic' | 'hanging'


像素点
语法:
ctx.getImageData(x, y, width, height)参数:
| x | 开始复制的左上角位置的 x 坐标 |
| y | 开始复制的左上角位置的 y 坐标 |
| width | 将要复制的矩形区域的宽度 |
| height | 将要复制的矩形区域的高度 |
介绍:
返回的getImageData对象,该对象拷贝了画布指定矩形的像素数据
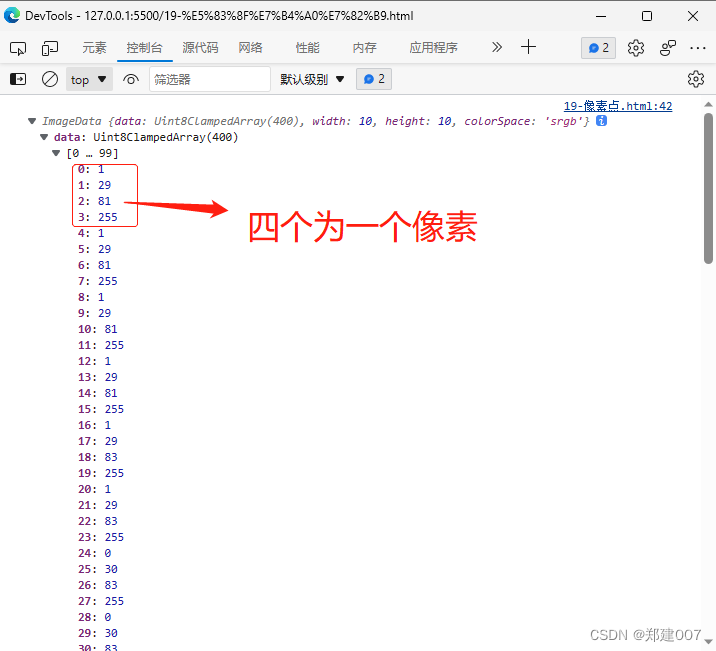
对于getImageData对象中的每个像素,都存在着四方面的信息, 即RGBA值
R - 红色 (0 - 255)
G - 绿色 (0 - 255)
B - 蓝色 (0 - 255)
A - alpha 通道 (0 - 255) ; 0: 透明; 255:完全不透明
color / alpha 以数组的形式存在,并存储于getImage对象的data属性中
案例:
<!DOCTYPE html>
<html lang="en">
<head>
</head>
<body><canvas id="cont" width="500px" height="500px"></canvas><script>var canvas = document.querySelector("#cont");var ctx = canvas.getContext("2d");// 1 创建图片var img = new Image();img.src = 'u10.png'img.onload = function() {// 2 绘制图片ctx.drawImage(img, 0, 0, img.width, img.height)// 3 获取像素点var copy = ctx.getImageData(0, 0, 10, 10);console.log('像素数据', copy);}</script>
</body>
</html>
打印:

把像素点放到画布上
语法:
putImageData(imgData, x, y, dirtyX, dirtyY, dirtyWidth, dirtyHeight)
参数:
| imgData | 规定要放回画布的ImageData对象 |
| x | ImageData对象左上角的 x 坐标,以像素计 |
| y | ImageData对象左上角的 y 坐标,以像素计 |
| dirtyX | 可选。 水平值(x), 在画布上放置图片的位置 |
| dirtyY | 可选。 水平值(y), 在画布上放置图片的位置 |
| dirtyWidth | 可选。 在画布上绘制图像所使用的宽度 |
| dirtyHeight | 可选。 在画布上绘制图像所使用的高度 |
案例:
<!DOCTYPE html>
<html lang="en">
<head>
</head>
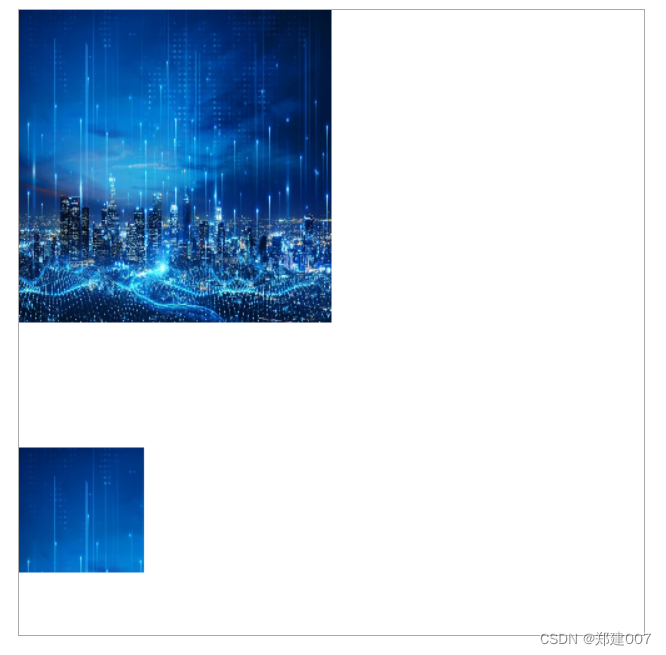
<body><canvas id="cont" width="500px" height="500px"></canvas><script>var canvas = document.querySelector("#cont");var ctx = canvas.getContext("2d");// 1 创建图片var img = new Image();img.src = 'u10.png'img.onload = function() {// 2 绘制图片ctx.drawImage(img, 0, 0, 250, 250)// 3 获取像素点var copy1 = ctx.getImageData(0, 0, 100, 100);ctx.putImageData(copy1, 0, 350)}</script>
</body>
</html>效果: