Ubuntu Server搭建SVN服务器

一直想自己搞一个服务器,现在手头上有一块树莓派,就想着自己搭建一下。
1.配置
硬件:树莓派B4
硬盘:4T机械硬盘
系统:ubuntu-22.04.2-preinstalled-server-arm64+raspi(树莓派官网下载)
2.前期准备
根据树莓派官网设置烧录系统并运行起来。
3.挂载硬盘
3.1 将机械硬盘格式化以便挂载
实操过程中,发现卷标为中文时,用ubuntu的控制台修改卷标会报错,建议卷标修改为英文卷标。
3.2 挂载硬盘
将硬盘接到树莓派上,然后挂载,这一步需要先接好硬盘,然后再启动机器,否则操作时会报Input/Output错误。
3.2.1创建目录:
linux中硬盘挂载需要挂载到系统的目录下,因为linux系统无法自动识别,只能挂载的指定的目录中,网上说一般在mnt目录下创建,作为一个新手,那我也在该目录下创建。
sudo mkdir /mnt/DbDisk
3.2.2 识别硬盘
通过fdisk -l指令识别硬盘:
ubuntu@ubuntu:~$ sudo fdisk -l
Disk /dev/loop0: 59.09 MiB, 61956096 bytes, 121008 sectors
Units: sectors of 1 * 512 = 512 bytes
Sector size (logical/physical): 512 bytes / 512 bytes
I/O size (minimum/optimal): 512 bytes / 512 bytesDisk /dev/loop1: 59.12 MiB, 61988864 bytes, 121072 sectors
Units: sectors of 1 * 512 = 512 bytes
Sector size (logical/physical): 512 bytes / 512 bytes
I/O size (minimum/optimal): 512 bytes / 512 bytesDisk /dev/loop2: 109.61 MiB, 114929664 bytes, 224472 sectors
Units: sectors of 1 * 512 = 512 bytes
Sector size (logical/physical): 512 bytes / 512 bytes
I/O size (minimum/optimal): 512 bytes / 512 bytesDisk /dev/loop3: 43.19 MiB, 45289472 bytes, 88456 sectors
Units: sectors of 1 * 512 = 512 bytes
Sector size (logical/physical): 512 bytes / 512 bytes
I/O size (minimum/optimal): 512 bytes / 512 bytesDisk /dev/loop4: 43.18 MiB, 45277184 bytes, 88432 sectors
Units: sectors of 1 * 512 = 512 bytes
Sector size (logical/physical): 512 bytes / 512 bytes
I/O size (minimum/optimal): 512 bytes / 512 bytesDisk /dev/sdb: 119.24 GiB, 128035676160 bytes, 250069680 sectors
Disk model: e SSD ST600 MSAT
Units: sectors of 1 * 512 = 512 bytes
Sector size (logical/physical): 512 bytes / 512 bytes
I/O size (minimum/optimal): 512 bytes / 33553920 bytes
Disklabel type: dos
Disk identifier: 0x12c9124aDevice     Boot  Start       End   Sectors  Size Id Type
/dev/sdb1  *      2048    526335    524288  256M  c W95 FAT32 (LBA)
/dev/sdb2       526336 250069679 249543344  119G 83 LinuxDisk /dev/sda: 3.64 TiB, 4000787030016 bytes, 7814037168 sectors
Disk model: 006-3CW104
Units: sectors of 1 * 512 = 512 bytes
Sector size (logical/physical): 512 bytes / 4096 bytes
I/O size (minimum/optimal): 4096 bytes / 4096 bytes
Disklabel type: gpt
Disk identifier: 9463367F-46F9-46DB-AC72-5633AEA58D7EDevice     Start        End    Sectors  Size Type
/dev/sda1   4096 7814037134 7814033039  3.6T Microsoft basic data
我要挂在的硬盘是/dev/sda1,这个我是根据自己要挂载的硬盘大小识别的。
3.2.3 挂载硬盘:
sudo mount /dev/sda1 /mnt/DbDisk通过sudo df可以查看硬盘挂载情况,我目前将sda1硬盘挂载到DbDisk目录下
ubuntu@ubuntu:~$ sudo df
Filesystem      1K-blocks    Used  Available Use% Mounted on
tmpfs              388000    3176     384824   1% /run
/dev/sdb2       122731688 4809364  111667360   5% /
tmpfs             1939984       0    1939984   0% /dev/shm
tmpfs                5120       0       5120   0% /run/lock
/dev/sdb1          258095  151621     106475  59% /boot/firmware
/dev/sda1      3907016516  221416 3906795100   1% /mnt/DbDisk
tmpfs              387996       4     387992   1% /run/user/1000
3.2.4 设置自动挂载
直接挂载,需要每次重启的时候均需要挂载一次,一般设置自动挂载比较香,可通过修改配置文件实现。
ubuntu@ubuntu:~$ sudo vim /etc/fstab然后再配置文件中加入要新挂载的盘:
LABEL=writable  /       ext4    discard,errors=remount-ro       0 1
LABEL=system-boot       /boot/firmware  vfat    defaults        0       1
/dev/sda1               /mnt/DbDisk     ntfs    auto,user,rw    0       1
挂载开头的识别号可用LABEL卷标,UUID硬盘编号,或者向我一样直接写系统识别到的设备路径。实际使用时我出现过LABEL和UUID都无法识别的情况,所以我后面改成使用设备路径直接挂载,好用。
设置完之后,可以重启树莓派看下是否能正常运行。
4.安装svnserver
4.1 安装svn服务器
sudo apt-get install subversion4.2 创建svn仓库文件夹
ubuntu@ubuntu:~$ sudo mkdir /mnt/DbDisk/svn在硬盘目录下创建一个svn仓库文件夹,用来做svn仓库文件夹。
ubuntu@ubuntu:/mnt/DbDisk/svn$ sudo mkdir test
ubuntu@ubuntu:/mnt/DbDisk/svn$ ls
test
在仓库目录下一个版本库test
4.3 创建版本库
sudo svnadmin create /mnt/DbDisk/svn/testubuntu@ubuntu:/mnt/DbDisk/svn/test$ ls
README.txt conf db format hooks locks
ubuntu@ubuntu:/mnt/DbDisk/svn/test$ ls -a
. .. README.txt conf db format hooks locks
ubuntu@ubuntu:/mnt/DbDisk/svn/test$创建完之后目录下又文件。
4.4 配置
通过修改conf文件夹下的文件配置权限。
注意,修改配置文件svnserve.conf、authz、passwd文件时,所有行头不能有空给,末尾也不能添加空空格,下午配置#号说明的信息主要用于备注,实际修改时不能添加,否则会报“authorization failed”错误。
4.4.1 svnserve.conf文件
[general]
 The anon-access and auth-access options control access to the
 repository for unauthenticated (a.k.a. anonymous) users and
 authenticated users, respectively.
 Valid values are "write", "read", and "none".
 Setting the value to "none" prohibits both reading and writing;
 "read" allows read-only access, and "write" allows complete
 read/write access to the repository.
 The sample settings below are the defaults and specify that anonymous
 users have read-only access to the repository, while authenticated
 users have read and write access to the repository.
anon-access = none      # 设置匿名用户不可读
auth-access = write     # 权限用户可写
 The password-db option controls the location of the password
 database file.  Unless you specify a path starting with a /,
 the file's location is relative to the directory containing
 this configuration file.
 If SASL is enabled (see below), this file will NOT be used.
 Uncomment the line below to use the default password file.
password-db = passwd    # 使用用密码文件
 The authz-db option controls the location of the authorization
 rules for path-based access control.  Unless you specify a path
 starting with a /, the file's location is relative to the
 directory containing this file.  The specified path may be a
 repository relative URL (^/) or an absolute file:// URL to a text
 file in a Subversion repository.  If you don't specify an authz-db,
 no path-based access control is done.
 Uncomment the line below to use the default authorization file.
authz-db = authz        # 使用权限文件
4.4.2 authz文件
[groups]
# harry_and_sally = harry,sally
# harry_sally_and_joe = harry,sally,&joe# [/foo/bar]
# harry = rw
# &joe = r
# * =# [repository:/baz/fuz]
# @harry_and_sally = rw
# * = r
# 在末尾添加信息
admin = admin   # 管理员用户admin分组属于admin组
[/]             # 从仓库开始设置权限
@admin = rw     # 管理员组的权限是读写
4.4.3 passwd文件
[users]
# harry = harryssecret
# sally = sallyssecret
admin = 123456    # 在末尾添加用户和密码,明文输入
4.5 启动服务器
ubuntu@ubuntu:/mnt/DbDisk/svn/test/conf$ sudo svnserve -d -r /mnt/DbDisk/svn- -d:标识以守护模式启动
- -r:设置svn存储库根目录,这样访问的时候不要输入完整路径
- 其他:暂时还没研究。
4.6 查看连接状态
ubuntu@ubuntu:~$ ps -aux | grep svnserve
root        1588  0.0  0.0  18904  2552 ?        Ss   07:46   0:00 svnserve -d -r /mnt/DbDisk/svn
ubuntu      1598  0.0  0.0   6420  1864 pts/0    S+   07:51   0:00 grep --color=auto svnserve
u
有看到服务表示服务器启动成功。
4.7停止服务器
killall svnserve5 访问svn
5.1 查看端口
ubuntu@ubuntu:~$ sudo netstat -anp
Active Internet connections (servers and established)
Proto Recv-Q Send-Q Local Address           Foreign Address         State       PID/Program name
tcp        0      0 127.0.0.53:53           0.0.0.0:*               LISTEN      822/systemd-resolve
tcp        0      0 0.0.0.0:3690            0.0.0.0:*               LISTEN      1588/svnserve
tcp        0      0 0.0.0.0:22              0.0.0.0:*               LISTEN      987/sshd: /usr/sbin
tcp        0      0 192.168.1.17:22         192.168.1.19:60135      ESTABLISHED 1312/sshd: ubuntu [
tcp6       0      0 :::3389                 :::*                    LISTEN      936/xrdp
tcp6       0      0 ::1:3350                :::*                    LISTEN      896/xrdp-sesman
tcp6       0      0 :::22                   :::*                    LISTEN      987/sshd: /usr/sbin
udp        0      0 127.0.0.53:53           0.0.0.0:*                           822/systemd-resolve
udp        0      0 192.168.1.17:68         0.0.0.0:*                           820/systemd-network
udp6       0      0 fe80::dea6:32ff:fe4:546 :::*                                820/systemd-network
raw6       0      0 :::58                   :::*                    7           820/systemd-network
通过sudo netstat -anp 查看svn服务的端口号,这边我们可以看到svn服务器的默认端口为3690。
5.2 开放svn服务器端口
ubuntu@ubuntu:~$ sudo ufw allow 3690    # 开放端口
Rule added
Rule added (v6)
ubuntu@ubuntu:~$ sudo ufw status        #检查端口状态
Status: activeTo                         Action      From
--                         ------      ----
3690                       ALLOW       Anywhere
3690 (v6)                  ALLOW       Anywhere (v6)
端口打开后就可以通过外部访问。
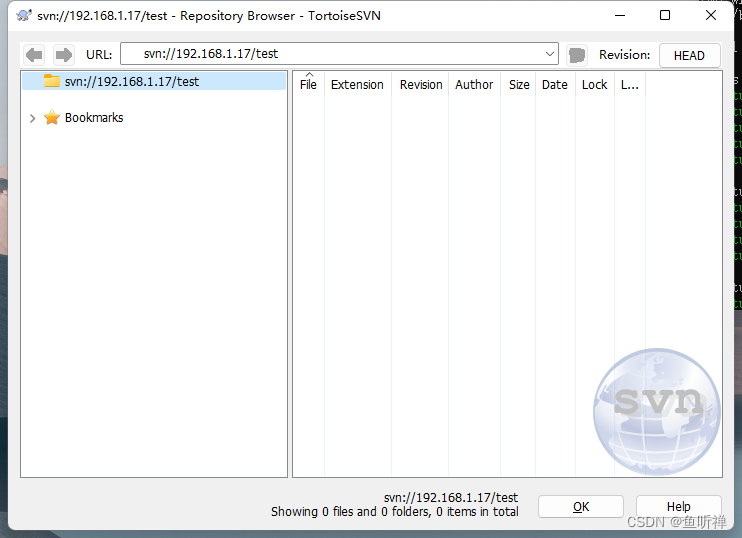
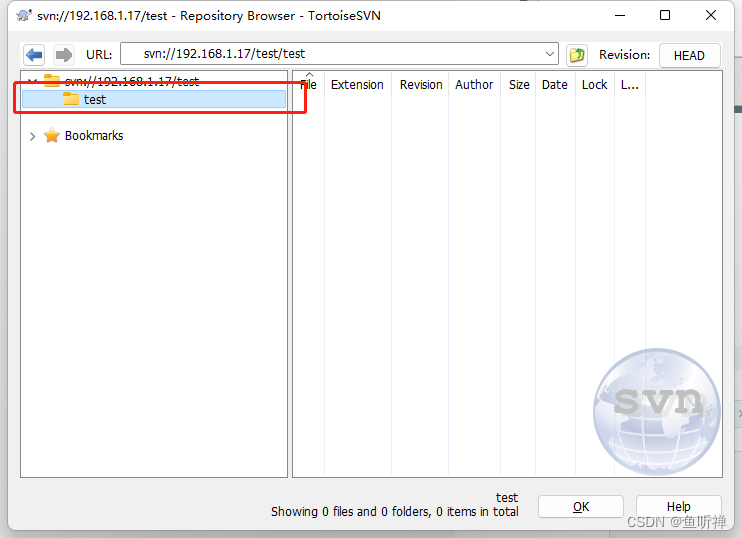
5.3 访问svn库
我是以window环境的svn客户端访问的 :
试着创建个文件夹:
5.4 愉快的玩耍吧
网上资料看着一看就觉得自己会,实际还是需要动手去实践才能发现问题,只有自己动手配置过了才能有所收获。