Nuxt3用nginx部署到二级目录

有的时候我们需要把我们写的Nuxt3项目部署到域名的二级目录,例如:https://abc.xx.com/abc/目录下。主要就是用nginx进行配置代理转发来实现的,这样可以实现我们同一个域名下可以部署多个Nuxt3独立的项目,只不过端口不同。使用nginx进行配置代理转发即可。
一、Nuxt3前端配置
首先看下Nuxt3的前端部分的配置(nuxt.config.ts):
//主要就是配置个baseURL(配置成你要部署的二级目录名称)// https://nuxt.com/docs/api/configuration/nuxt-config
export default defineNuxtConfig({app: {baseURL:'/calculator3/',head: {title: '计算器-小工具',charset: 'utf-8',viewport: 'width=device-width, initial-scale=1',meta: [{ name: 'viewport', content: 'width=device-width, initial-scale=1' },{hid: 'description',name: 'description',content: '计算器-小工具',},],link: [{ rel: 'icon', type: 'image/x-icon', href: './favicon.ico' }],}},modules: ['@element-plus/nuxt','@nuxtjs/color-mode'],elementPlus: {icon: 'ElIcon',// importStyle: 'scss',// themes: ['dark'],},colorMode: {preference: 'system', // default value of $colorMode.preferencefallback: 'light', // fallback value if not system preference foundhid: 'nuxt-color-mode-script',globalName: '__NUXT_COLOR_MODE__',componentName: 'ColorScheme',classPrefix: '',classSuffix: '',//-modestorageKey: 'nuxt-color-mode'}
});
二、Nuxt3打包
运行命令打包项目:
npm run build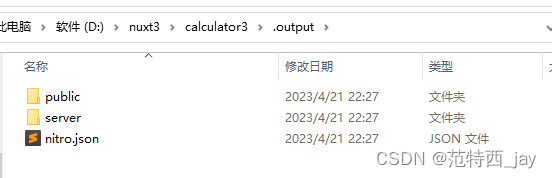
三、上传服务器并部署运行
将打包后的.output目录文件上传到服务器对应二级目录下面。同时将pm2的脚本文件ecosystem.config.js上传。
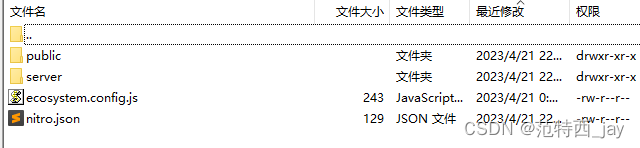
ecosystem.config.js内容:
module.exports = {apps: [{name: 'calculator3',port: '9060',//自定义的端口exec_mode: 'cluster',//cluster forkinstances: 'max',//max 1script: './server/index.mjs'}]}运行启动项目,使用pm2部署运行服务:
pm2 start ecosystem.config.js停止项目服务命令:
pm2 stop ecosystem.config.js此时就可以通过http://ip:端口 来访问项目了。
四、nginx配置跳转代理
#user  nobody;
worker_processes  1;#error_log  logs/error.log;
#error_log  logs/error.log  notice;
#error_log  logs/error.log  info;#pid        logs/nginx.pid;events {worker_connections  1024;
}http {include       mime.types;default_type  application/octet-stream;#log_format  main  '$remote_addr - $remote_user [$time_local] "$request" '#                  '$status $body_bytes_sent "$http_referer" '#                  '"$http_user_agent" "$http_x_forwarded_for"';#access_log  logs/access.log  main;sendfile        on;#tcp_nopush     on;#keepalive_timeout  0;keepalive_timeout  65;#gzip  on;server {listen       80;server_name  abc.xx.com;#index index.php index.html index.htm default.php default.htm default.html;#autoindex on;    自动索引#charset koi8-r;root   html;#access_log  logs/host.access.log  main;location / {root   html;index  index.html index.htm;}location /calculator3/ {proxy_pass http://xxx.x.x.x:9060;}#error_page  404              /404.html;# redirect server error pages to the static page /50x.html#error_page   500 502 503 504  /50x.html;location = /50x.html {root   html;}}# another virtual host using mix of IP-, name-, and port-based configuration##server {#    listen       8000;#    listen       somename:8080;#    server_name  somename  alias  another.alias;#    location / {#        root   html;#        index  index.html index.htm;#    }#}# HTTPS server##server {#    listen       443 ssl;#    server_name  localhost;#    ssl_certificate      cert.pem;#    ssl_certificate_key  cert.key;#    ssl_session_cache    shared:SSL:1m;#    ssl_session_timeout  5m;#    ssl_ciphers  HIGH:!aNULL:!MD5;#    ssl_prefer_server_ciphers  on;#    location / {#        root   html;#        index  index.html index.htm;#    }#}}
核心nginx跳转配置就是下面这句(端口映射):
location /calculator3/ {proxy_pass http://xxx.x.x.x:9060;
}
静态资源目录匹配(可加可不加):
location ~ /calculator3\\/.*\\.(js|ts|css|json|png|ttf|otf|jpg)$ {root '打包后静态资源的根目录';
}
如果遇到资源404报错,可以把上面的配置加上。或者删除下面这段:
location ~ .*\\.(js|css)?${expires 12h;error_log off;access_log off; }或改成:
location ~ .*\\.(js|css)?${root '项目资源根目录';expires 12h;error_log off;access_log off; }此时你访问:https://abc.xx.com/calculator3/,就会访问到我们部署到9060端口的Nuxt3项目了。上CDN也不影响。
五、扩展(windows本地安装nginx并部署测试项目)
1、下载nginx
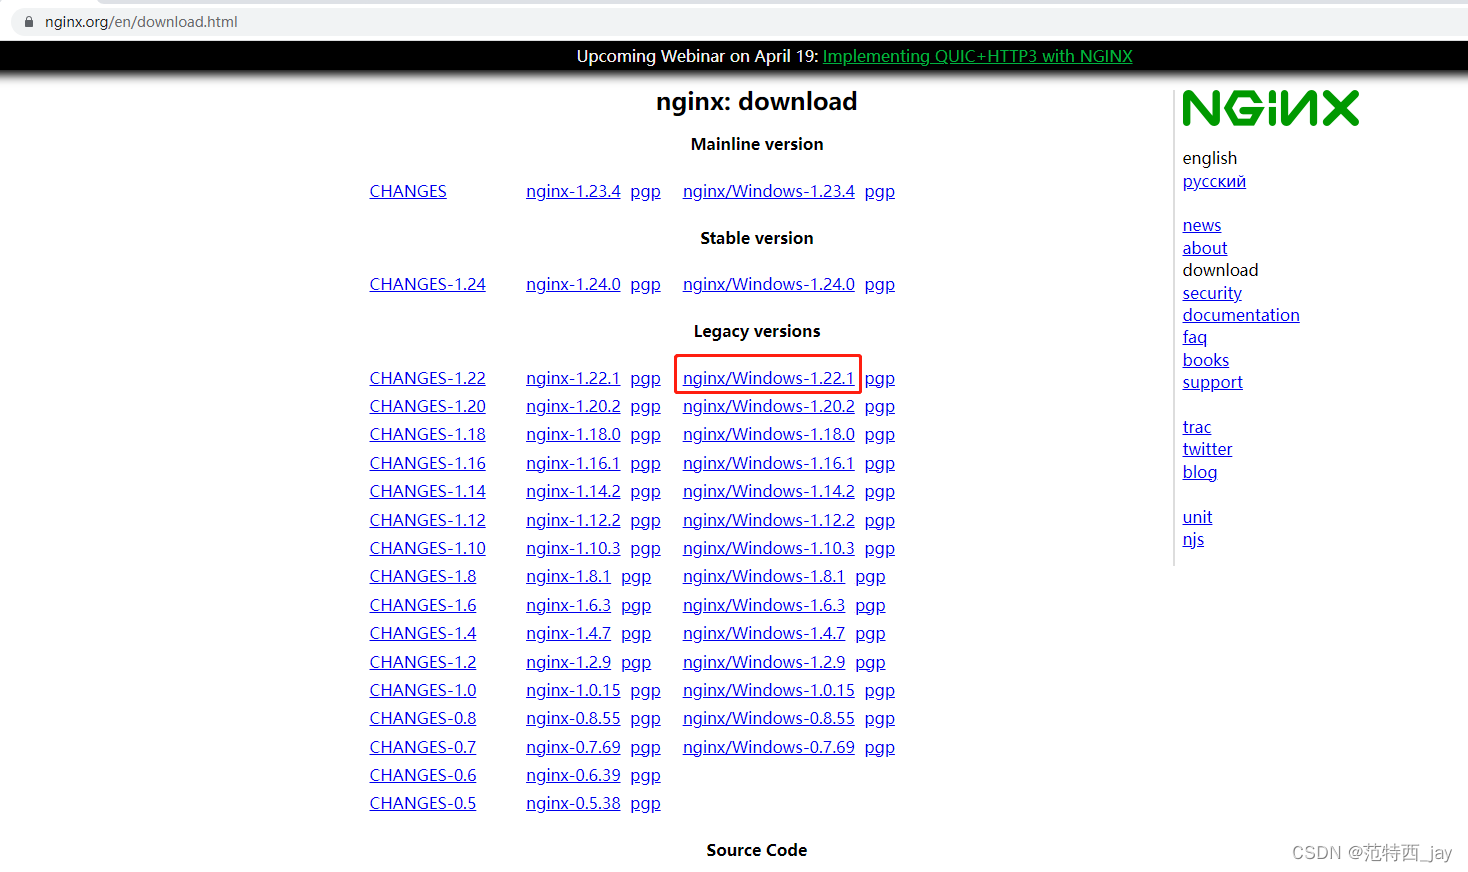
官网下载地址:https://nginx.org/en/download.html
下载后,解压到任意文件夹里。
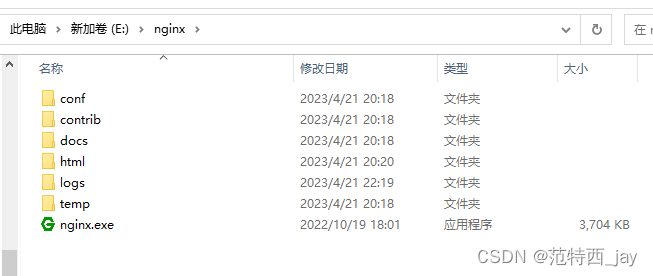
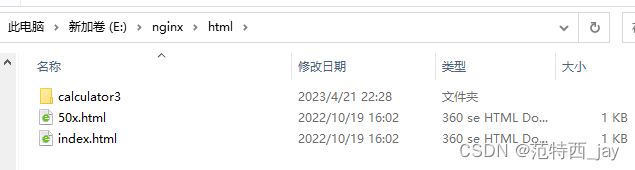
其中html目录用于部署放置我们的项目。

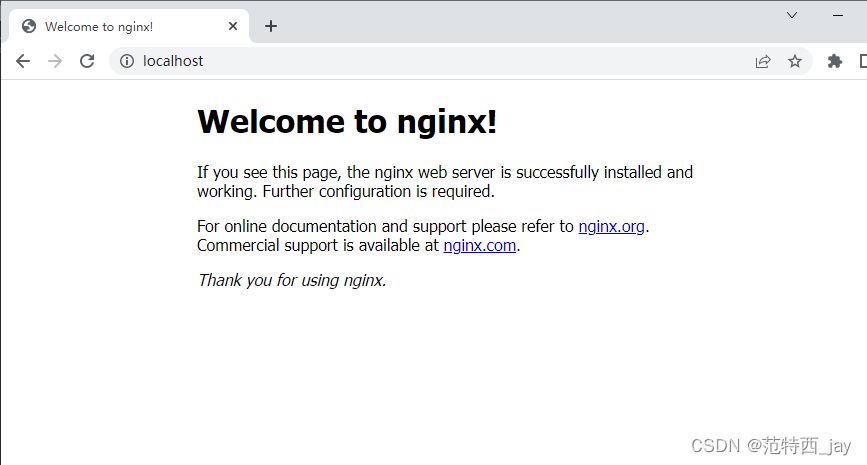
2、启动nginx
cmd 进入nginx文件夹,执行命令:
start nginx打开浏览器,输入:http://localhost:80 出现以下页面即为启动成功。
3、部署项目
部署项目就是部署在html目录中。
4、编写nginx配置
nginx配置说明:
1、listen:端口号
2、server_name:虚拟ip地址
3、root:声明默认网站根目录位置 --项目的根目录
4、index:定义首页索引文件的名称 --index.html
5、try_files:$uri $uri/ /app/index.html; 这里的设置是通过内部重定向的方式,去匹配目录下的索引文件index.html
6、location:控制服务访问路径
7、proxy_pass:请求代理转发//具体配置内容如下#user  nobody;
worker_processes  1;#error_log  logs/error.log;
#error_log  logs/error.log  notice;
#error_log  logs/error.log  info;#pid        logs/nginx.pid;events {worker_connections  1024;
}http {include       mime.types;default_type  application/octet-stream;#log_format  main  '$remote_addr - $remote_user [$time_local] "$request" '#                  '$status $body_bytes_sent "$http_referer" '#                  '"$http_user_agent" "$http_x_forwarded_for"';#access_log  logs/access.log  main;sendfile        on;#tcp_nopush     on;#keepalive_timeout  0;keepalive_timeout  65;#gzip  on;server {listen       80;server_name  localhost;#index index.php index.html index.htm default.php default.htm default.html;#autoindex on;    自动索引#charset koi8-r;root   html;#access_log  logs/host.access.log  main;location / {root   html;index  index.html index.htm;}location /calculator3/ {proxy_pass http://127.0.0.1:9060;}#error_page  404              /404.html;# redirect server error pages to the static page /50x.html#error_page   500 502 503 504  /50x.html;location = /50x.html {root   html;}# proxy the PHP scripts to Apache listening on 127.0.0.1:80##location ~ \\.php$ {#    proxy_pass   http://127.0.0.1;#}# pass the PHP scripts to FastCGI server listening on 127.0.0.1:9000##location ~ \\.php$ {#    root           html;#    fastcgi_pass   127.0.0.1:9000;#    fastcgi_index  index.php;#    fastcgi_param  SCRIPT_FILENAME  /scripts$fastcgi_script_name;#    include        fastcgi_params;#}# deny access to .htaccess files, if Apache's document root# concurs with nginx's one##location ~ /\\.ht {#    deny  all;#}}# another virtual host using mix of IP-, name-, and port-based configuration##server {#    listen       8000;#    listen       somename:8080;#    server_name  somename  alias  another.alias;#    location / {#        root   html;#        index  index.html index.htm;#    }#}# HTTPS server##server {#    listen       443 ssl;#    server_name  localhost;#    ssl_certificate      cert.pem;#    ssl_certificate_key  cert.key;#    ssl_session_cache    shared:SSL:1m;#    ssl_session_timeout  5m;#    ssl_ciphers  HIGH:!aNULL:!MD5;#    ssl_prefer_server_ciphers  on;#    location / {#        root   html;#        index  index.html index.htm;#    }#}}
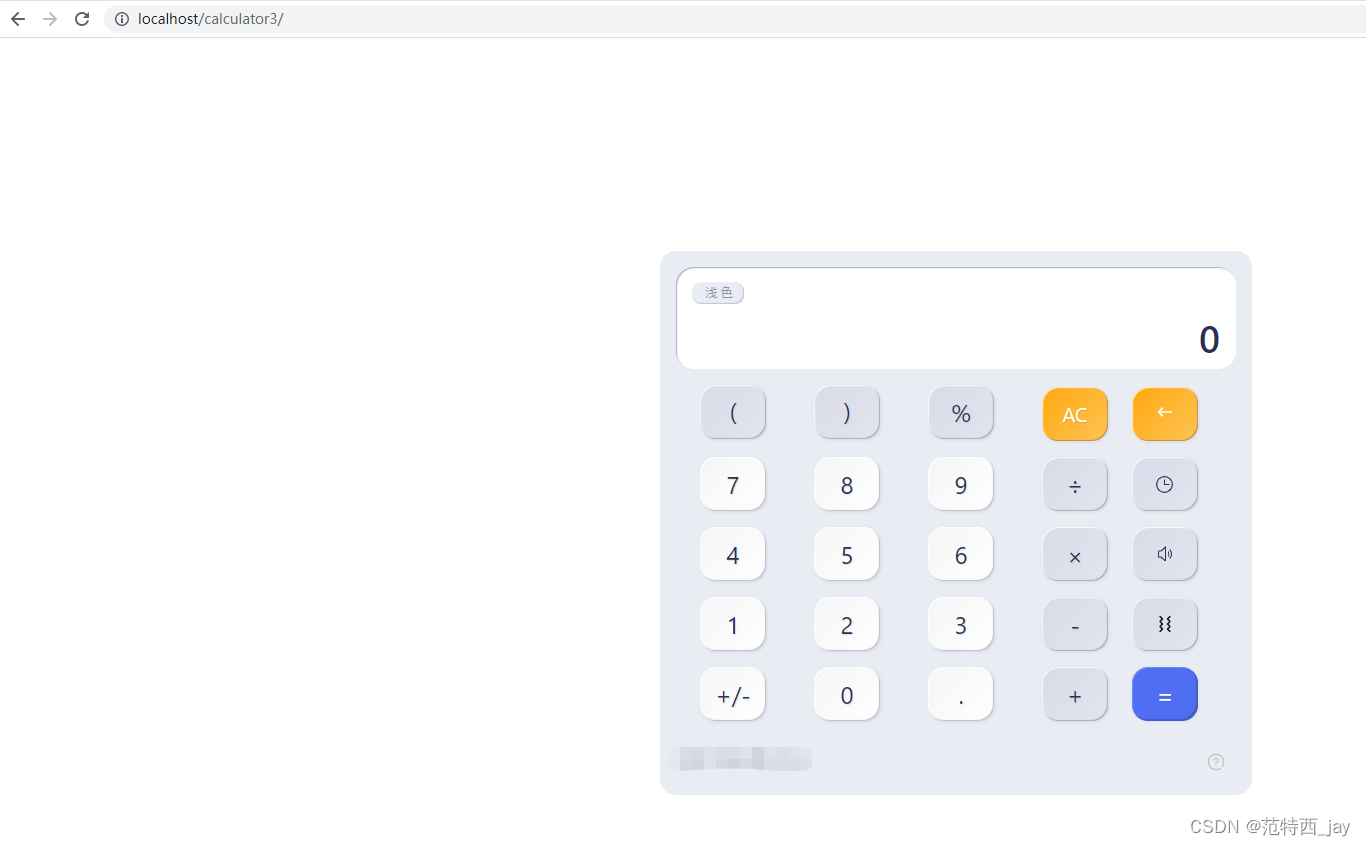
5、重启nginx使配置生效
进入nginx文件夹,执行命令:
nginx -s reload这样最新更改的配置就会立即生效了。
配置后的效果:
6、nginx常用命令
//启动nginx
start nginx//关闭停止nginx
nginx -s stop//修改重启nginx使配置生效
nginx -s reload//重新打开日志文件
nginx -s reopen//测试nginx配置文件是否正确
nginx -t -c /xxx/xx/nginx.conf//正常停止nginx服务(即处理完所有请求后再停止服务)
nginx -s quit//查看nginx版本号等信息
nginx -v