spring getway的配置

1. 创建工程 getway-server
2. 添加 pom 依赖:
<dependency><groupId>org.springframework.cloud</groupId><artifactId>spring-cloud-starter-gateway</artifactId>
</dependency>
3. 添加启动类

4. 添加配置文件:
#端口
server:port: 8080#服务名称
spring:application:name: getway-servicecloud:gateway:routes:- id: product-serviceuri: lb://product-service     #根据服务名称从注册中心拉取服务请求路径predicates:- Path=/product/
id:我们自定义的路由 ID,保持唯一
uri:目标服务地址
predicates:路由条件,Predicate 接受一个输入参数,返回一个布尔值结果。该接口包含多种默
认方法来将 Predicate 组合成其他复杂的逻辑(比如:与,或,非)
5. 启动 getway 服务报错如下:
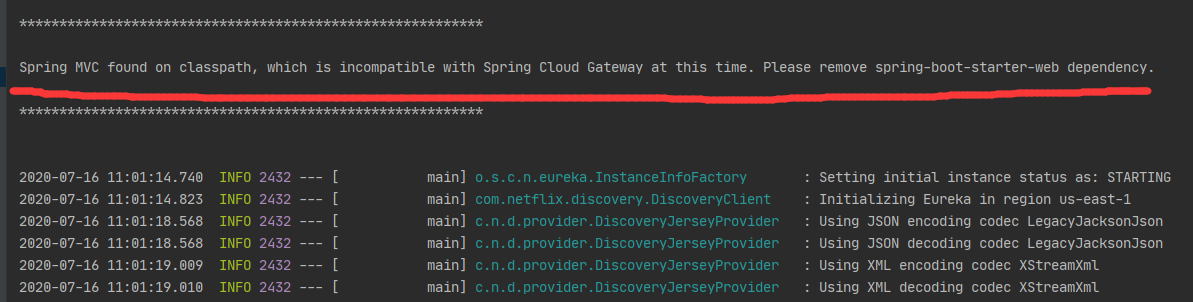
这个错误是因为 getway 内部是通过 netty + webflux 实现,webflux 实现和 springmvc 冲突
解决办法:将父工程配置的如下依赖添加到需要的工程中:
<dependency><groupId>org.springframework.boot</groupId><artifactId>spring-boot-starter-web</artifactId>
</dependency>
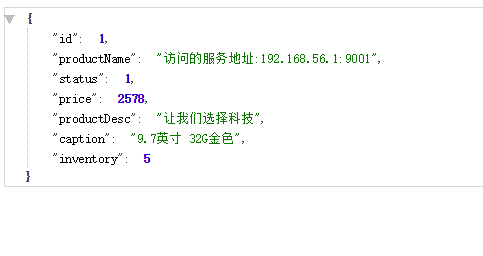
对应在 product 和 order 服务中添加依赖,再次启动 getway 服务就成功了。
访问 http://localhost:8080/product/1
重写转发路径
在 SpringCloud Gateway 中,路由转发是直接将匹配的路由 path 直接拼接到映射路径(URI)之后,那
么在微服务开发中往往没有那么便利。这里就可以通过 RewritePath 机制来进行路径重写。
(1) 案例改造
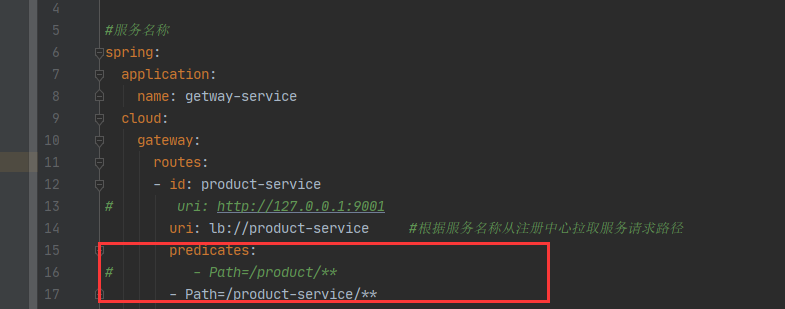
修改 application.yml ,将匹配路径改为 /product-service/
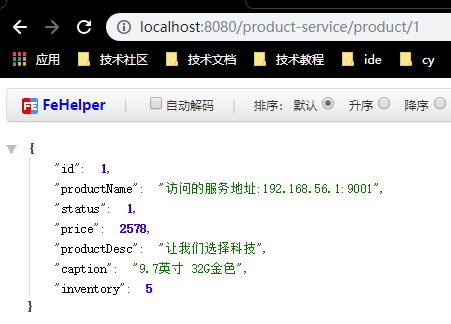
重新启动网关,我们在浏览器访问 http://127.0.0.1:8080/product-service/product/1,会抛出 404。这
是由于路由转发规则默认转发到商品微服务( http://127.0.0.1:9002/productservice/product/1 )路径上,而商品微服务又没有 product-service 对应的映射配置。
(2) 添加 RewritePath 重写转发路径
修改 application.yml ,添加重写规则
#服务名称
spring:application:name: getway-servicecloud:gateway:routes:- id: product-service
#        uri: http://127.0.0.1:9001
        uri: lb://product-service     #根据服务名称从注册中心拉取服务请求路径
        predicates:
#          - Path=/product/
        - Path=/product-service/filters:- RewritePath=/product-service/(?<segment>.*), /$\\{segment}#根据服务名称配置路由转发
    discovery:locator:enabled: true   #开启服务名称自动转发
        lower-case-service-id: true   #名称小写形式
通过 RewritePath 配置重写转发的 url,将 /product-service/(?.*),重写为 {segment},然后转发到订单
微服务。比如在网页上请求 http://localhost:8080/product-service/product,此时会将请求转发到 htt
p://127.0.0.1:9002/product/1
网关限流
1.pom 文件添加如下依赖:
<!--redis的依赖-->
<dependency><groupId>org.springframework.boot</groupId><artifactId>spring-boot-starter-data-redis-reactive</artifactId>
</dependency>
<!--监控依赖-->
<dependency><groupId>org.springframework.boot</groupId><artifactId>spring-boot-starter-actuator</artifactId>
</dependency> 2.修改配置文件
server:port: 8080 #端口
spring:application:name: gateway-service #服务名称
redis:host: localhostpool: 6379database: 0cloud: #配置SpringCloudGateway的路由
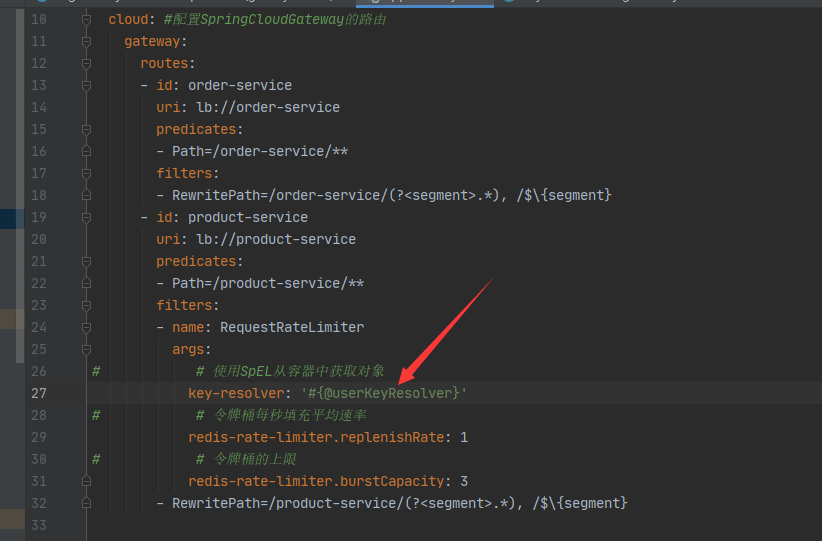
gateway:routes:- id: order-serviceuri: lb://order-servicepredicates:- Path=/order-service/filters:- RewritePath=/order-service/(?<segment>.*), /$\\{segment}- id: product-serviceuri: lb://product-servicepredicates:- Path=/product-service/filters:- name: RequestRateLimiterargs:
# # 使用SpEL从容器中获取对象
key-resolver: '#{@pathKeyResolver}'
# # 令牌桶每秒填充平均速率
redis-rate-limiter.replenishRate: 1
# # 令牌桶的上限
redis-rate-limiter.burstCapacity: 3- RewritePath=/product-service/(?<segment>.*), /$\\{segment}
3. 新建 KeyResolverConfiguration 类
@Configuration
public class KeyResolverConfiguration {/
     * 请求路径的限流规则
     * @return
     */
    @Beanpublic KeyResolver pathKeyResolver() {return new KeyResolver(){public Mono<String> resolve(ServerWebExchange exchange) {return Mono.just(exchange.getRequest().getPath().toString());}};}
}
访问 http://localhost:8080/product-service/product/1
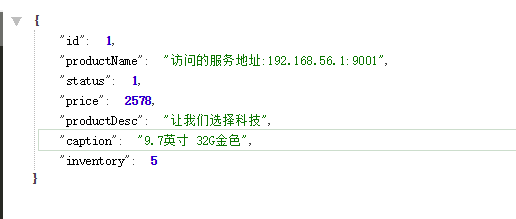
如果连续刷新请求就会出现如下界面

通过 reids 的 MONITOR 可以监听 redis 的执行过程。这时候 Redis 中会有对应的数据
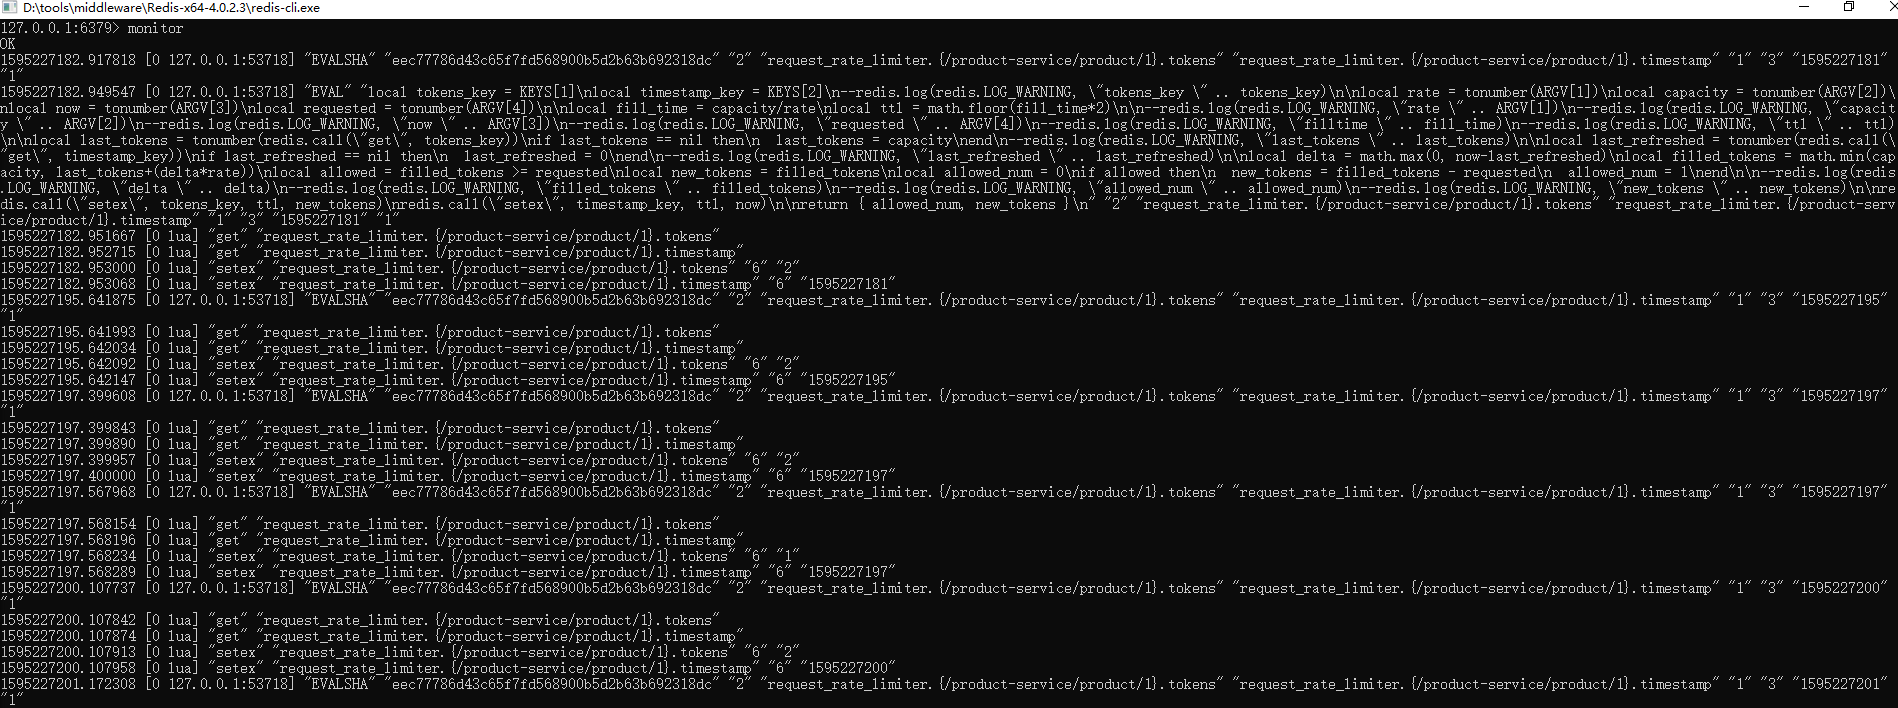
大括号中就是我们的限流 Key, 这边是 IP,本地的就是 localhost
timestamp: 存储的是当前时间的秒数,也就是 System.currentTimeMillis() / 1000 或者
Instant.now().getEpochSecond()
tokens: 存储的是当前这秒钟的对应的可用的令牌数量
根据参数限流
1. 在 KeyResolverConfiguration 类中添加如下代码
/
 * 请求参数限流
 * @return
 */
@Bean
public KeyResolver userKeyResolver() {return exchange -> Mono.just(exchange.getRequest().getQueryParams().getFirst("userId")//exchange.getRequest().getHeaders().getFirst("X-Forwarded-For") 基于请求ip的限流);
}
2. 修改配置文件:
访问同上,如果访问频率过高也是出现同样的效果
访问地址: http://localhost:8080/product-service/product/1?userId=1
需要带上参数。