【工具】使用VS Code调试Docker Container中的代码

目录
- 使用VS Code调试Docker Container中的Autoware.ai代码
-
- 第一种方法 -- 在VS Code中进行Debug
-
- Step1
- Step2
- Step3
- Step4
-
- c_cpp_properties.json
- launch.json
- settings.json
- task.json
- Step5
- Step6
- Step7
- 参考链接
- 第二种方法 -- cmake重新编译
-
- cmake
-
- 使用方法(简介)
- cmake常用目录结构
-
- build
- bin
- lib
- src
- 教程
- Autoware编译结构
-
- 查看Autoware的编译类型
- 修改CMakeList.txt文件
- 参考链接
-
-
- OpenPlanner项目独立的github链接
- colcon使用文档
- build Autoware from source
- How to check if program was compiled with debug symbols? [duplicate]
- VSCode debug cpp ROS node - compile package with debug mode
- C/C++: How do you set GDB debug flag (-g) with cmake?
-
使用VS Code调试Docker Container中的Autoware.ai代码
第一种方法 – 在VS Code中进行Debug
在用这个方法时踩到了一些坑,一度搞得我很无奈。后面解决的方法也有点莫名其妙。下面详细叙述下。
Step1
首先创建docker container,这里我是用命令行创建的。然后运行autoware提供的/docker/generic/下的run.sh,即会自动创建docker container并进入到container中。此时docker --version为Docker version 20.10.18, build b40c2f6.
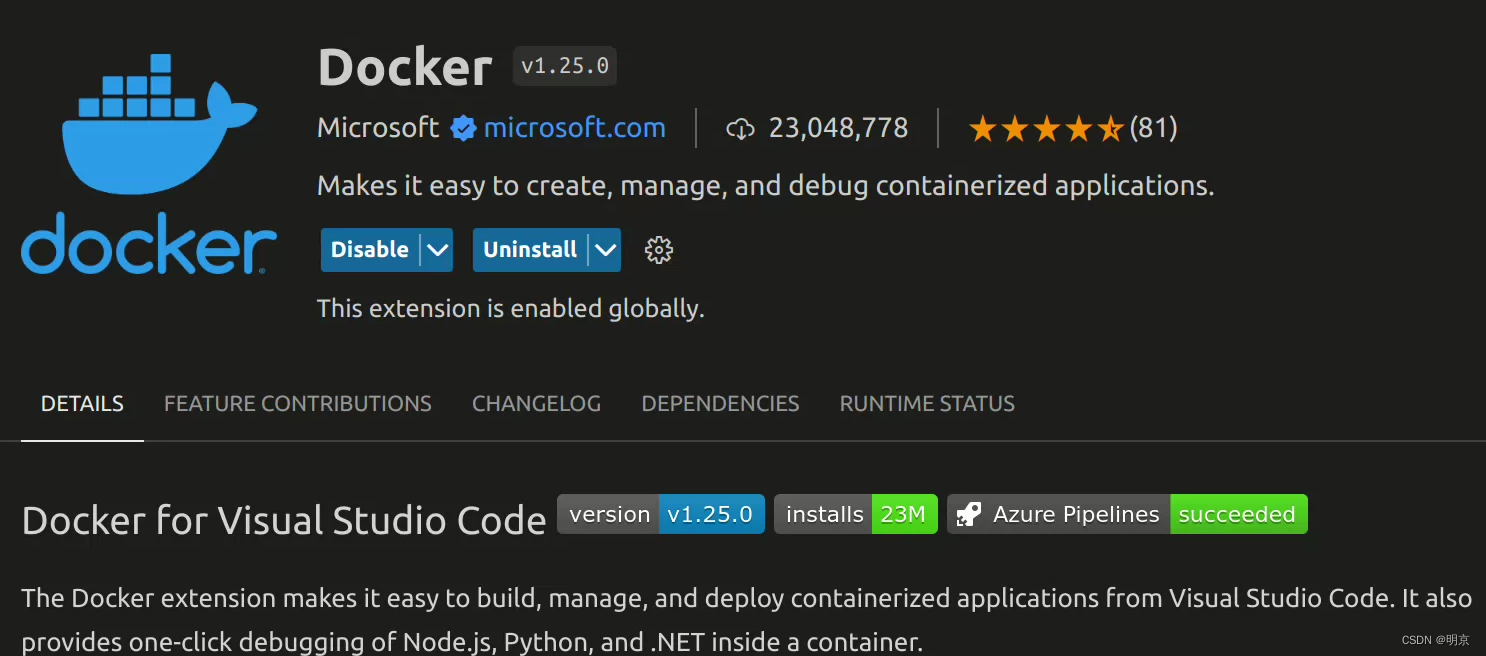
更新vs code到最新版本,安装docker 插件
Step2
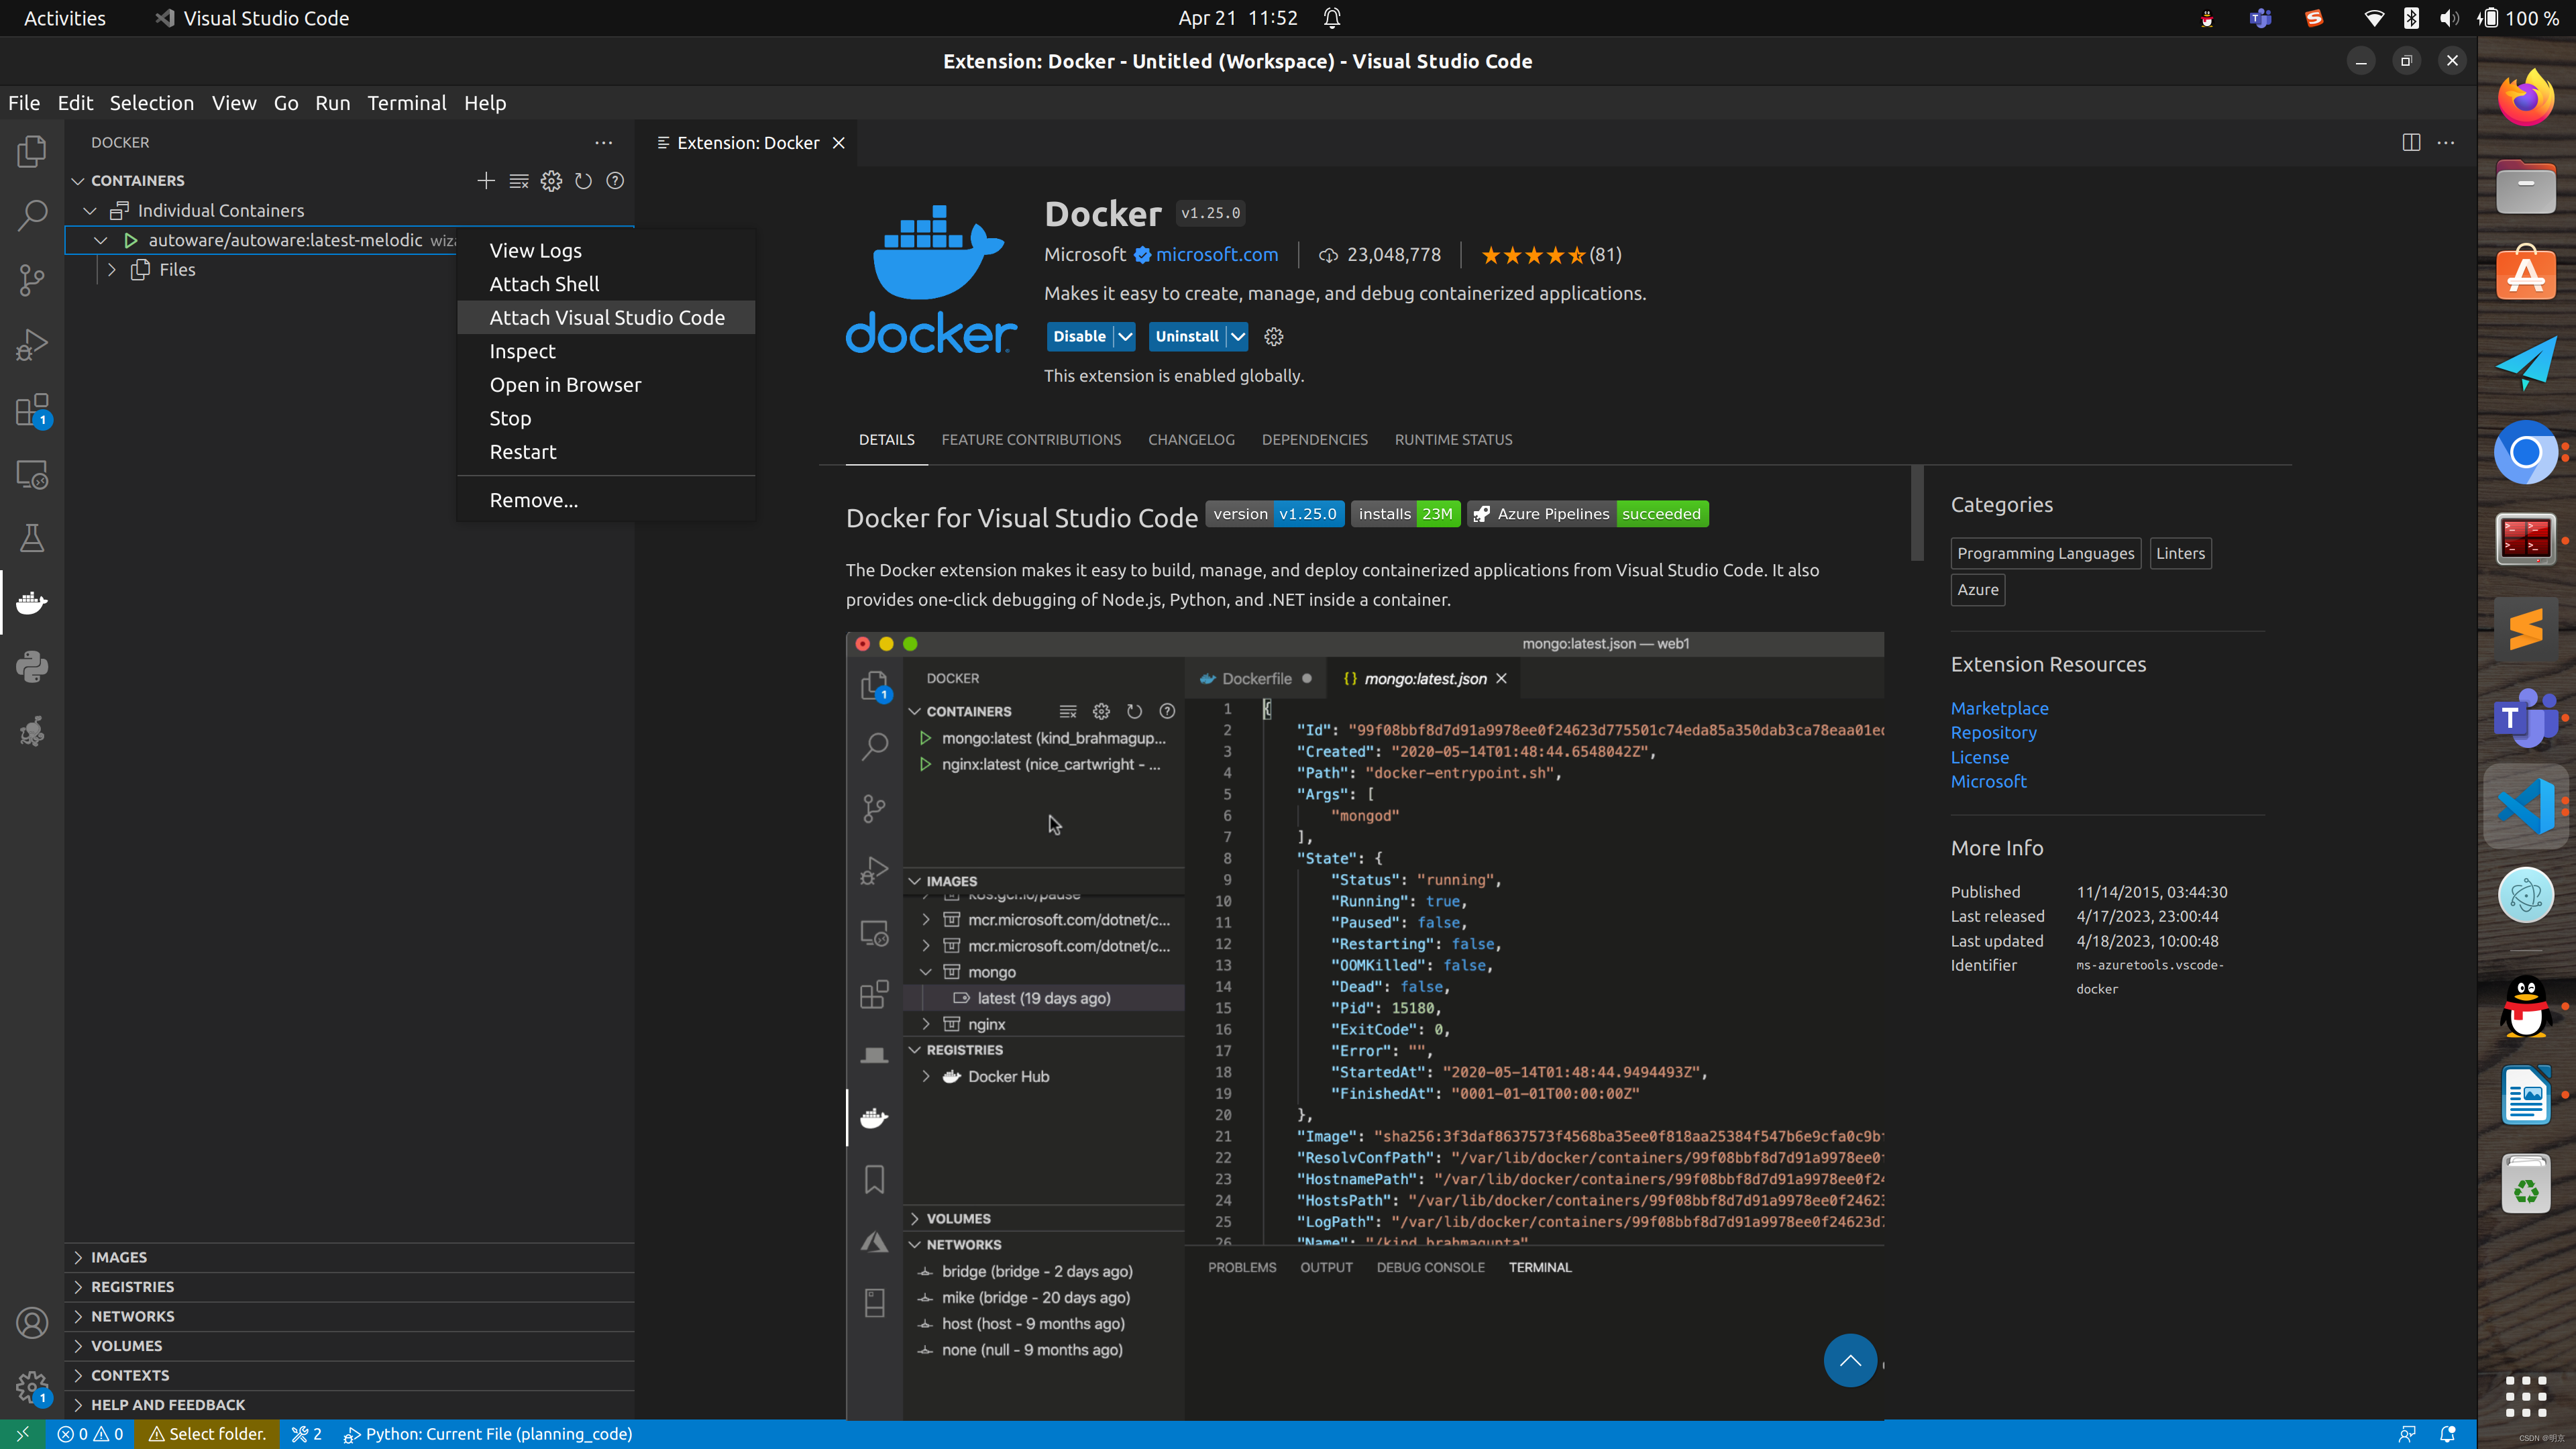
点击左侧任务栏的docker按钮, 可以看到显示所有的container,右击选择Attach Visual Studio Code
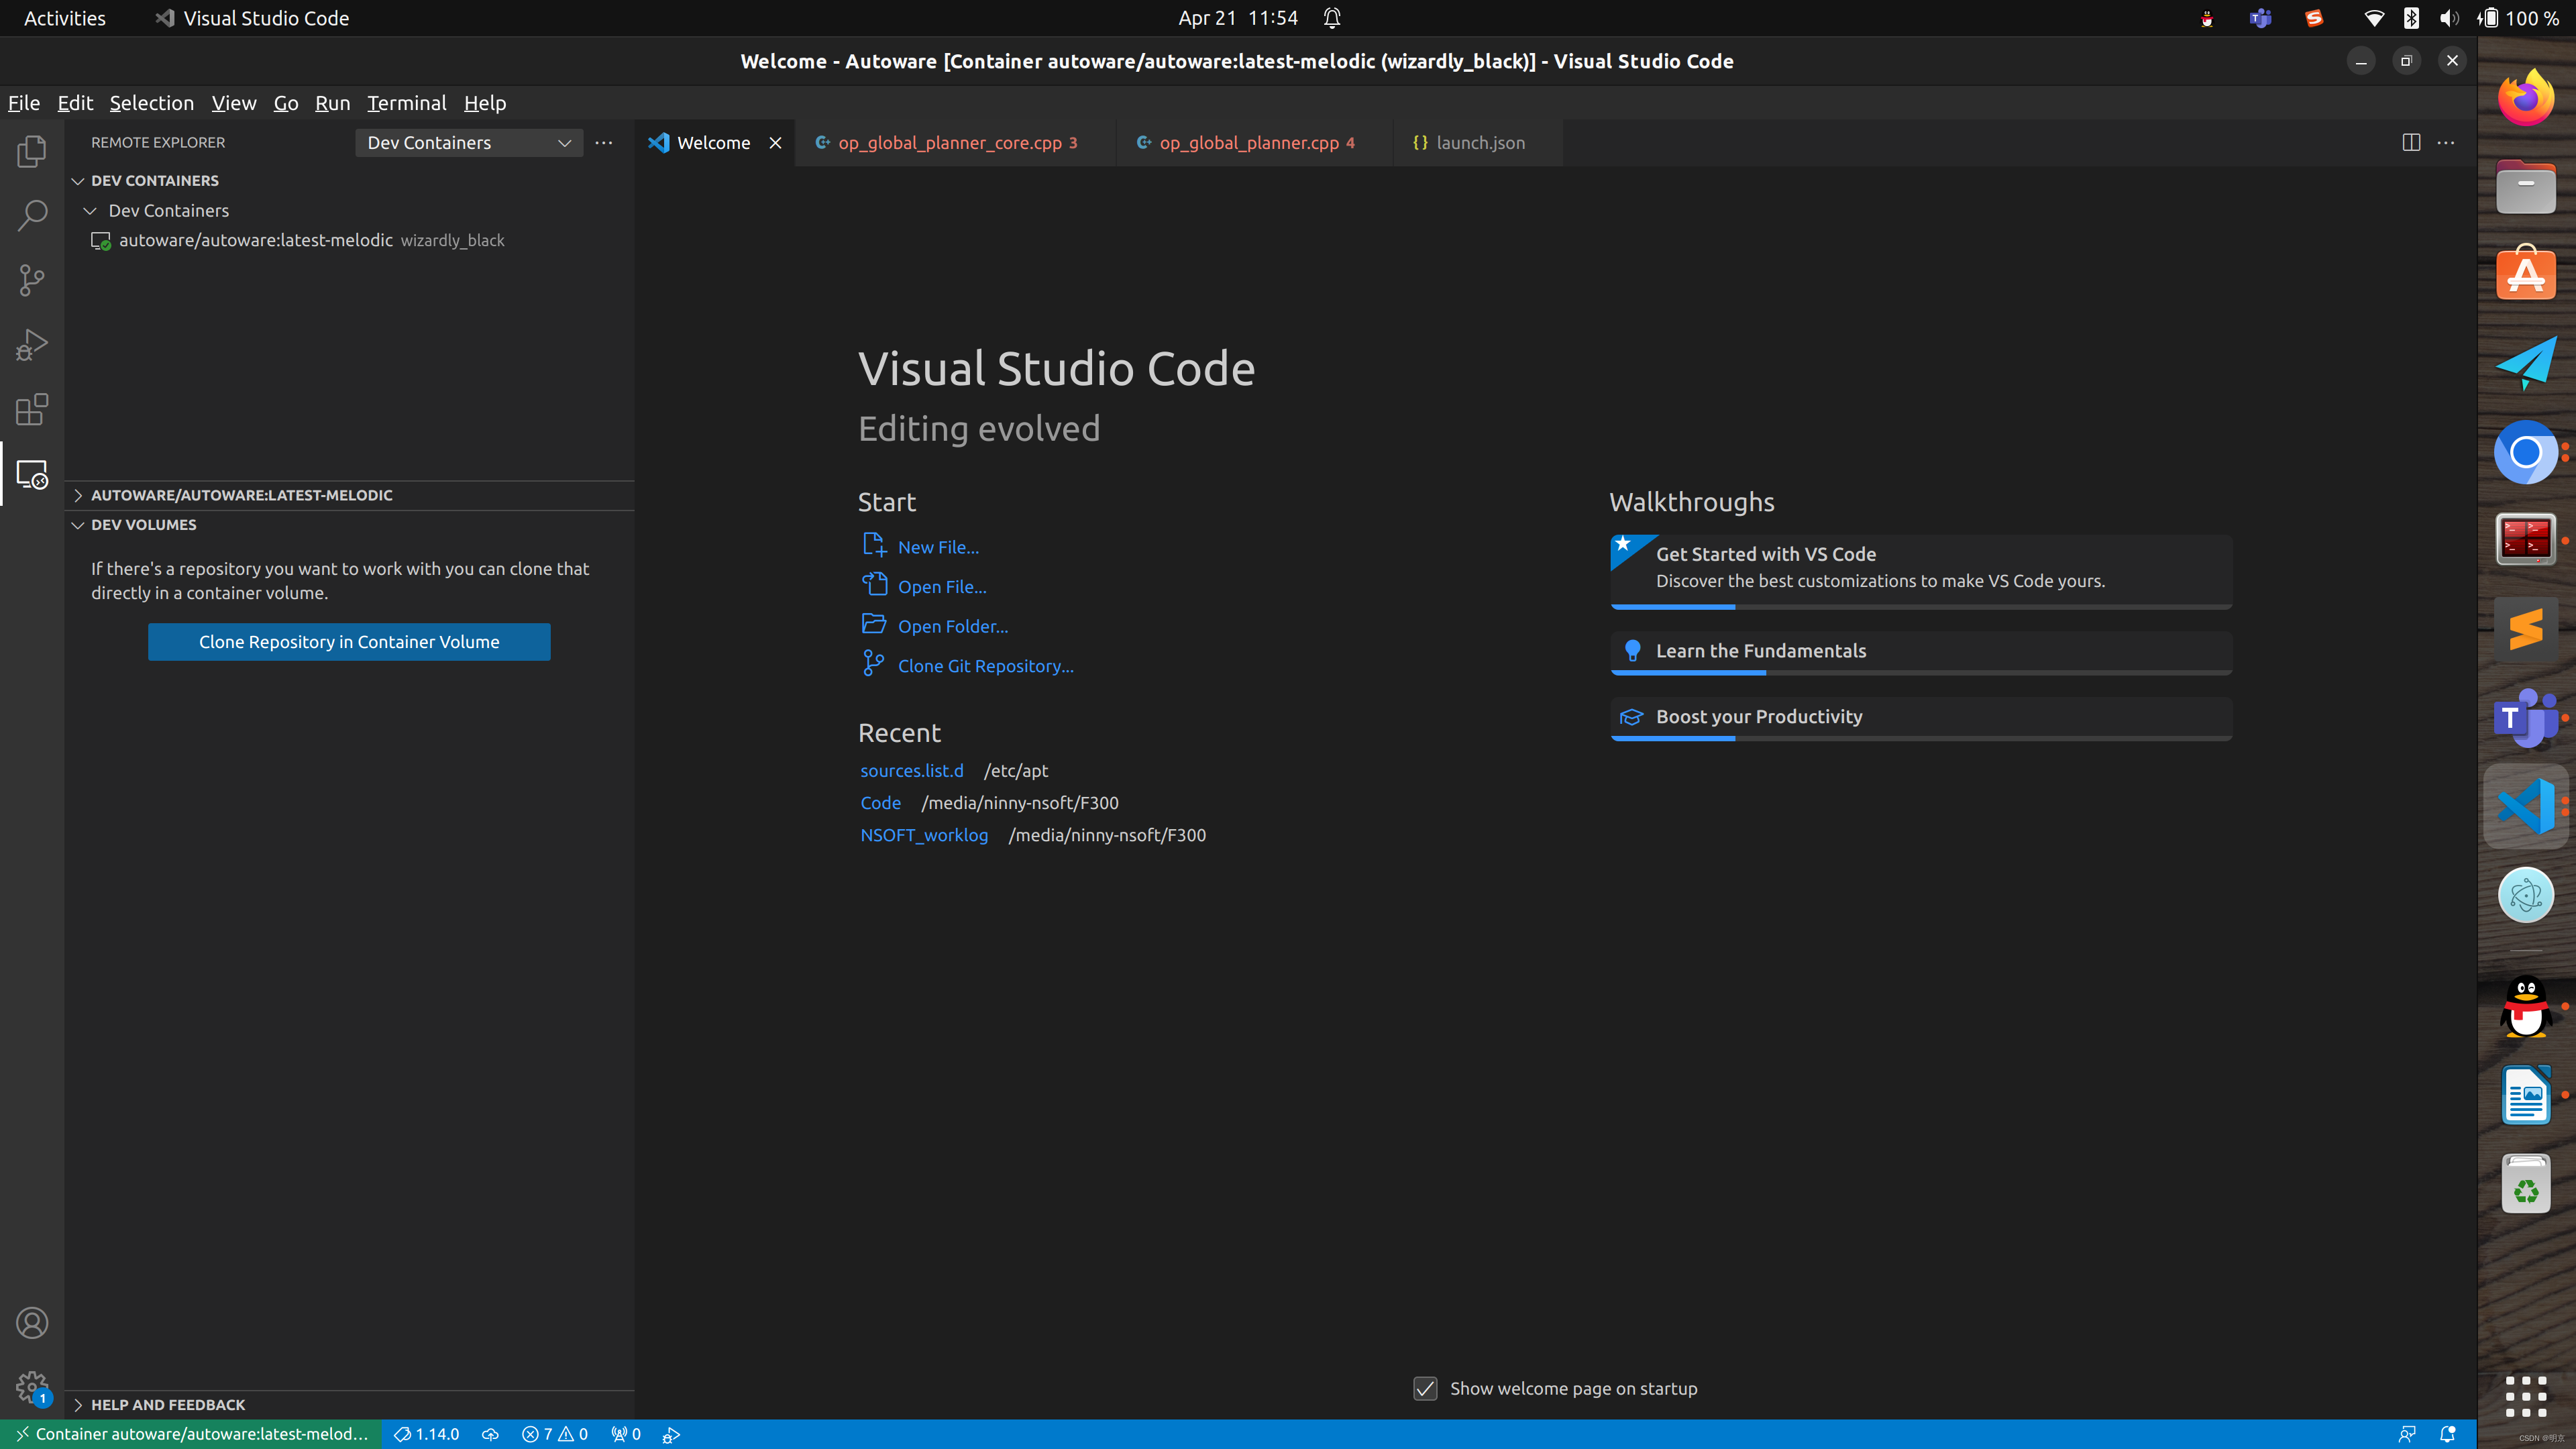
会弹出一个新的窗口,可以在左侧任务栏看到DEV CONTAINERS已经连接,如下图所示。
这里曾经遇到两个坑
第一个是在点击Attach Visual Studio Code后,VS Code出现弹框报错,内容为“Remote - Containers Docker version 17.12.0 or later required.”
但其实Docker的版本已经是20往上了,搜到了这个解决办法,但是貌似没啥用。。
第二个坑是,把后面的都配置好之后,点击Debug按钮调试cpp文件,调用的竟然是python的debugger,然后发现是在文档里面,调试过python代码,不知道为啥默认就用了那个,选择gdb也不好使。把之前的目录删了以后,发现可以了。。。
而且同时,再点Attach Visual Studio Code就可以用了。。。所以不知道是不是因为这个影响了第一个问题。
总而言之解决的莫名其妙。
按理说,VS Code这边的Docker插件都能检测到container里面的内容,所有代码均可查看,而且执行Attach to Shell命令,也可以正常进入到docker container里面的命令行,应该说vscode是连接到了container了,不知道为啥会出现第一个问题。
总之解决了。
Step3
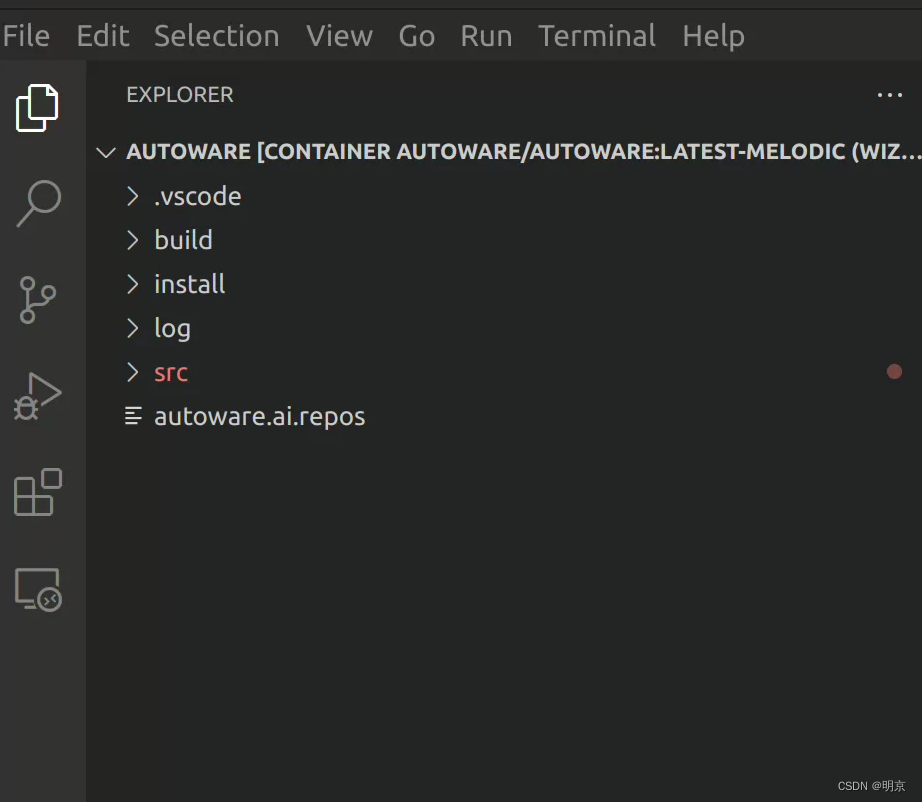
点击File按钮,打开/home/autoware/Autoware/src/Autoware目录作为工作目录。
Step4
在/home/autoware/Autoware/src/autoware/目录下创建文件夹.vscode
分别创建四个文件,文件名和内容分别如下
c_cpp_properties.json
{"configurations": [{"browse": {"databaseFilename": "","limitSymbolsToIncludedHeaders": true},"includePath": ["/opt/ros/melodic/include/","/usr/include/"],"name": "ROS","intelliSenseMode": "gcc-x64","compilerPath": "/usr/bin/clang","cStandard": "c11","cppStandard": "c++14"//"compileCommands": "${workspaceFolder}/build/compile_commands.json"}],"version": 4
}
launch.json
// {
//     // Use IntelliSense to learn about possible attributes.
//     // Hover to view descriptions of existing attributes.
//     // For more information, visit: https://go.microsoft.com/fwlink/?linkid=830387
//     "version": "0.2.0",
//     "configurations": []
// }
{"version": "0.2.0","configurations": [{"name": "(gdb) Launch", // 配置名称,将会在调试配置下拉列表中显示"type": "cppdbg",  // 调试器类型 该值自动生成"request": "launch",  // 调试方式,还可以选择attach"program": "/home/autoware/Autoware/build/gnss_localizer/devel/lib/gnss_localizer/fix2tfpose", //要调试的程序(完整路径,支持相对路径)"args": [],  // 传递给上面程序的参数,没有参数留空即可"stopAtEntry": false,  // 是否停在程序入口点(停在main函数开始)"cwd": "${workspaceRoot}",  // 调试程序时的工作目录"environment": [], //针对调试的程序,要添加到环境中的环境变量. 例如: [ { "name": "squid", "value": "clam" } ]"externalConsole": false,   //如果设置为true,则为应用程序启动外部控制台。 如果为false,则不会启动控制台,并使用VS Code的内置调试控制台。"MIMode": "gdb",  // VSCode要使用的调试工具名称"miDebuggerPath": "/usr/bin/gdb","setupCommands": [{"description": "Enable pretty-printing for gdb","text": "-enable-pretty-printing","ignoreFailures": true}]}]
}
settings.json
{"files.associations": {"iostream": "cpp"}
}
task.json
{"version": "2.0.0","tasks": [{"type": "catkin_make","args": ["--directory","/home/autoware/Autoware/src/autoware/","-j4","-DCMAKE_BUILD_TYPE=Debug","-DCATKIN_WHITELIST_PACKAGES=<package_name>"],"problemMatcher": ["$catkin-gcc"],"group": {"kind":"build","isDefault":true},"label": "catkin_make: build"}]}
Step5
在docker container中安装gdb debugger
$ gdb -help
$ sudo apt-get install libc6-dbg gdb valgrind  # to install
确保gdb的地址是正确的。检查launch.json文件中包含miDebuggerPath的一行。
Step6
在launch.json文件中,编辑program这一行,指定在/build目录下,比如
/home/autoware/Autoware/build/op_global_planner/devel/lib/op_global_planner/op_global_planner
Step7
在/src目录下找到对应的cpp文件,比如
/home/autoware/Autoware/src/autoware/core_planning/op_global_planner/nodes/op_global_planner.cpp
确保所有的必要topic信息都可以被订阅到,点击debug按钮,并选择"(gdb)launch" debugger
参考链接
Open container fails with “Docker version 17.12.0 or later is required” #5396
Attached container configuration reference
VSCode代码调试器
【VSCode】调试器debugger详细使用手册
第二种方法 – cmake重新编译
Autoware默认编译的版本为release版本,因此需要编译为debug模式来进行调试。
要完成这个任务,需要做几个方面的工作。
- 学习cmake
- 了解Autoware中的编译结构
- 修改CMakeLists.txt文件,并重新编译为debug模式
cmake
Autoware项目是用cmake编译的,首先需要对cmake的用法有所了解。
众所周知,C++中cpp文件无法直接运行,需要编译成.o或.obj这种object目标文件,才能够执行。
使用gcc命令可以分别编译每个cpp文件,但这样很麻烦,cmake则提供了批量编译很多文件的简便方法。
使用方法(简介)
为一个项目建立CMakeLists.txt文件,在文件里按照规定的语法编写,然后执行
$ cmake ..
$ make
命令,会生成编译文件,主要的(应该也是最基础的文件)包括
CMakeCache.txt CMakeFiles cmake_install.cmake Makefile
并可以用make clean命令来清楚生成的object文件
cmake常用目录结构
build
通常为项目创建build目录,在这个目录下执行cmake和make命令,生成的文件都在这下面(除了目标文件),将编译生成的文件都放在build目录下还有一个好处是,重新编译需要删除这些编译文件时,可以直接删除,不会和其他需要的文件混在一起。
bin
通常用来存放生成的object文件,但是也不一定,比如Autoware就放在每个小模块的CMakeFiles文件夹下面
lib
通常用来存放库文件,包括.a静态库和.so动态库。
src
用来存放cpp源文件。
教程
【C++】Cmake使用教程(看这一篇就够了)
【C++】静态库和动态库文件的生成和使用
Autoware编译结构
Autoware路径下的目录结构为
build/ install/ log/ src/
其中:
build文件夹存放了各个模块编译相关的文件,模块目录下的CMakeFiles存放了生成的object文件。
src文件夹存放了CMakeLists.txt文件。比如/home/autoware/Autoware/src/autoware/core_planning/op_global_planner/路径
查看Autoware的编译类型
How to check if program was compiled with debug symbols?
修改CMakeList.txt文件
在CMakeLists.txt文件里增加两行,
set(CMAKE_BUILD_TYPE Debug)
set(CMAKE_BUILD_TYPE RelWithDebInfo)
然后回到build目录,执行以下命令进行编译
$ colcon build --cmake-args -DCMAKE_BUILD_TYPE=RelWithDebInfo
如果要编译为Release版本,则执行
Without CUDA Support
$ colcon build --cmake-args -DCMAKE_BUILD_TYPE=Release
With CUDA support
$ AUTOWARE_COMPILE_WITH_CUDA=1 colcon build --cmake-args -DCMAKE_BUILD_TYPE=Release
参考链接
OpenPlanner项目独立的github链接
https://github.com/hatem-darweesh/autoware.ai.openplanner/tree/dd9bda08e2bb13b0ad501514098f853a38be7732
colcon使用文档
https://colcon.readthedocs.io/en/released/user/quick-start.html
build Autoware from source
https://gitlab.com/autowarefoundation/autoware.ai/autoware/-/wikis/Source-Build?version_id=a33764ab4b6e7a1798c9f79465c74d565e92904b
How to check if program was compiled with debug symbols? [duplicate]
https://stackoverflow.com/questions/3284112/how-to-check-if-program-was-compiled-with-debug-symbols
VSCode debug cpp ROS node - compile package with debug mode
https://answers.ros.org/question/313371/vscode-debug-cpp-ros-node/
C/C++: How do you set GDB debug flag (-g) with cmake?
https://bytefreaks.net/programming-2/cc-how-do-you-set-gdb-debug-flag-g-with-cmake