【Vue框架】Vue2中element-ui/mint-ui组件库——element-ui引入组件以及使用案例、mint-ui引入组件及使用案例

文章目录
- 一、element-ui/mint-ui组件库
-
- 1.1 element-ui使用步骤
-
- 1.1.1 引入组件
- 1.1.2 修改 .babelrc文件
- 1.2 mint-ui的使用
-
- 1.2.1 安装引入组件
- 1.2.2 Mint-ui相关组件
一、element-ui/mint-ui组件库
element-ui 提供了大量的组件,如:布局组件、表单组件、JS组件等等。
1.1 element-ui使用步骤
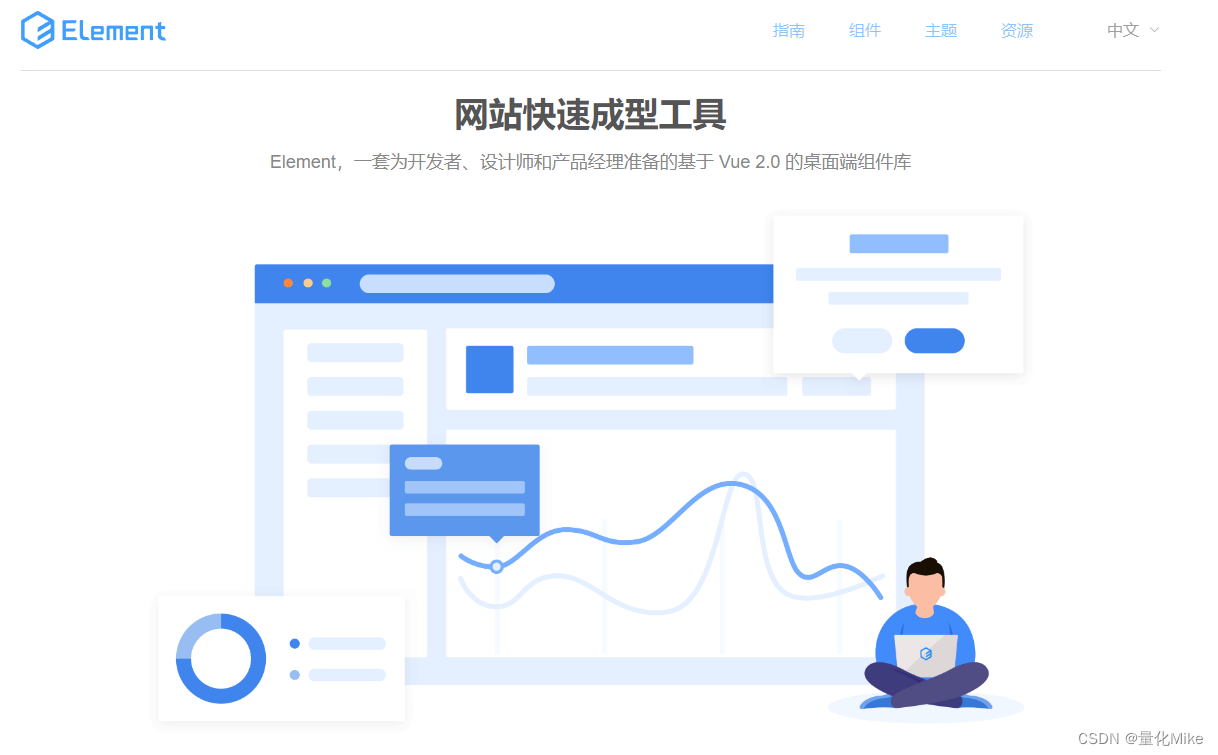
Element-ui官网:https://element.eleme.cn/#/zh-CN
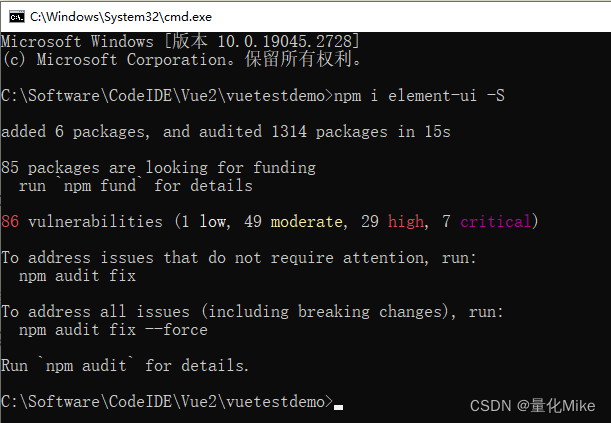
安装 Element-ui:npm i element-ui -S
1.1.1 引入组件
引入 Element
- 完整引入(在 main.js 中写入以下内容):
import Vue from 'vue';
import ElementUI from 'element-ui';
import 'element-ui/lib/theme-chalk/index.css';
import App from './App.vue';Vue.use(ElementUI);new Vue({el: '#app',render: h => h(App)
});
- 按需引入
借助 babel-plugin-component,我们可以只引入需要的组件,以达到减小项目体积的目的。
首先,安装 babel-plugin-component: npm install babel-plugin-component -D
然后,将 .babelrc 修改为:
{"presets": [["es2015", { "modules": false }]],"plugins": [["component",{"libraryName": "element-ui","styleLibraryName": "theme-chalk"}]]
}
接下来,如果你只希望引入部分组件,比如 Button 和 Select,那么需要在 main.js 中写入以下内容:
import Vue from 'vue';
import { Button, Select } from 'element-ui';
import App from './App.vue';Vue.component(Button.name, Button);
Vue.component(Select.name, Select);
/* 或写为* Vue.use(Button)* Vue.use(Select)*/new Vue({el: '#app',render: h => h(App)
});
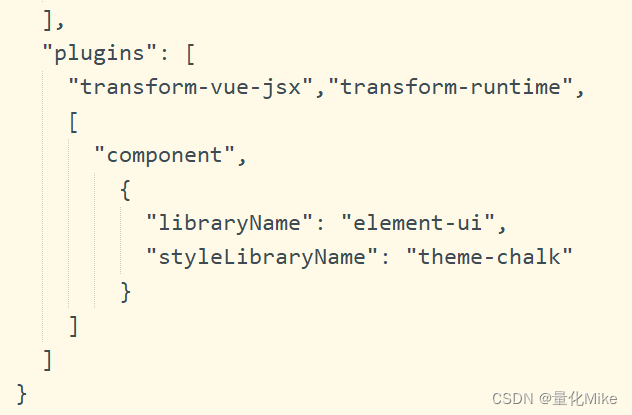
1.1.2 修改 .babelrc文件
{"presets": [["env", {"modules": false,"targets": {"browsers": ["> 1%", "last 2 versions", "not ie <= 8"]}}],"stage-2"],"plugins": ["transform-vue-jsx","transform-runtime",["component",{"libraryName": "element-ui","styleLibraryName": "theme-chalk"}]]
}
1.2 mint-ui的使用
Mint UI官网: http://mint-ui.github.io/#!/zh-cn
1.2.1 安装引入组件
1、安装组件
// 安装
# Vue 1.x
npm install mint-ui@1 -S
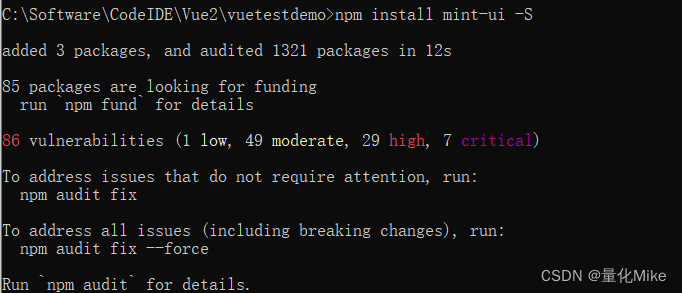
# Vue 2.0
npm install mint-ui -S
2、引入组件
- 完整引入
在 main.js 中写入以下内容:
import Vue from 'vue'
import MintUI from 'mint-ui'
import 'mint-ui/lib/style.css'
import App from './App.vue'Vue.use(MintUI)new Vue({el: '#app',components: { App }
})
- 按需引入
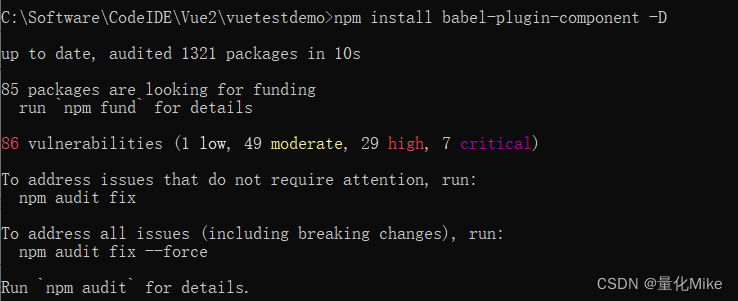
借助 babel-plugin-component,我们可以只引入需要的组件,以达到减小项目体积的目的。
首先,安装 babel-plugin-component: npm install babel-plugin-component -D
{"presets": [["es2015", { "modules": false }]],"plugins": [["component", [{"libraryName": "mint-ui","style": true}]]]
}
如果你只希望引入部分组件,比如 Button 和 Cell,那么需要在 main.js 中写入以下内容:
需要引入样式:import 'mint-ui/lib/style.css';
// The Vue build version to load with the `import` command
// (runtime-only or standalone) has been set in webpack.base.conf with an alias.
import Vue from 'vue'
import App from './App'
import router from './router'// 1、引入Element-ui组件
// import { Button } from 'element-ui';
// Vue.use(Button)// 2、引入Mint-ui组件
import 'mint-ui/lib/style.css';
import {Button} from 'mint-ui';
Vue.component(Button.name, Button);Vue.config.productionTip = false  //设置在控制台环境进行代码提示作用// 1.全局路由守卫
router.beforeEach((to,from,next) => {/*to:表示要去的新页面from:表示旧的页面next:表示是否*/// 0——表示未登录// 1——表示已登录var islogin = 1;if(to.meta.needAuth){if(islogin == 0){router.push({name:'login'})}if(islogin == 1){next()}}else{next()}
})// 2.全局过滤器
Vue.filter('toFixed1',function(val,data,data1){return data1 + val.toFixed(data)
})/* eslint-disable no-new */
new Vue({el: '#app',router,components: { App },template: '<App/>'
})
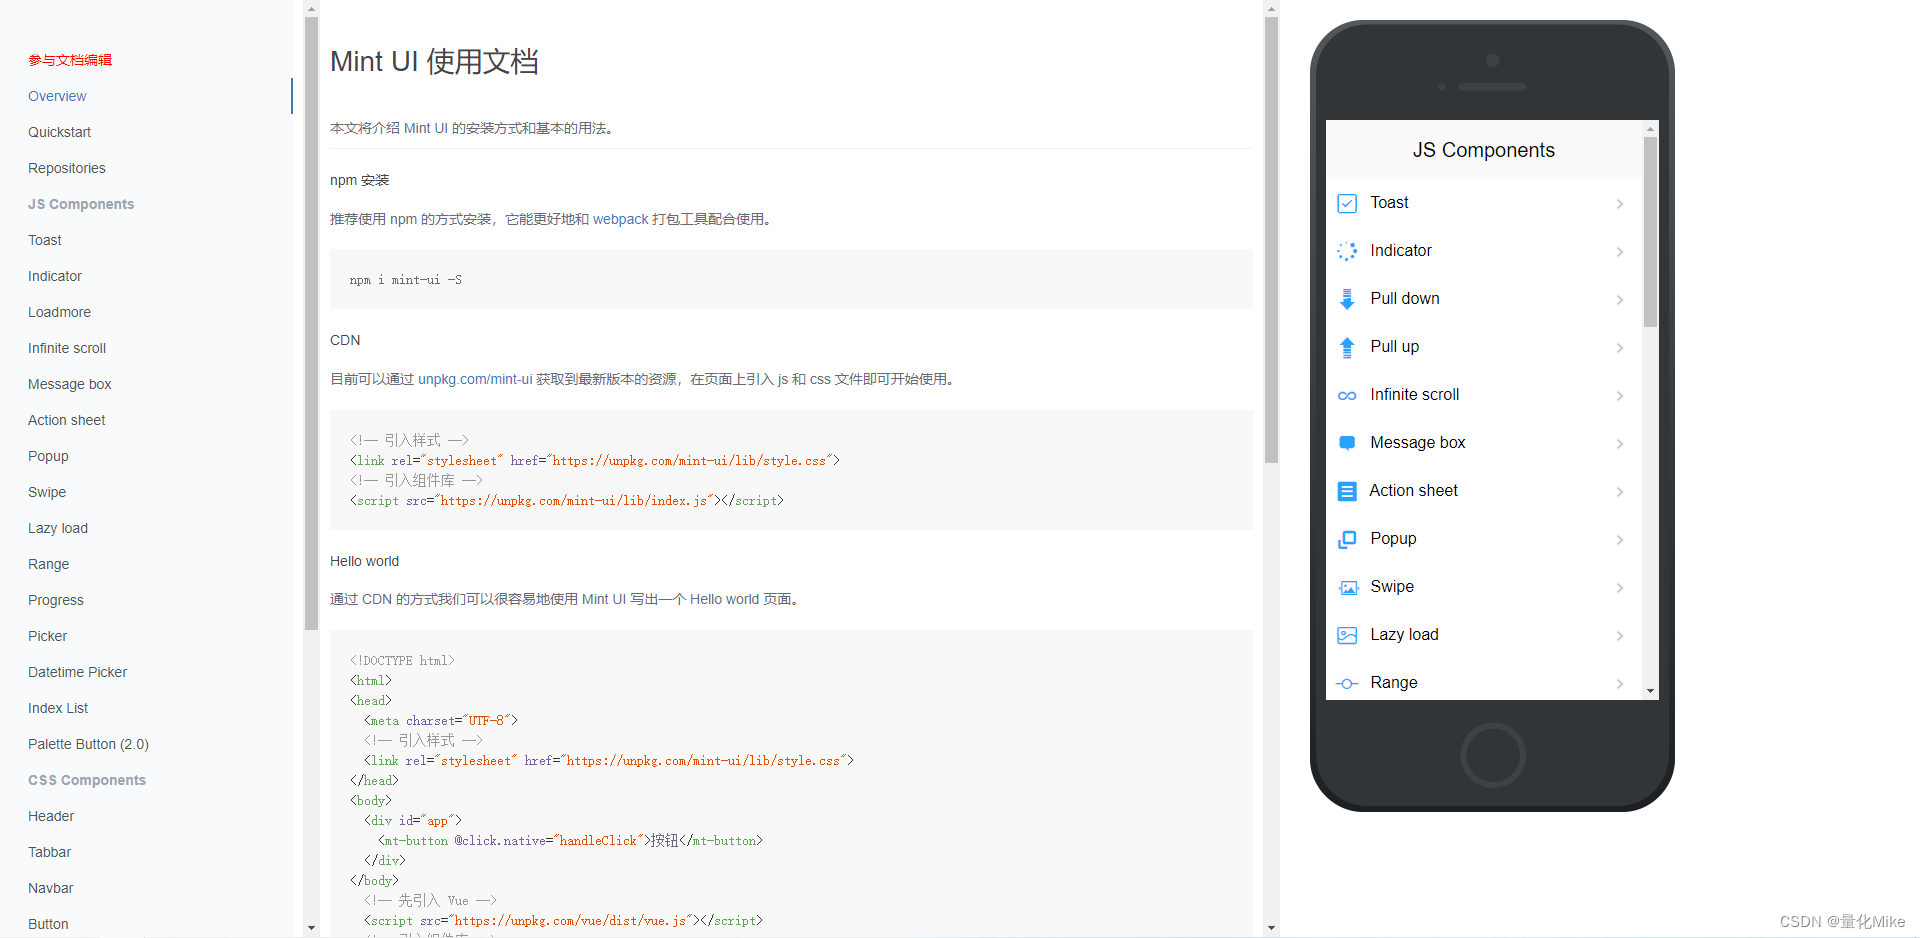
1.2.2 Mint-ui相关组件
官网文档: https://mint-ui.github.io/docs/#/zh-cn2
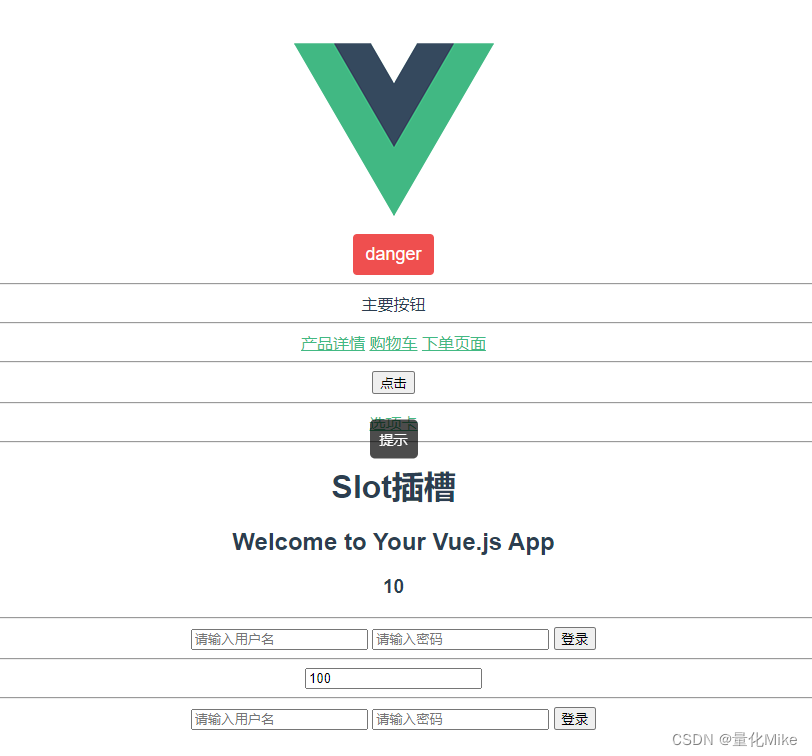
HelloWorld.vue
<template><div class="hello"><mt-button type="danger" @click="myToast">danger</mt-button><hr><el-button type="primary">主要按钮</el-button><hr><router-link to="/mydetail">产品详情</router-link><router-link to="/mycar">购物车</router-link><router-link to="/myorder">下单页面</router-link><hr><button @click="mytab">点击</button><hr/><router-link to="/tab">选项卡</router-link><hr/><myslot><div slot="name1">{{msg}}</div><div slot="name2">{{num}}</div></myslot><hr/><input type="text" placeholder="请输入用户名" v-model="t1"/><input type="text" placeholder="请输入密码" v-model="t2"/><button :class="{active:isTrue}">登录</button><hr/><input type="text" name="" id="" v-model="num3"/><hr/><input type="text" placeholder="请输入用户名" v-model="user"/><input type="text" placeholder="请输入密码" v-model="password"/><button :class="{active:getActive}">登录</button><h1>{{getAvg}}</h1><h1>{{getSum}}</h1><h1>{{num | toFixed(5,"$")}}</h1><h1>{{num1 | toFixed1(5,"$")}}</h1><h1>{{msg}}</h1></div>
</template><script>
import { Toast } from 'mint-ui';
import myslot from './02slot';export default {name: 'HelloWorld',data () {return {num:10,num1:20,num3:100,msg: 'Welcome to Your Vue.js App',user:'',password:'',isTrue:false,t1:'',t2:'',}},filters:{toFixed(val,data,data1){return data1 + val.toFixed(data)}},computed:{getSum(){return this.num + this.num1;},getAvg(){return this.getSum/2;},getActive(){if(this.user==''||this.password==''){return false}return true}},watch:{num3(){console.log("num3修改了")},t1(){if(this.t1 == '' || this.t2 ==''){this.isTrue = false}else{this.isTrue = true}},t2(){if(this.t1 == '' || this.t2 ==''){this.isTrue = false}else{this.isTrue = true}}},components:{myslot,},methods:{mytab(){//链式路由跳转this.$router.push({// 方式一// name:'tab'// 方式二path:'/tab',query:{id:100}})},myToast(){Toast({message: '提示',position: 'center',duration: 5000});}},
}
</script><!-- Add "scoped" attribute to limit CSS to this component only -->
<style scoped>.active{color: red;}h1, h2 {font-weight: normal;}ul {list-style-type: none;padding: 0;}li {display: inline-block;margin: 0 10px;}a {color: #42b983;}
</style>