Digispark与 badusb

小白笔记而已,不喜勿喷。
目录
1.硬件
2.工具
3.配置
file->preferences
在下边的网址输入:
点击ok
然后tools->board->boards manager
安装(install)即可
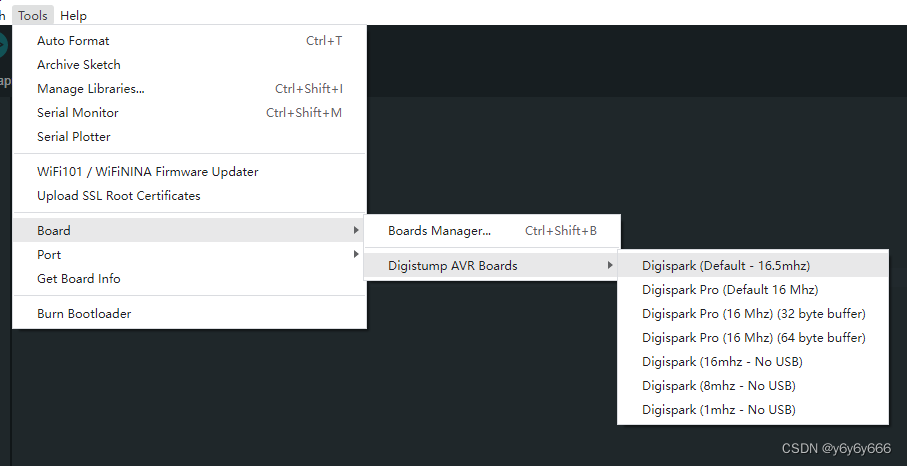
安装好后再点击tools->board->Digispark(default-16.5mhz)
然后file->examples->DigisparkKeyboard
然后tools->programmer选择唯一的那个即可,因为我并没有找到视频中的内容
4.下面请先准备好你买的digispark
然后点击一个向右的箭头,upload
在下方提示Plug in device now时插入你的digispark
这个时候就是好了。
5.检查
6.工具
7.再用的时候
前几天见学长玩badusb
手痒了,去淘宝一搜,价格有点小贵,于是乎去bilibili搜了下,有教程,成本十几块钱,买了。其实我是买了两次的。第一次买错了,接口不是usb的。还好我机智买了运费险。
1.硬件
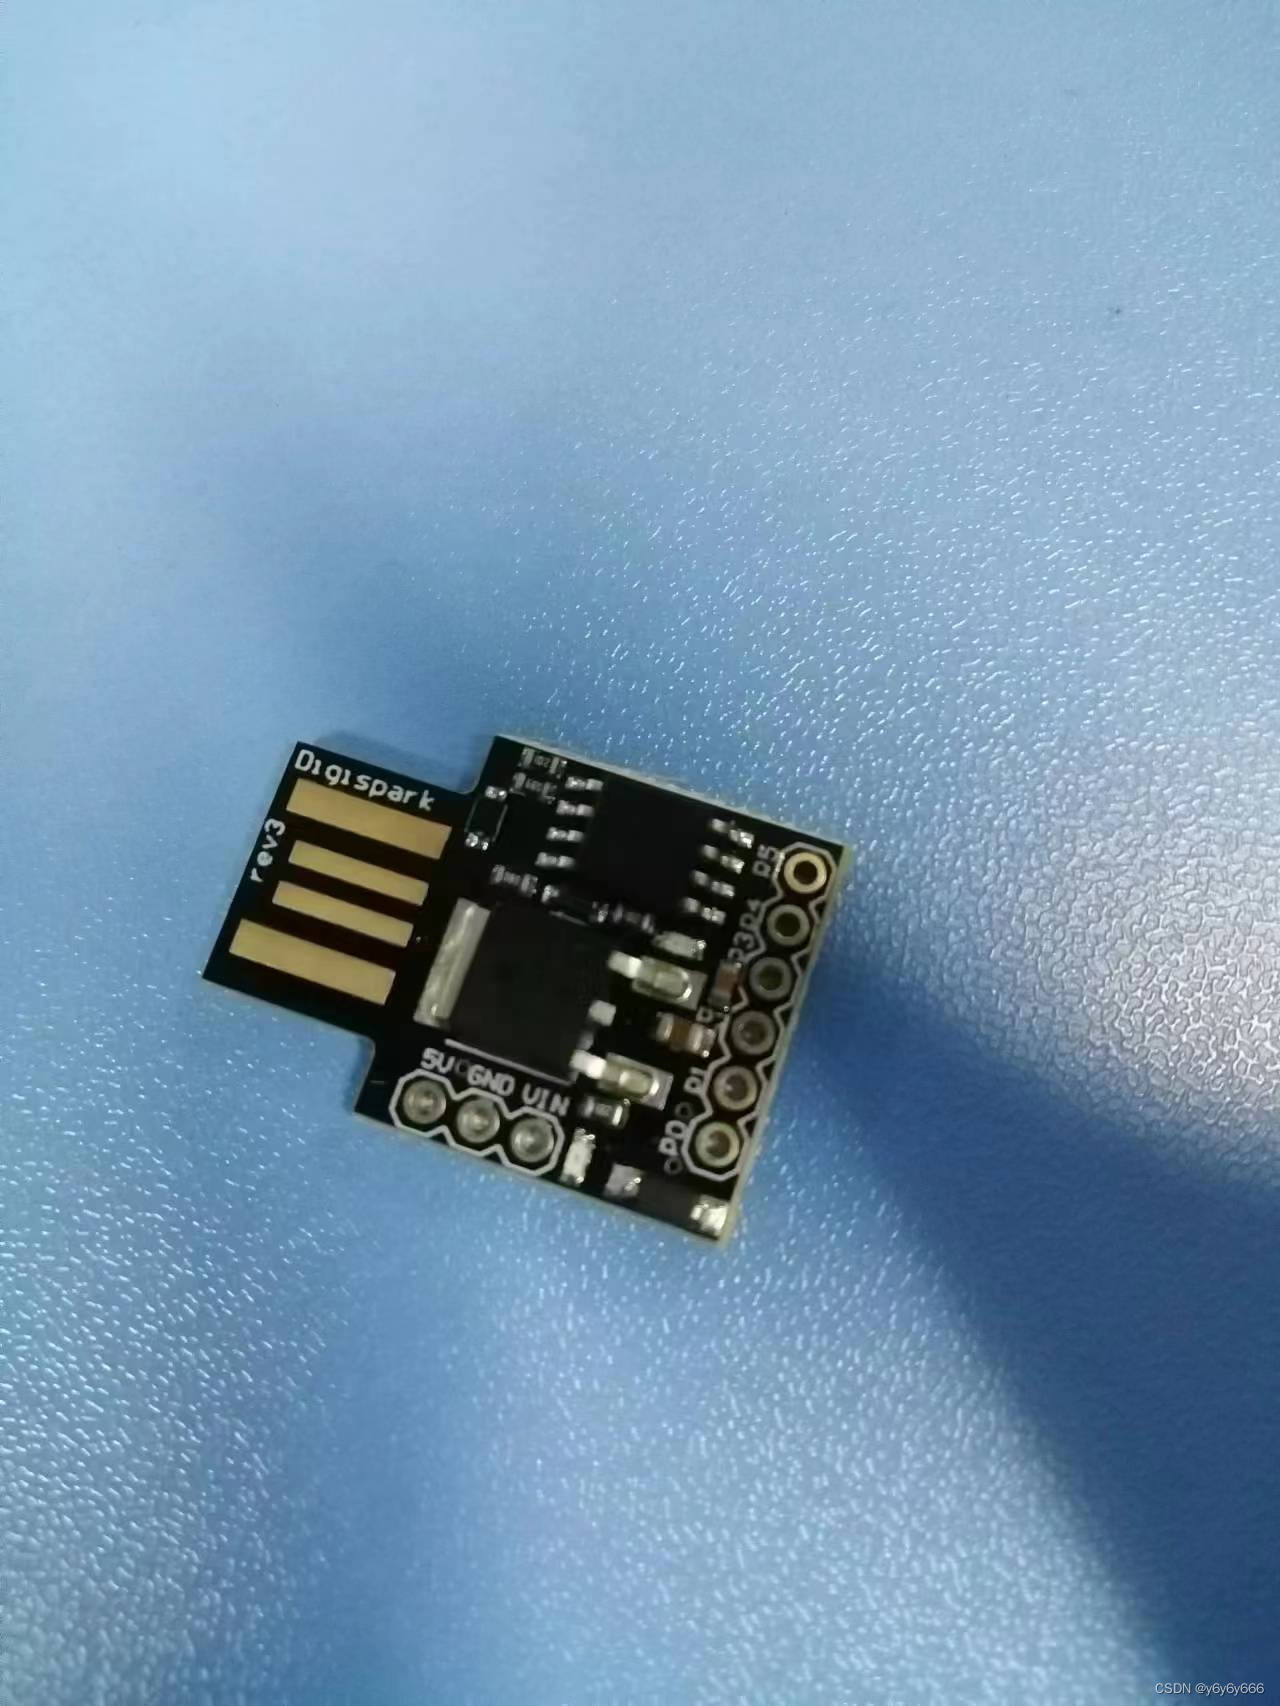
货到了之后张这个样子。十几块钱。
ATTINY85 Digispark kickstart微型usb开发板注意我买的是usb口的,黑色,当然如果你喜欢别的接口也可以,不过应该是需要转接头的。

2.工具
刚开始的时候什么都没有,需要自己往里边往里边写东西。
大概需要用到三个工具:
1.驱动:Digistump.Drivers
2.安卓开发工具:arduino ide
3.代码助手:automator
链接奉上:
链接:https://pan.baidu.com/s/1NBfJTDl25feH94riwcIO-g?pwd=6666
提取码:6666
3.配置
驱动和代码助手没有什么好说的,主要是ide
驱动助手安装的时候他安装啥都同意。
然后就是arduino ide
还是他要你安装什么驱动都同意。这个时间会有点长。要多等一会。
语言可以选中文英文,
file->preferences


然后就是要安装一个东西。
在下边的网址输入:
http://digistump.com/package_digistump_index.json
点击ok
注意下边的操作好像需要踩梯子。
我第一次没踩没装成功然后 踩了之后从新打开了下装成功了,或许你可以不踩重新打开下,看看有没有digispark选项。
然后tools->board->boards manager
这里可以搜索:
一个32位一个64位。

安装(install)即可
安装好后再点击tools->board->Digispark(default-16.5mhz)
这时就有digispark了。

然后file->examples->DigisparkKeyboard

这时候会打开一个新的窗口
然后tools->programmer选择唯一的那个即可,因为我并没有找到视频中的内容
他的是USB tiny ISP

然后会安装一些驱动,点击安装即可。
4.下面请先准备好你买的digispark
现在是这个界面

然后点击一个向右的箭头,upload
在下方提示Plug in device now时插入你的digispark
等一会就好了。

这个时候就是好了。

5.检查
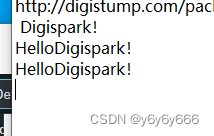
然后拔下来重新插一下
他现在做的是每隔5s输出hellodigispark

我只是想把代码备份到这里
#include "DigiKeyboard.h"void setup() {// don't need to set anything up to use DigiKeyboard
}void loop() {// this is generally not necessary but with some older systems it seems to// prevent missing the first character after a delay:DigiKeyboard.sendKeyStroke(0);// Type out this string letter by letter on the computer (assumes US-style// keyboard)DigiKeyboard.println("Hello Digispark!");// It's better to use DigiKeyboard.delay() over the regular Arduino delay()// if doing keyboard stuff because it keeps talking to the computer to make// sure the computer knows the keyboard is alive and connectedDigiKeyboard.delay(5000);
}
6.工具
然后就是那个写代码工具的使用了。这个工具好像差点东西,感觉视频里的软件更全。

键盘表示输入,时钟表示时验,花花表示热键,win、回车啥的。
它可以快速帮我们生成代码。
下边是一个win+r输入666的代码
#include "DigiKeyboard.h"void setup() {// don't need to set anything up to use DigiKeyboard
}void loop() {// this is generally not necessary but with some older systems it seems to// prevent missing the first character after a delay://DigiKeyboard.sendKeyStroke(0);// Type out this string letter by letter on the computer (assumes US-style// keyboard)//DigiKeyboard.print("Hello world");//DigiKeyboard.sendKeyStroke(KEY_ENTER);//DHeigiKeyboard.delay(200);
DigiKeyboard.sendKeyStroke(KEY_R, MOD_GUI_LEFT);
DigiKeyboard.delay(200);
DigiKeyboard.print("cmd");
DigiKeyboard.sendKeyStroke(KEY_ENTER);DigiKeyboard.delay(500);DigiKeyboard.print("666666");//DigiKeyboard.println("Hello Digispark!");// It's better to use DigiKeyboard.delay() over the regular Arduino delay()// if doing keyboard stuff because it keeps talking to the computer to make// sure the computer knows the keyboard is alive and connectedDigiKeyboard.delay(5000);
}
他好像不支持中文,好吧其实是我还没有玩明白。

7.再用的时候
当你再次使用它的时候,先选好digispark16.5
然后file->examples->DigisparkKeyboard就好
之后就可以写代码了。


