Linux Shell 实现一键部署SQL_Server2022


sql Server 前言
Microsoft SQL Server 是一个全面的数据库平台,使用集成的商业智能 (BI)工具提供了企业级的数据管理。Microsoft SQL Server 数据库引擎为关系型数据和结构化数据提供了更安全可靠的存储功能,使您可以构建和管理用于业务的高可用和高性能的数据应用程序。
SQL 参考
- 支持 SQL Server 2017,2019,2022自动化部署
| Redhat-sql-server | sql_server | 自动化部署sql server |
| 在线repo | 安装指南参考 | 官网参考 |
Linux 各系统下载使用参考
| Red Hat | Rocky Linux | Oracle Linux |
AlmaLinux |
ubuntu | suselinux | esxi | RHEL标准安装 | 系统安装参考 | YUM参考 |
MobaXterm 远程连接工具 |
Red Hat Enterprise 9.0 文档 | Kickstart 生成器 | |||||
| download | download | download | download | download | download | download | 参考 | 参考 | 配置参考 | download | 参考 | Kickstart | |||||
| 版本兼容性 | |||||||||||||||||
安装 SQL Server 2022
-
创建安装自动化脚本
- 实现在线下载sql初始化sql,配置用户名密码,远程连接开启,环境变量设置。
- 以下基于Redhat系统
- SQL Server 安装目录/opt/mssql
- 数据库用户名密码 sa/Report@123 额外的系统管理账号admin/Report@123
- MSSQL_PID (evaluation, developer, express, web, standard, enterprise)安装完成自动激活
- Redhat 9 functions使用需要执行安装yum install initscripts -y
- curl 'https://qyapi.weixin.qq.com/cgi-bin/webhook/send?key=XXXXX' #更改自己的企业微信机器人地址
- curl -o /etc/yum.repos.d/redhat.repo http://mirrors.aliyun.com/repo/Centos-8.repo #阿里在线repo
- yum install figlet -y #用于将文字转换为放大艺术字(使用figlet Mysql显示)
vim /sql_server_install.sh#!/bin/bash -e
# Author: CIASM
# Date: 2023/04/02
#https://learn.microsoft.com/en-us/sql/linux/sample-unattended-install-redhat?view=sql-server-ver16<<!
███████╗ ██████╗ ██╗ ███████╗███████╗██████╗ ██╗ ██╗███████╗██████╗
██╔════╝██╔═══██╗██║ ██╔════╝██╔════╝██╔══██╗██║ ██║██╔════╝██╔══██╗
███████╗██║ ██║██║ ███████╗█████╗ ██████╔╝██║ ██║█████╗ ██████╔╝
╚════██║██║▄▄ ██║██║ ╚════██║██╔══╝ ██╔══██╗╚██╗ ██╔╝██╔══╝ ██╔══██╗
███████║╚██████╔╝███████╗███████║███████╗██║ ██║ ╚████╔╝ ███████╗██║ ██║
╚══════╝ ╚══▀▀═╝ ╚══════╝╚══════╝╚══════╝╚═╝ ╚═╝ ╚═══╝ ╚══════╝╚═╝ ╚═╝
!
# Use the following variables to control your install:# Password for the SA user (required)
MSSQL_SA_PASSWORD='Report@123'# Product ID of the version of SQL server you're installing
# Must be evaluation, developer, express, web, standard, enterprise, or your 25 digit product key
# Defaults to developer
MSSQL_PID='enterprise'# Enable SQL Server Agent (recommended)
SQL_ENABLE_AGENT='y'# Install SQL Server Full Text Search (optional)
SQL_INSTALL_FULLTEXT='y'# Create an additional user with sysadmin privileges (optional)
SQL_INSTALL_USER='admin'
SQL_INSTALL_USER_PASSWORD='Report@123'if [ -z $MSSQL_SA_PASSWORD ]
thenecho Environment variable MSSQL_SA_PASSWORD must be set for unattended installexit 1
fiecho Adding Microsoft repositories...
sudo curl -o /etc/yum.repos.d/mssql-server.repo https://packages.microsoft.com/config/rhel/8/mssql-server-2022.repo
sudo curl -o /etc/yum.repos.d/msprod.repo https://packages.microsoft.com/config/rhel/8/prod.repoecho Installing SQL Server...
sudo yum install -y mssql-serverecho Running mssql-conf setup...
sudo MSSQL_SA_PASSWORD=$MSSQL_SA_PASSWORD \\MSSQL_PID=$MSSQL_PID \\/opt/mssql/bin/mssql-conf -n setup accept-eulaecho Installing mssql-tools and unixODBC developer...
sudo ACCEPT_EULA=Y yum install -y mssql-tools unixODBC-devel# Add SQL Server tools to the path by default:
echo Adding SQL Server tools to your path...
echo PATH="$PATH:/opt/mssql-tools/bin" >> ~/.bash_profile
echo 'export PATH="$PATH:/opt/mssql-tools/bin"' >> ~/.bashrc
source ~/.bashrc# Optional Enable SQL Server Agent:
if [ ! -z $SQL_ENABLE_AGENT ]
thenecho Enable SQL Server Agent...sudo /opt/mssql/bin/mssql-conf set sqlagent.enabled true
fi# Optional SQL Server Full Text Search installation:
if [ ! -z $SQL_INSTALL_FULLTEXT ]
thenecho Installing SQL Server Full-Text Search...sudo yum install -y mssql-server-fts
fi# Configure firewall to allow TCP port 1433:
echo Configuring firewall to allow traffic on port 1433...
sudo firewall-cmd --zone=public --add-port=1433/tcp --permanent
sudo firewall-cmd --reload# Example of setting post-installation configuration options
# Set trace flags 1204 and 1222 for deadlock tracing:
#echo Setting trace flags...
#sudo /opt/mssql/bin/mssql-conf traceflag 1204 1222 on# Restart SQL Server after making configuration changes:
echo Restarting SQL Server...
sudo systemctl restart mssql-serverecho power on SQL Server...
sudo systemctl enable --now mssql-serverecho global variable SQL Server...
ln -s /opt/mssql/bin/* /usr/local/sbin/
ln -s /opt/mssql-tools/bin/* /usr/local/sbin/# Connect to server and get the version:
counter=1
errstatus=1
while [ $counter -le 5 ] && [ $errstatus = 1 ]
doecho Waiting for SQL Server to start...sleep 5s/opt/mssql-tools/bin/sqlcmd \\-S localhost \\-U SA \\-P $MSSQL_SA_PASSWORD \\-Q "SELECT @@VERSION" 2>/dev/nullerrstatus=$?((counter++))
done# Display error if connection failed:
if [ $errstatus = 1 ]
thenecho Cannot connect to SQL Server, installation abortedexit $errstatus
fi# Optional new user creation:
if [ ! -z $SQL_INSTALL_USER ] && [ ! -z $SQL_INSTALL_USER_PASSWORD ]
thenecho Creating user $SQL_INSTALL_USER/opt/mssql-tools/bin/sqlcmd \\-S localhost \\-U SA \\-P $MSSQL_SA_PASSWORD \\-Q "CREATE LOGIN [$SQL_INSTALL_USER] WITH PASSWORD=N'$SQL_INSTALL_USER_PASSWORD', DEFAULT_DATABASE=[master], CHECK_EXPIRATION=ON, CHECK_POLICY=ON; ALTER SERVER ROLE [sysadmin] ADD MEMBER [$SQL_INSTALL_USER]"
fiecho Done!执行安装
sh /sql_server_install.sh查询SQL Server数据授权问题
- 显示为“0”,表示已经激活
sqlcmd -S localhost -U SA -P Report@123use master
go
RECONFIGURE
GO
DECLARE @daysleft int
DECLARE @instancename sysname
SELECT @instancename = CONVERT(sysname, SERVERPROPERTY('InstanceName'))
EXEC @daysleft = xp_qv '2715127595', @instancename
SELECT @daysleft '剩余使用天数'
GO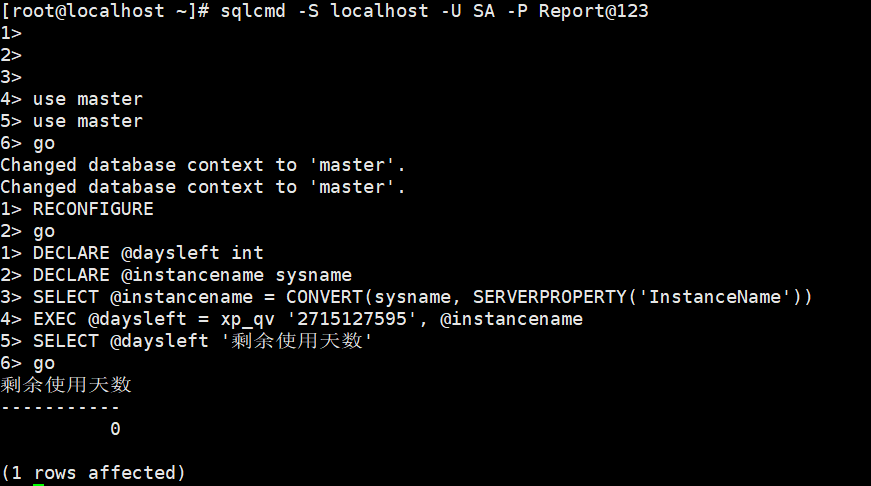
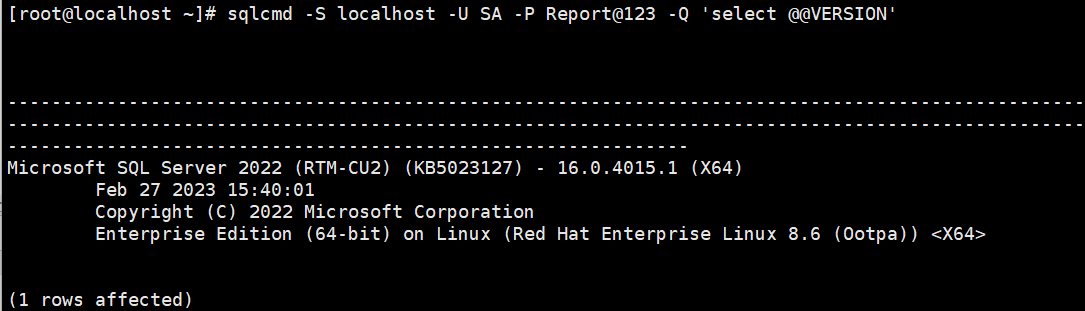
获取系统版本和数据库版本信息,上述脚本有,以下单独列出来说明
sqlcmd -S localhost -U SA -P Report@123 -Q 'select @@VERSION'